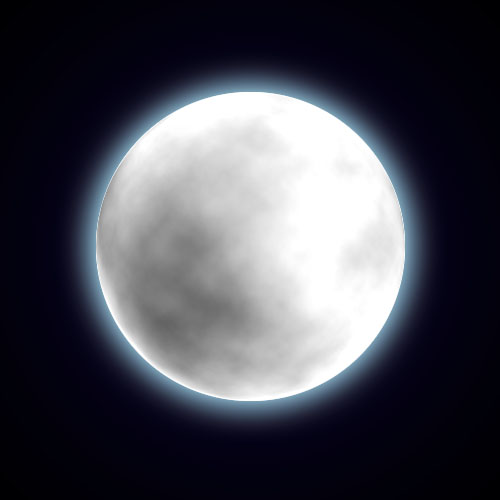
Shoot for the Moon in This Week’s Photoshop Tutorial

In one of our previous tutorials, we created the spiral galaxy from scratch using Adobe Photoshop. It’s time we head closer to home as we create the moon from scratch with this Photoshop tutorial.
To start, let’s open a new document at 500 x 500 pixels and 72 dpi. Make sure the background is black, because of course, the outer space is pitch black.
Next, add a new layer (it would be best to later rename this layer as “moon”). Using the ELLIPSE TOOL, draw a perfect circle. Do this by holding down the SHIFT key while creating the circle. Then, fill this circle with WHITE.
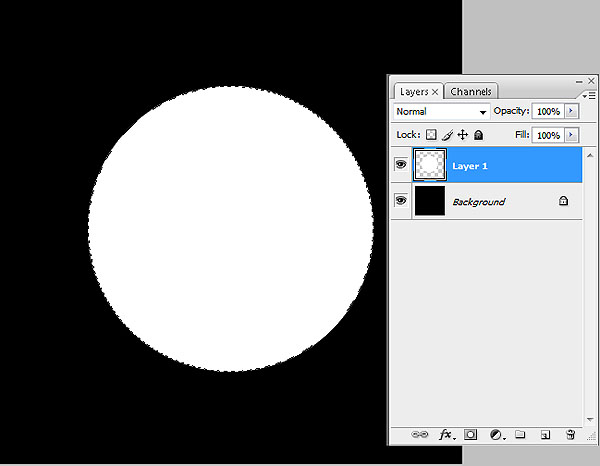
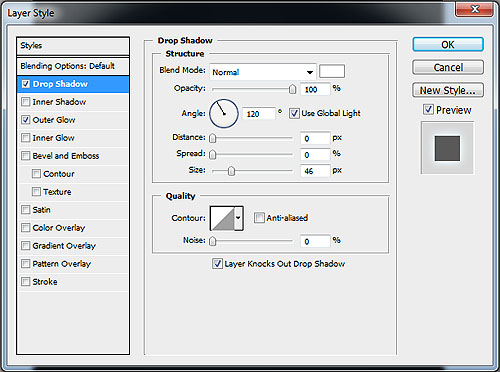
On this “moon” layer, let’s add some LAYER STYLES. What we need first is the DROP SHADOW, with the following values: Blend Mode Normal; Color White; Opacity 100%; Angle 120; Distance 0; Spread 0; Size 46. Refer to the image below.
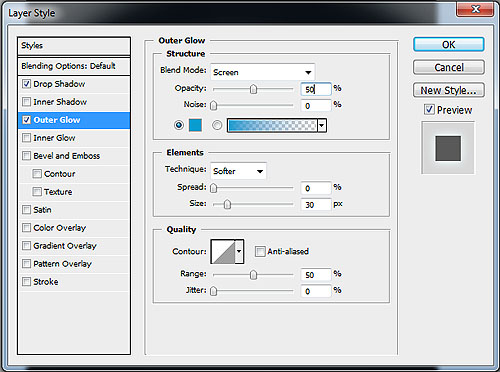
Now let’s add OUTER GLOW with the values: Blend Mode Screen; Opacity 50%; Color Light Blue (#99ccff); Size 30. See image below for reference.
Your moon should look like this. It may not look much, but we will add more as this Photoshop tutorial progresses.
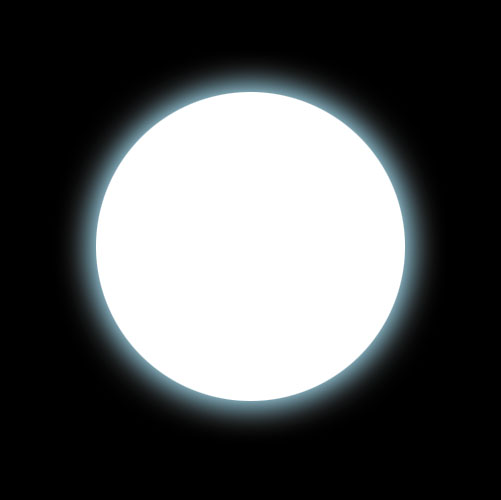
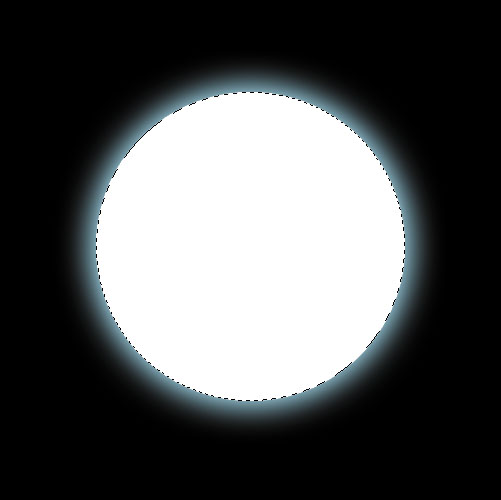
Select the moon. You can do this by holding the CTRL key and clicking on the moon layer.
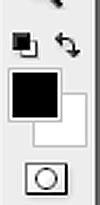
Make sure your FOREGROUND COLOR is BLACK and your BACKGROUND COLOR is WHITE. Then, go to FILTER > RENDER > CLOUDS. You may need to repeat the process to get the right “moon texture” that you want.
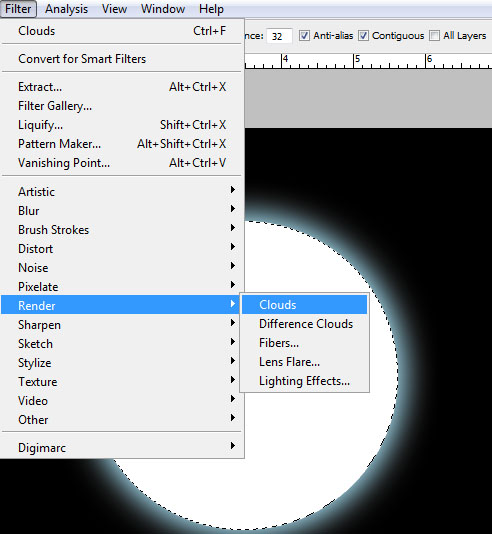
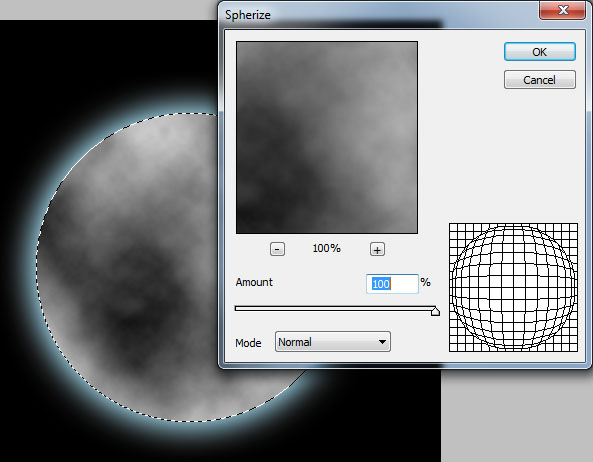
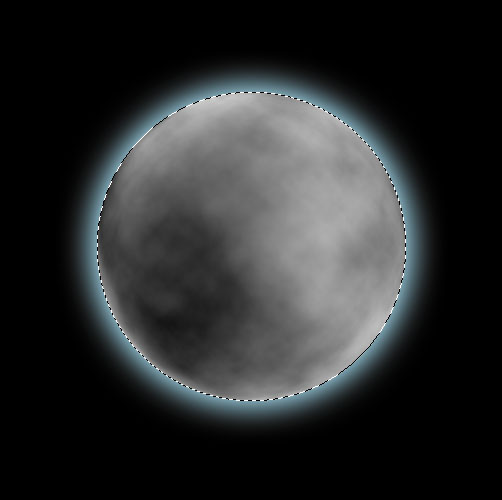
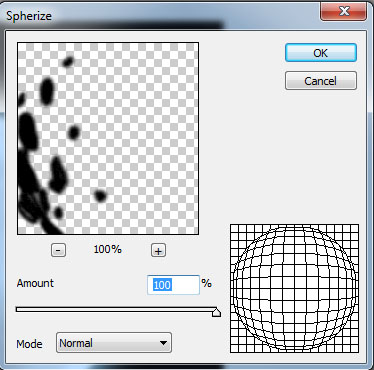
Then, go to FILTER > DISTORT > SPHERIZE. Results should be something like the image below.
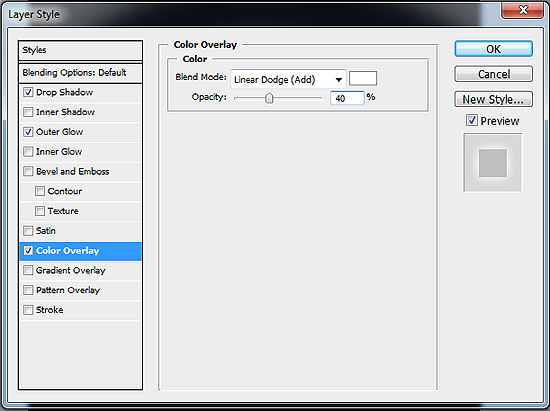
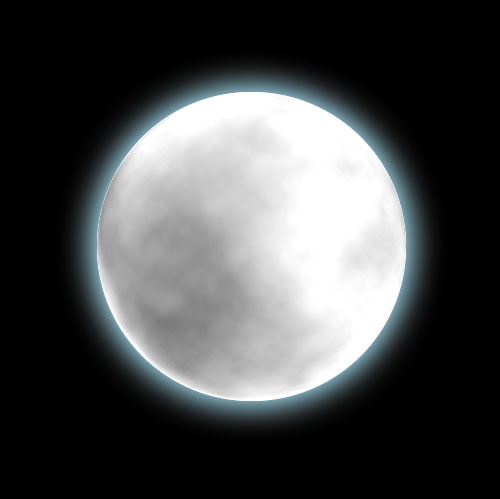
Now we’re going to add a final layer style to our moon layer. Add the layer style COLOR OVERLAY with the values: Blend Mode Linear Dodge (Add); Color White; Opacity 40%. The end result should be similar to the image below.
You can actually stop at this point but it would be best to completely finish this moon Photoshop tutorial.
You may find that our moon actually lacks a bit of the indications of craters. Let’s remedy that by adding another layer on top of the moon layer. Using a HARD BRUSH TOOL, draw some spots close to the center of our moon.
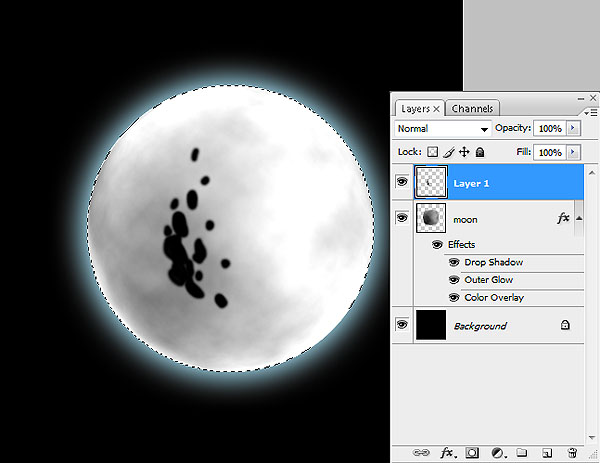
Stay on this new layer and go to FILTER > DISTORT > SPHERIZE.
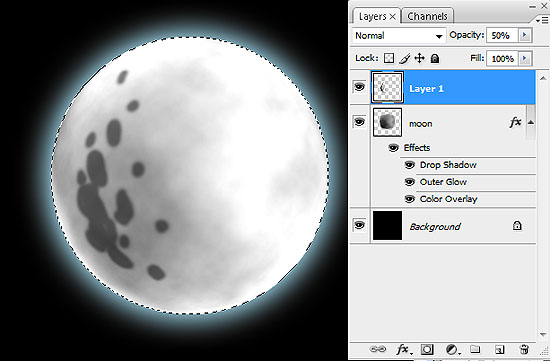
It may be necessary for you to move the dark spots a little to the side. Once you’re satisfied, change this layer’s opacity to 50% (you may need to reduce this opacity later on though).
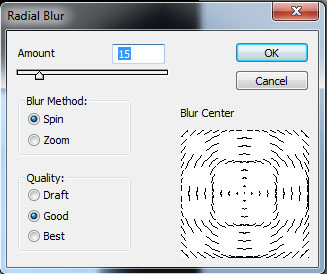
Still on this “spots” layer, go to FILTER > BLUR > RADIAL BLUR and input the following values: Amount 15; Blur Method Spin; Quality Good.
You may find the end result a bit “smeared” but let’s fix that by going to FILTER > BLUR > GAUSSIAN BLUR at 7.0.
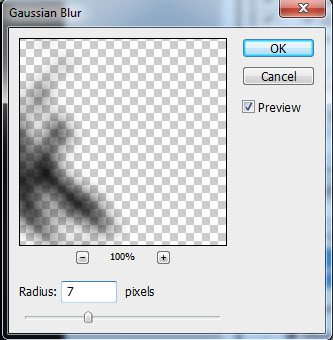
You may then need to distort, rotate, or resize the dark spots to your liking.
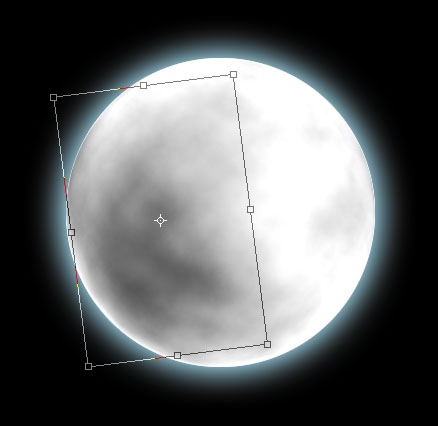
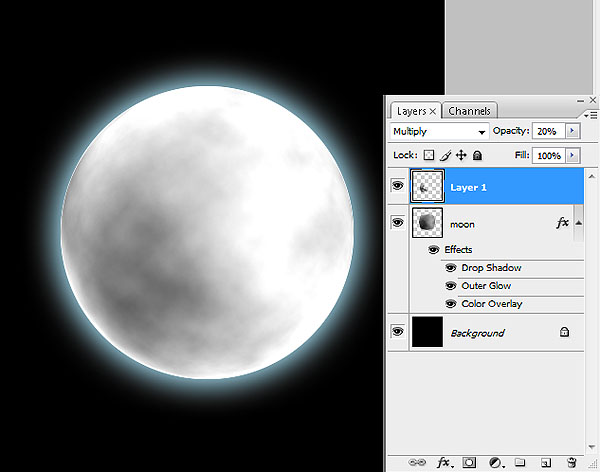
For finishing touches, change the BLENDING MODE of the dark spots to MULTIPLY with OPACITY at 20%.
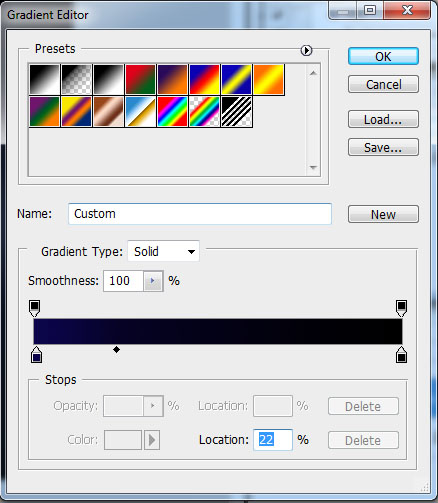
We’re almost done. One last detail would be to add a bluish glow around the moon. Do this by going to the background layer and adding a RADIAL GRADIENT FILL with colors ranging from dark blue to black as shown below.
And there you have it! Your very own moon made from scratch using Adobe Photoshop. Watch out for our planets tutorial coming very soon.
