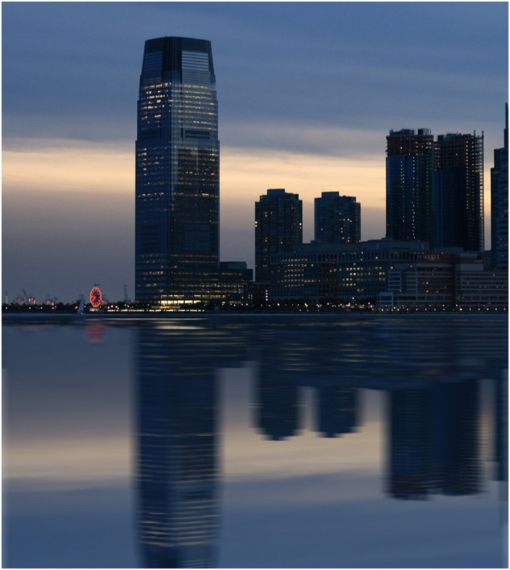
Creating Mirror Reflections in Photoshop

In this tutorial, we are going to learn how to create or mimic a mirror reflection to an object using Photoshop.
The first part is going to learn the basics of creating a simple reflection of text or image object. Now in your work space, you got to have already an object that you need to create a reflection with.
So let us try out first with a simple text and try to make various reflections in different angles and positions. Create a text just like the sample you see below.
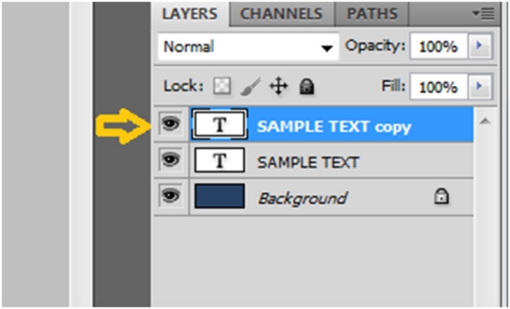
Select the text layer you recently created, and duplicate this layer. You will now have a “sample layer copy” which is the exact replicate of the original text; however you will not still be able to see it distinctly since it is still aligned with the original.
If you try to move around the copy layer with the transform tool, you will be able to see it clearly which is the original and which the duplicate is.
The text which is enclosed in the box is the duplicate. This is the object and layer we are going to make as the reflection.
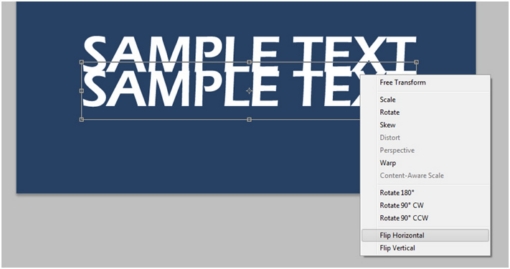
Select the Transform or press “CTRL+ T” then move the object to a position directly below the original. After that, right click on any area in the box, and choose the flip horizontal option.
The text will just be flipped just like this.
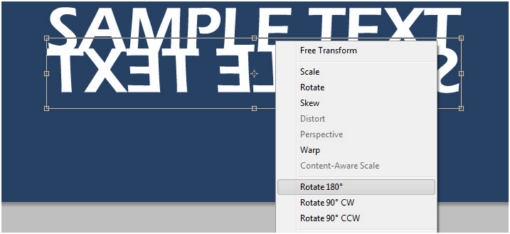
Right click on the area inside the box, but this time select “rotate 180 degrees” and apply the changes.
You should be able to get a position like this.
If in case you get a space or gap between the original text and the reflection. You can always move the reflection object towards the original texts so that it touches it.
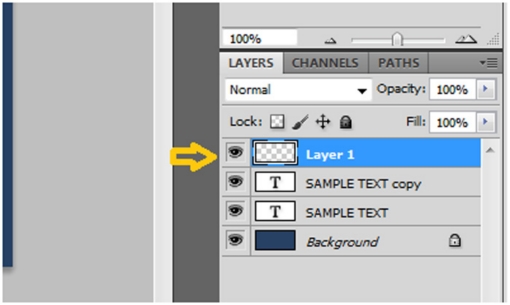
Next step is to create a new and blank layer.
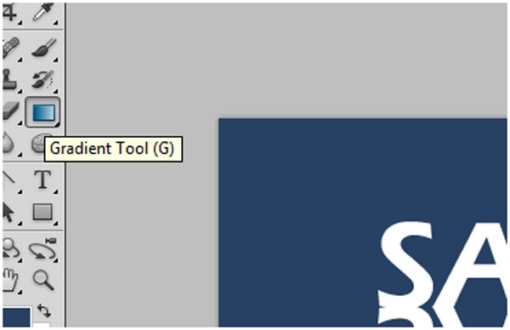
Now select the gradient tool.
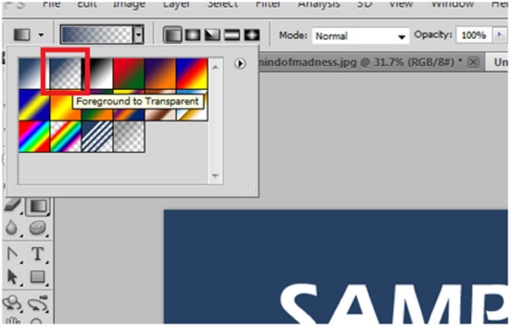
And select the foreground to transparent preset.
Now hold Shift Key, left click on the bottom part of the duplicate text, and drag it up to the bottom area of the original text.
The effect should be relatively close to the sample below.
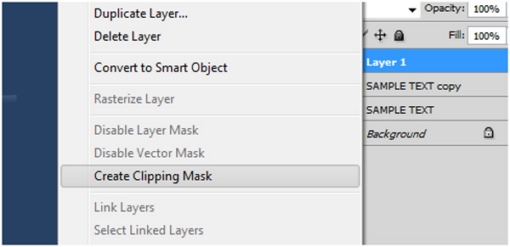
Now right click on the layer, and click on the “Create Clipping Mask”.
This will make the gradient only effective on the reflection layer.
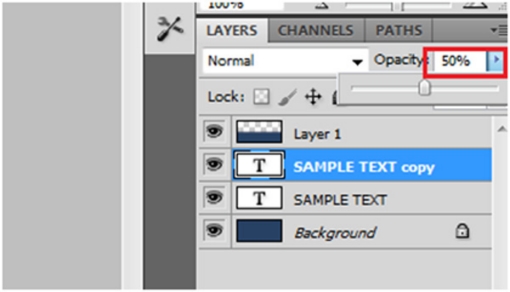
Now adjust the opacity settings on the layer COPY, not the original one. Set to about 50%.
Finally you get an output just like this.
You can also apply this technique on landscape or waterscape photographs. Creating a reflection sometime is necessary especially if the other elements in a photo such as rough water are not desirable to look at or it simply spoils the photo’s composition.
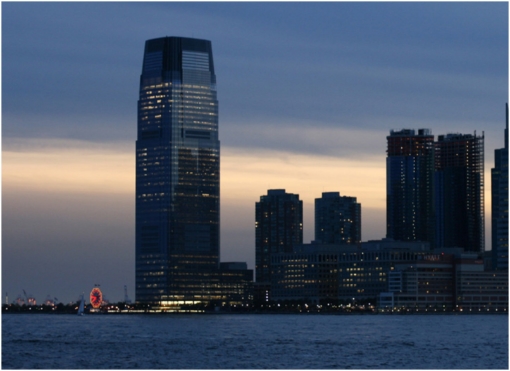
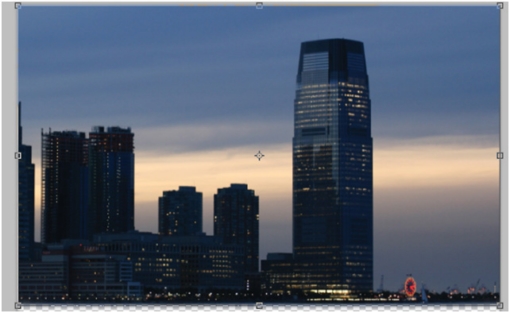
Like in this photo, how would it look like when we add a reflection of the buildings instead of just rough water?
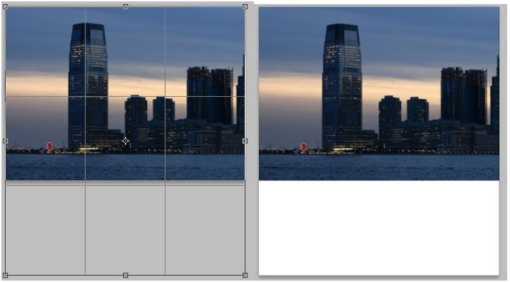
Initially, we need to crop the image to ADD a reasonable space to put in the reflection.
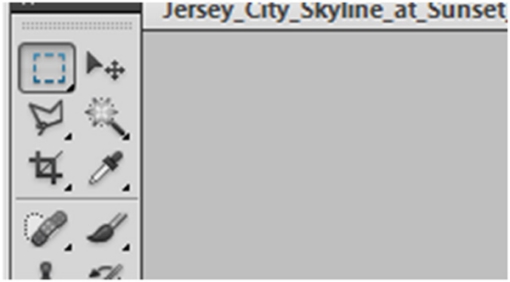
We need to REMOVE the water using the RECTAUNGULAR MARQUEE TOOL
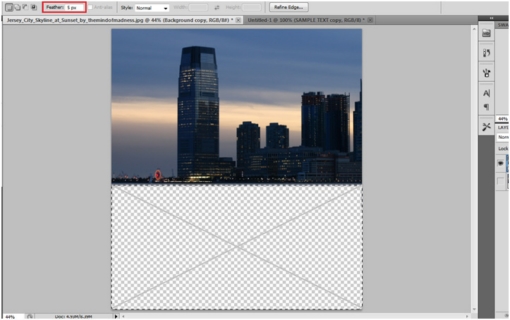
Select only the area which is covered in water. Images with even and straight water lines are easier to work on.
Delete this area leaving only the buildings and the sky background. Also try to put a reasonable amount of feather to make sure the removal of the areas would not leave a clean edge. This will help the manipulation much more convincing.
As you can see on the guide below, I have created 2 duplicates of the original layer. 2 duplicates are necessary to create this effect.
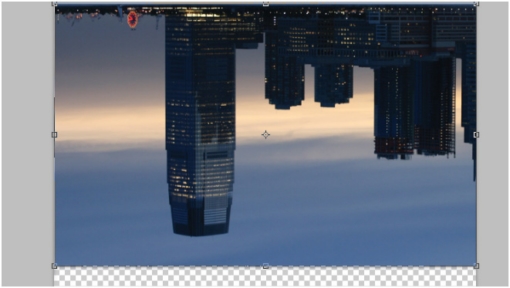
Now flip the 2nd duplicate horizontally.
And next is to ROTATE it to 180 degrees.
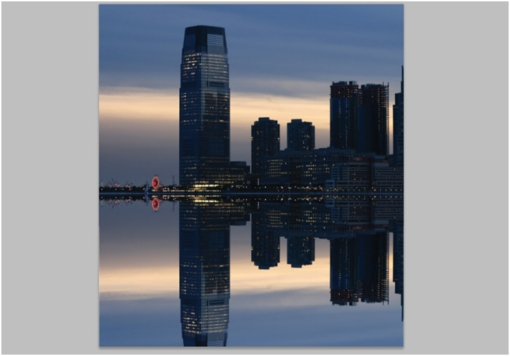
Now move the object below. Move it to a position where it will look like just a mirror reflection.
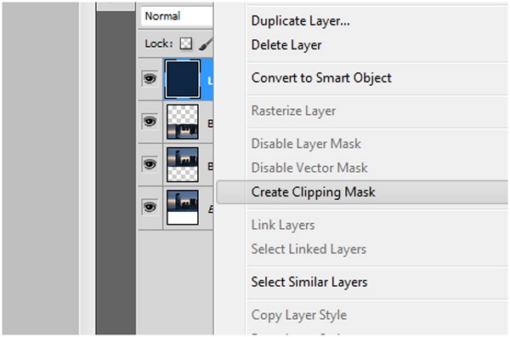
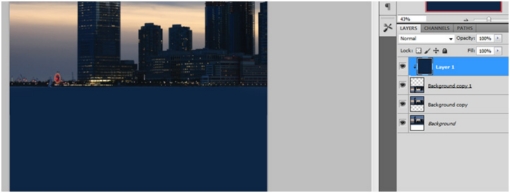
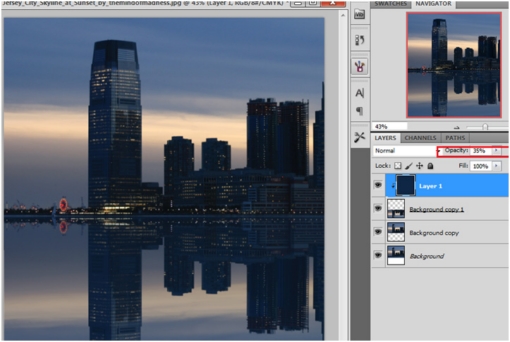
You can still go further if you want. Try creating a new layer filled with darkish blue and right click on the layer, then select create clipping mask.
This step is optional but, it will help make the reflection effect more realistic.
Adjust the blue layer’s opacity to about 35 percent.
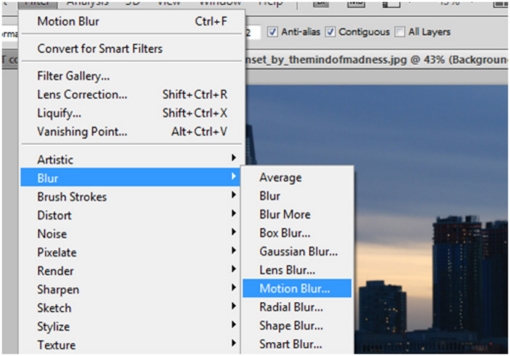
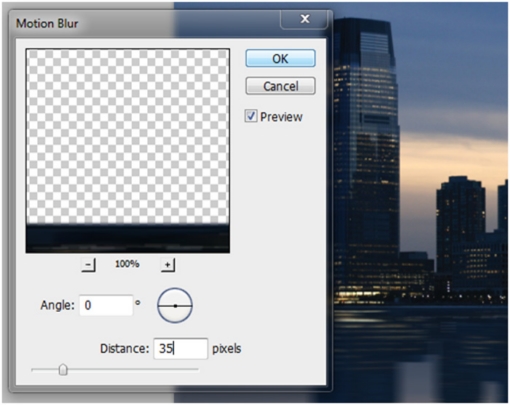
Now select the reflection layer, and apply a motion blur of about 10 pixels distance. Go to filters > blur > motion blur
There you have it. It looks more realistic now.
There will be other effects such as realistic waves but that would be on another much complicated project.
Have fun with this and if you use it please link your creations in the comments section.

