Creating a Fire Horse

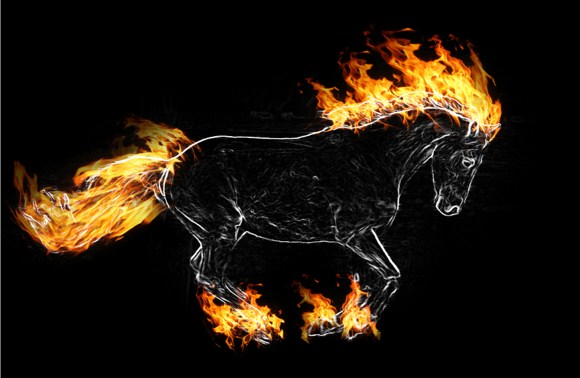
This tutorial will show you how to create a horse made of fire. Lets use Photoshop to recreate Rapidash of Pokemon fame. This technique involves the use of filters, transformation tools and layer blend modes. This technique can also be used to recreate the effect in the movie Ghost Rider.
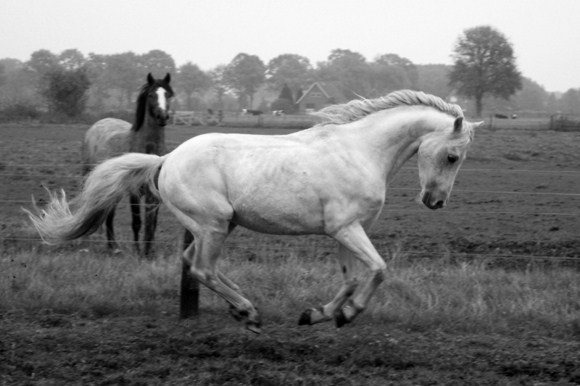
First we need a good picture of a stallion or a horse. It is also effective when you use a photo of a horse running or in motion to maximize the use of the fiery effect of the horse’s hair and flames.
Prepare the photo by opening in Photoshop, and then creating a duplicate layer for backup purposes. Once you have created a duplicate image, DESATURATE the image by pressing SHIFT+CTRL+U to make the photo in black and white.
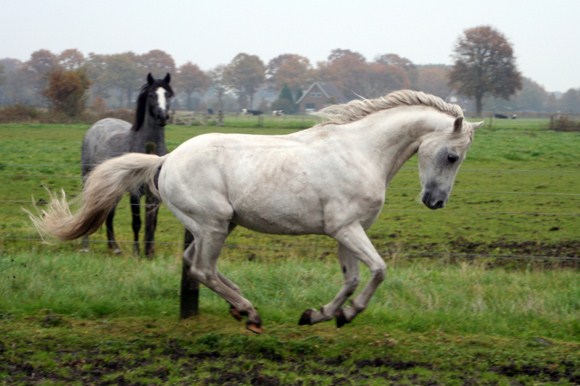
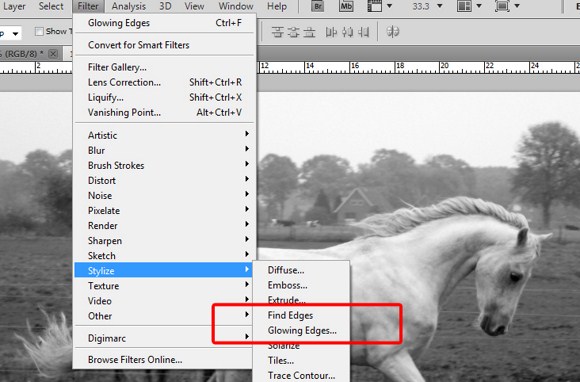
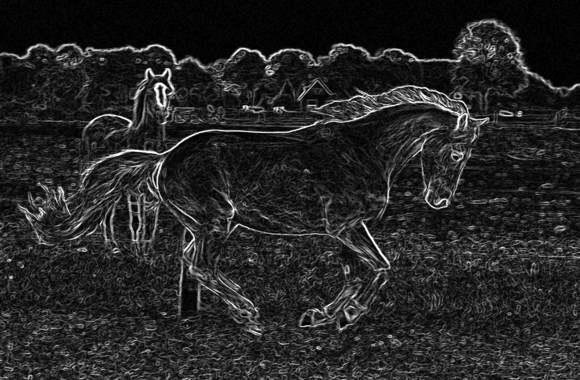
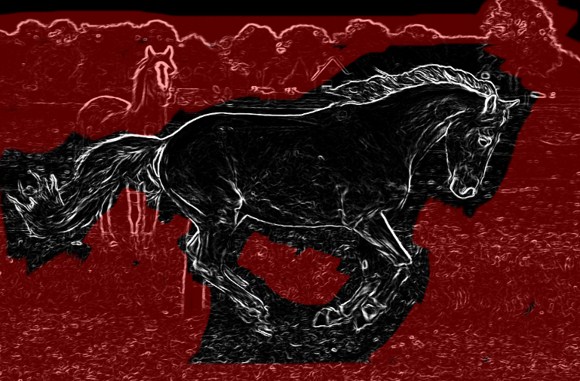
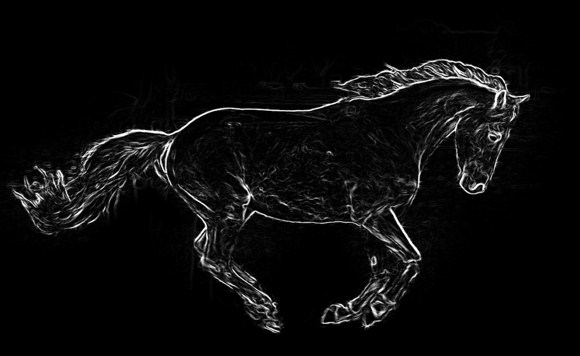
Next, apply a filter – Find Edges. Although you can also choose glowing edges which has more control over the intensity of the lines, nevertheless, both filters have almost the same function and effect on black and white photos. For now choose find edges. But if you really want detailed results, try experimenting with glowing edges.
After applying the filter you should get a result just like below.
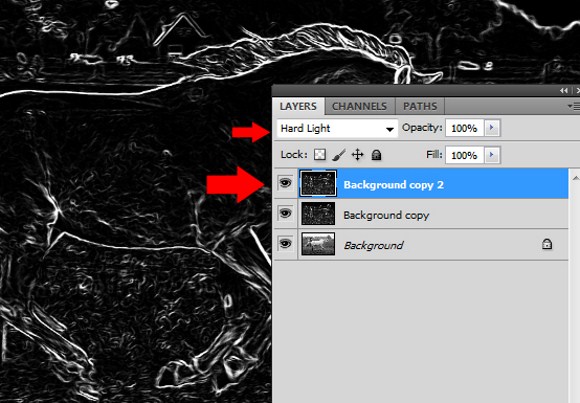
Duplicate this layer and set the layer blend mode of the duplicate into hard light.
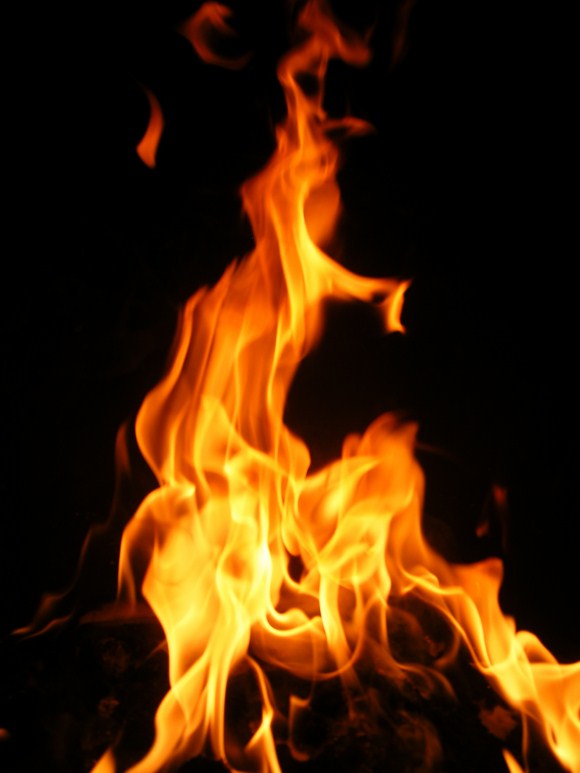
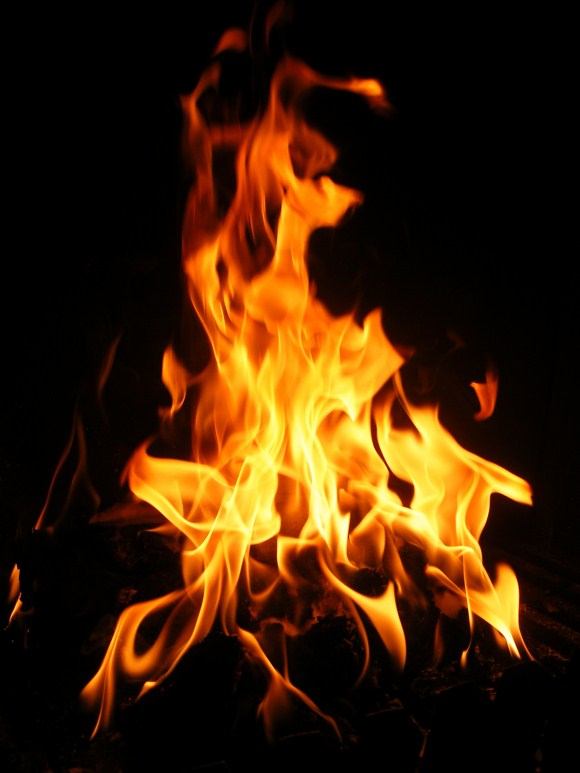
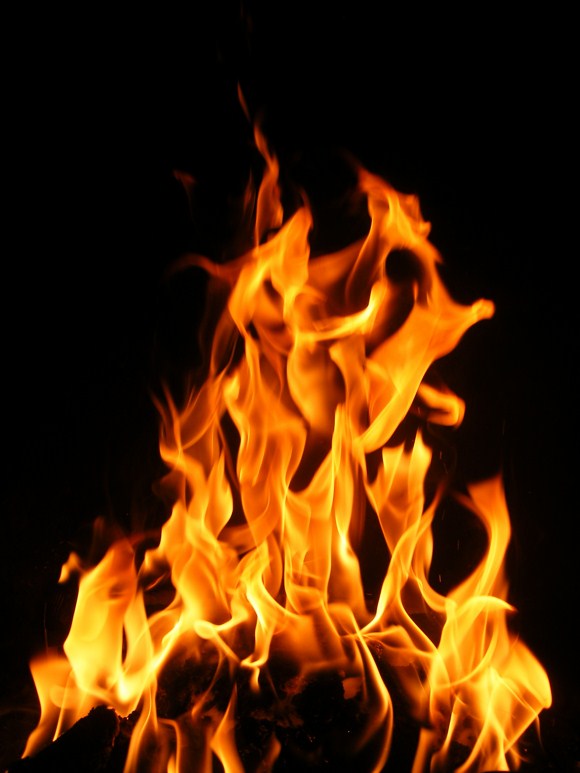
Before you move on, you need to have stock pictures of flames. We got these fire images from the royalty free stock images site and downloaded the items. Do not worry. It is free to download as long as you have registered for membership. Visit here to see the images – http://www.sxc.hu/profile/huibidos.
You see that the image has lots of white areas that are not parts of the horse. We need to remove these parts using the brush tool. Using black color, paint over the areas on the topmost layer. The red areas are the suggested parts which need to be covered with black.
After omitting those unwanted areas the result should be like this.
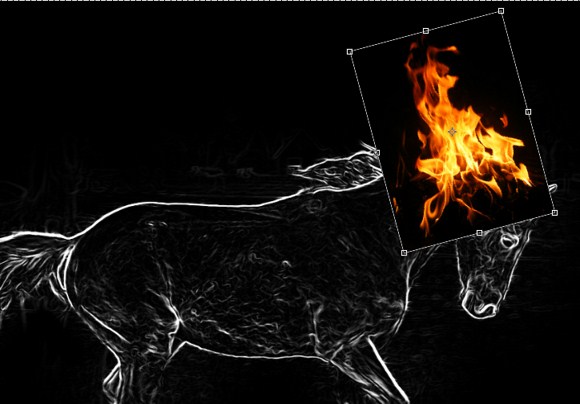
Now drag the flames which you have downloaded into the main image. Open each downloaded file in Photoshop so that you will be able to bring and drag it to the main project. Resize and rotate the flame and bring it on top of the horse’ head.
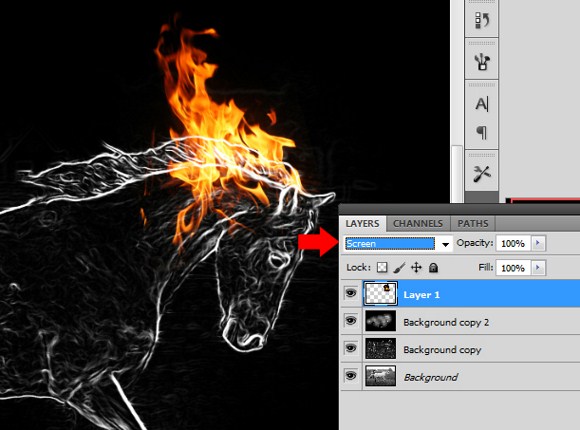
Now set the layer blend mode to screen.
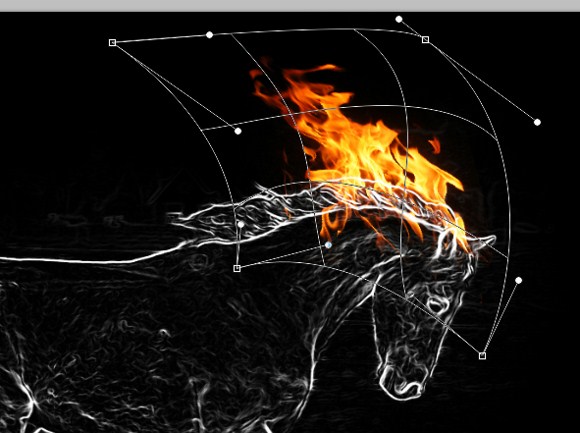
Press CTRL+T (transform tool) and select WARP TOOL. Drag the frames to warp the image according to the shape desired.
In the following steps, you are going to create multiple duplicates of flames. Each with different sizes, warp transformations and positions to create something just like the example below. Use your creativeness to position the flames on the horse. Flames on the hoofs are quite simple however the flames on the tail will be quite complicated to warp transform. It will take a few attempts to get it right. Do not forget to SET EACH and EVERY FLAME layer to SCREEN blend mode.
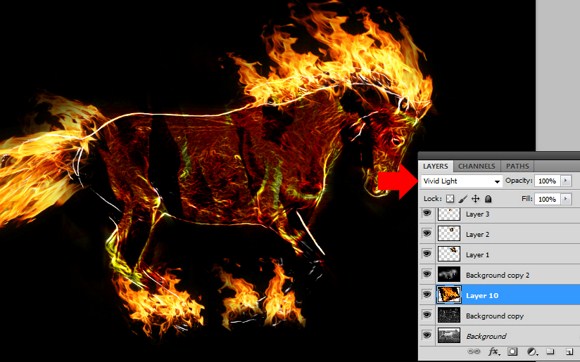
Insert a LARGE flame into the image. Rotate the flame slight towards the left and change the layer blend mode to vivid light. Make sure you place this layer as the SECOND or third layer from the last.
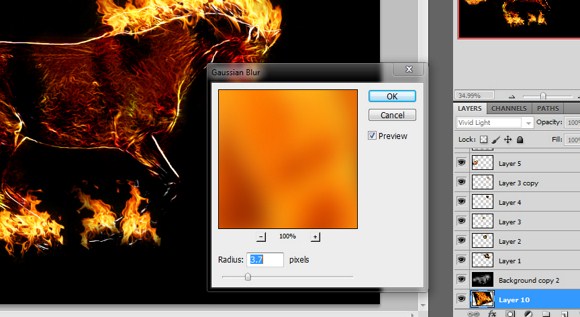
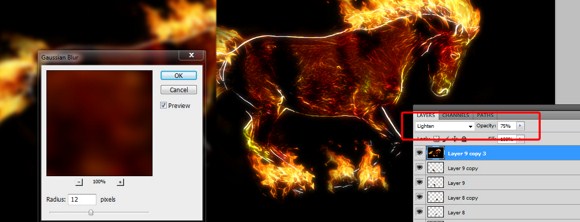
Apply a GAUSSIAN BLUR on the layer. It is up to you to set the amount of radius.
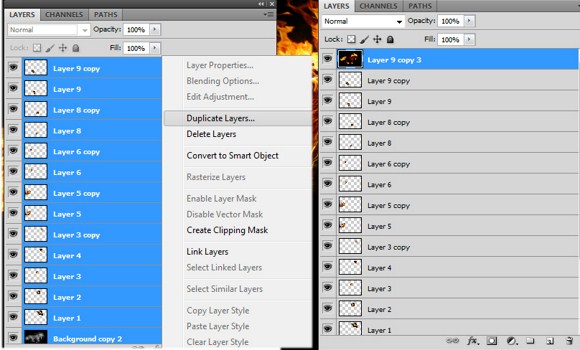
Select ALL layers, DUPLICATE all the selected layers, and then MERGE (CTRL+E) the duplicates.
Apply a guassian blur, the set the blend mode to lighten and adjust the opacity to 75%.
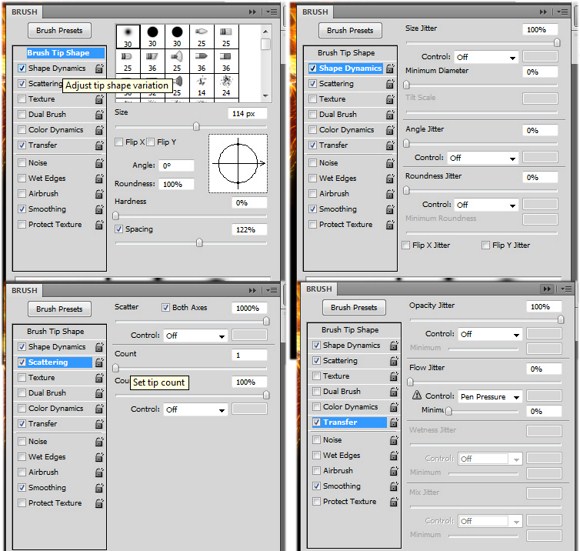
Select the BRUSH TOOL, and then press F5.
- Select a soft brush, set the SPACING to about 120 percent.
- Enable SHAPE DYNAMICS, set the size jitter to 100% and turn the control off.
- Enable SCATTERING and max out scatter to 1000%, set count to 1%.
- Enable transfer/OTHER DYNAMICS, max out opacity jitter to 100%.
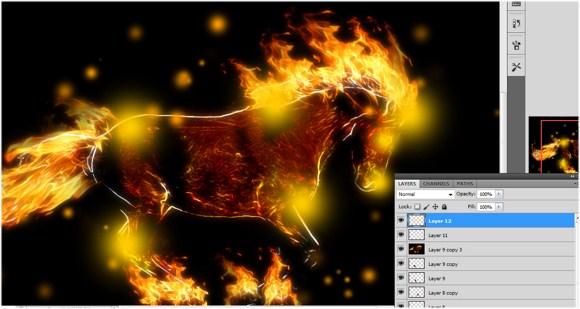
- Then use the brush you just modified.
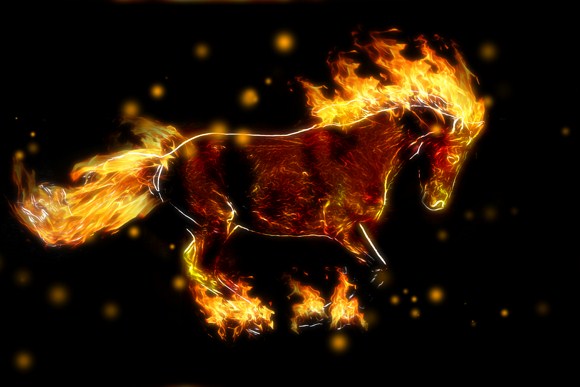
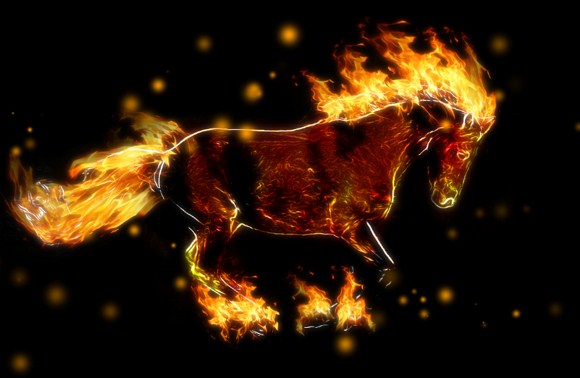 Create a new layer on the topmost. Choose a hot color such as light orange. Use a soft brush to paint some parts you like glow such as the head and the legs. After that, change the blend mode to soft light.
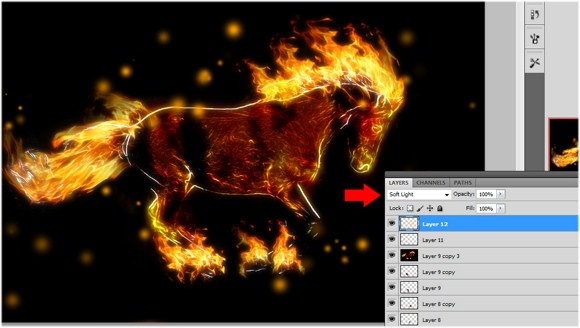 And you are done with the making of the fire horse.
We hope you had fun with this one. Please feel free to ask any questions or show off your work in the comments.

