Visit a Galaxy Far, Far Away In This New Photoshop Tutorial

Take a trip through the cosmos. Using a few nifty tricks in Photoshop, you can get as close as possible to a spiral galaxy without having to travel several light years.
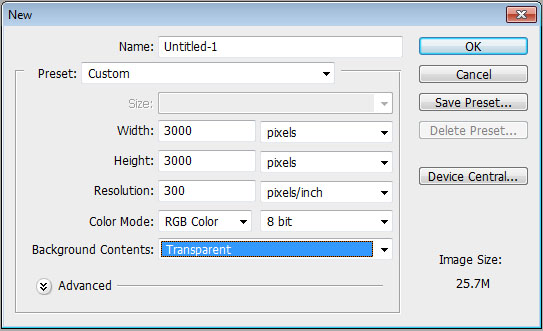
To start, open a new document. Dimensions should be 3000 x 3000 pixels, transparent background.
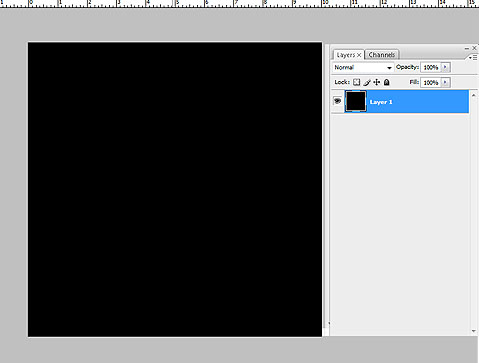
Fill up the document with black.
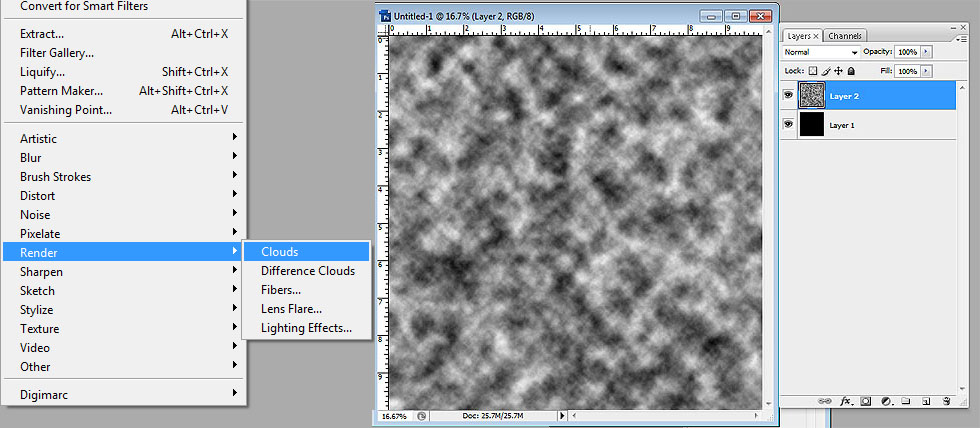
Add a new layer and go to Filter> Render> Clouds.
On the same layer, go to Filter> Render> Difference Clouds
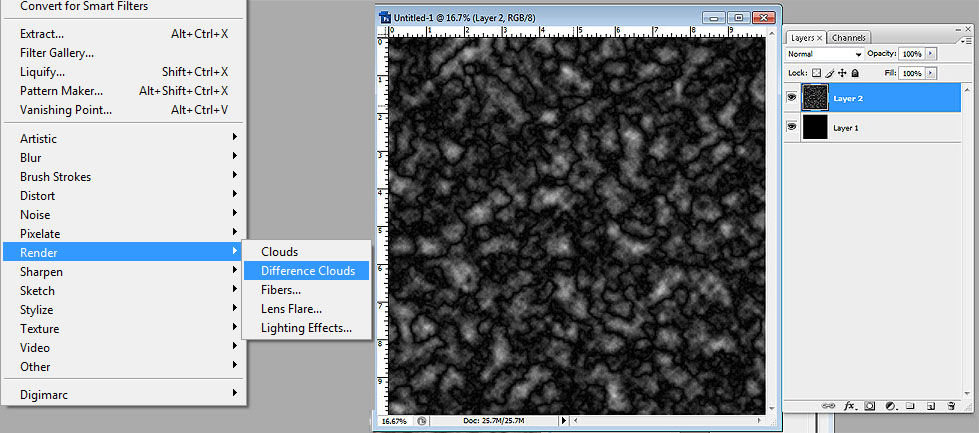
Repeat the process. Filter> Render> Difference Clouds
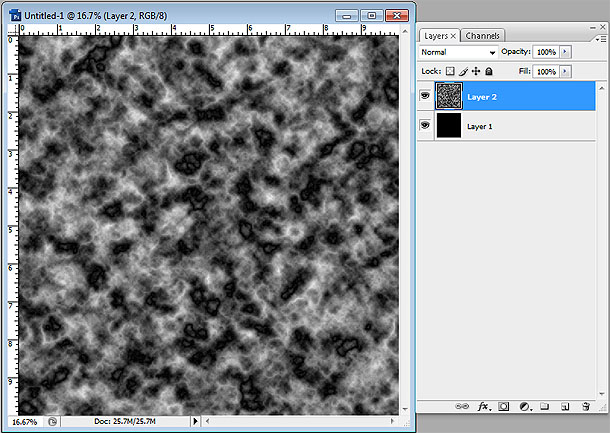
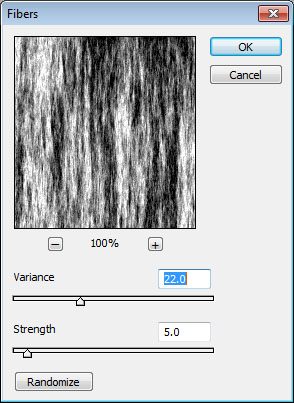
Add a new layer on top of the clouds layer and fill it with black. Then, go to Filter> Render> Fibers. Put the Variance at 22 and the Strength at 5.
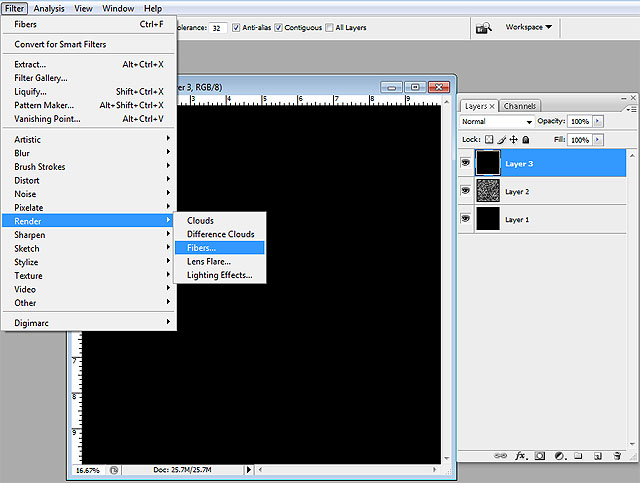
Change the Blending Options of the fibers layer to Overlay.
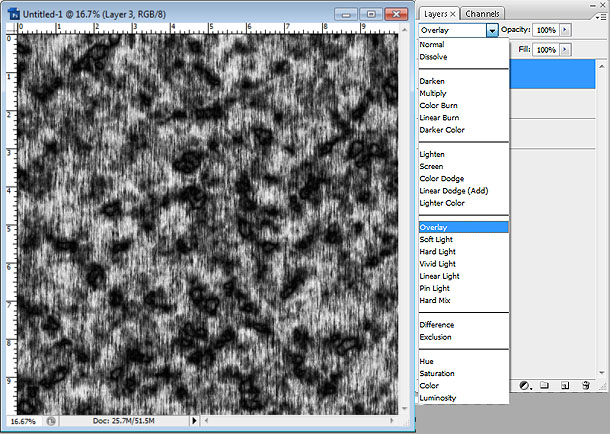
Go to the layer below (clouds) and change the Opacity to 45%.
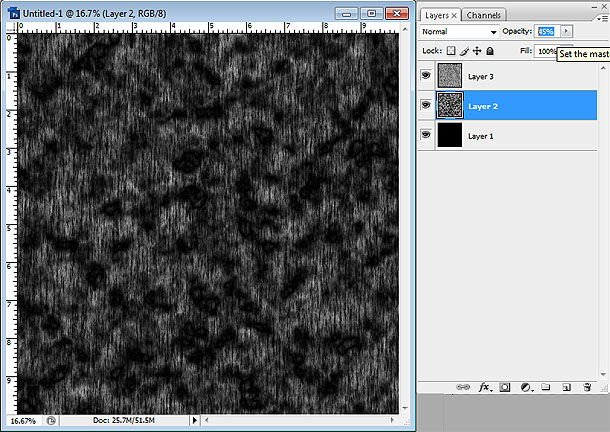
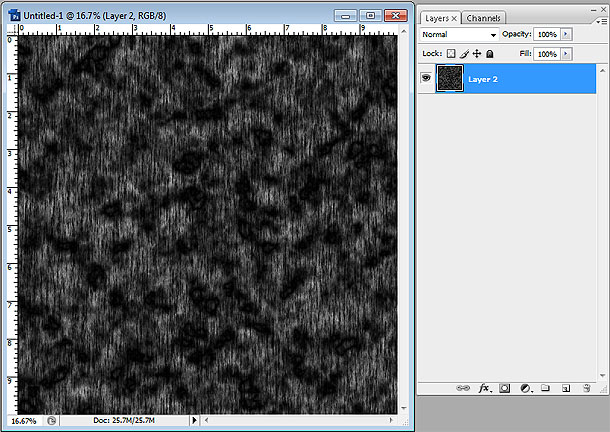
Merge the layers.
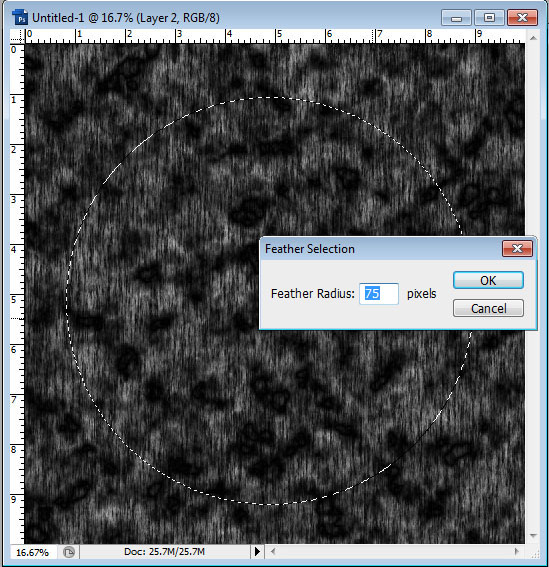
Choose the Elliptical Marquee Tool and create a Circular Marquee. For a perfect Circle, hold Shift and drag the Elliptical Marquee Tool. Once you have the Circular Marquee, go to Select> Modify> Feather. Feather should be at 75.
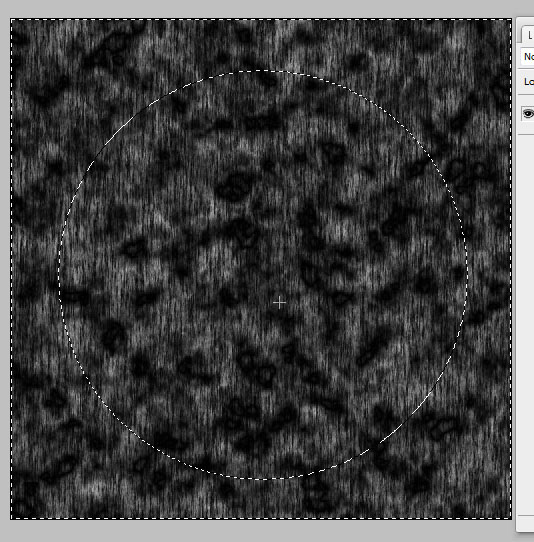
Invert the Circular Marquee. Do this by pressing Ctrl + Shift + I. Press Delete so that only a soft circle will remain of the layer.
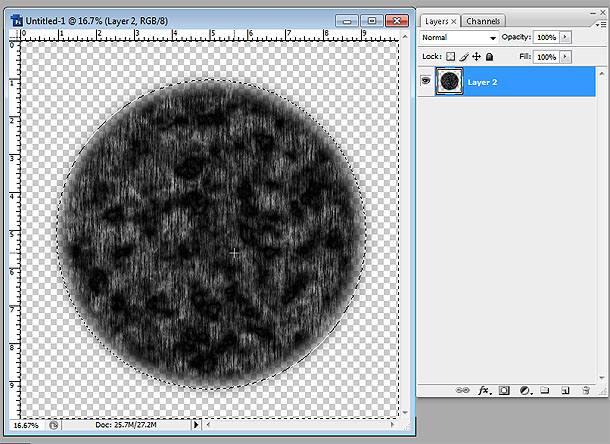
So you can see your progress, add a new layer beneath the Circle and fill it with black.
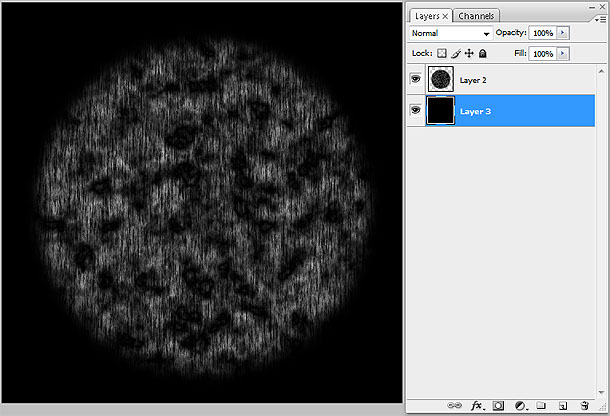
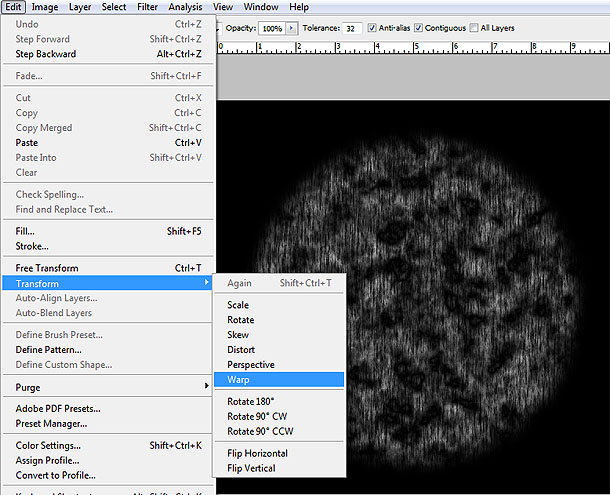
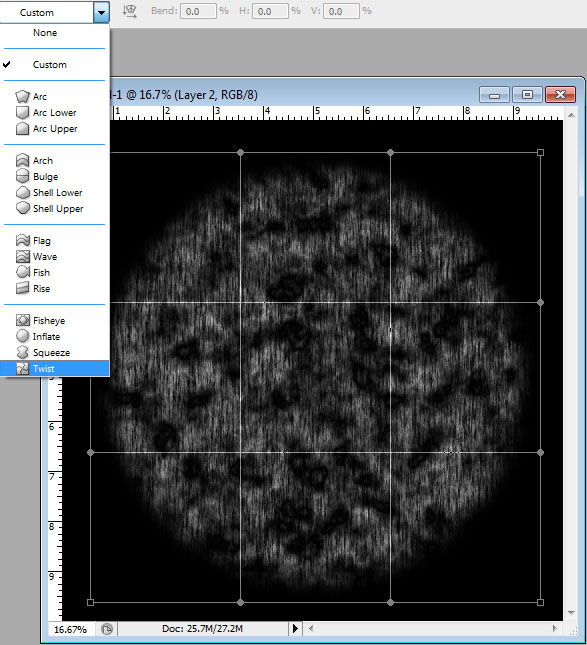
Go back to the layer with the circle. Go to Edit>Transform>Warp. Then, drop down the Custom dropdown menu and choose Twist. Bend should be at 100. Repeat the process.
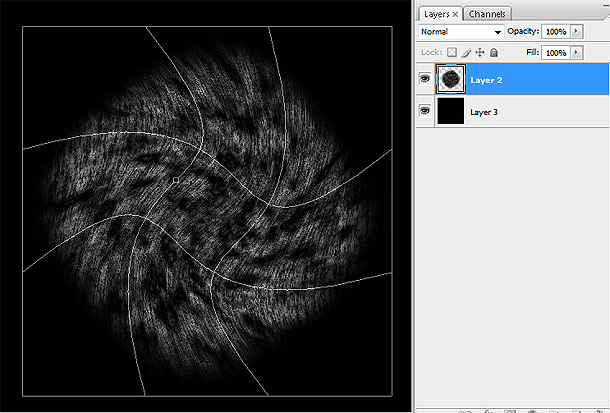
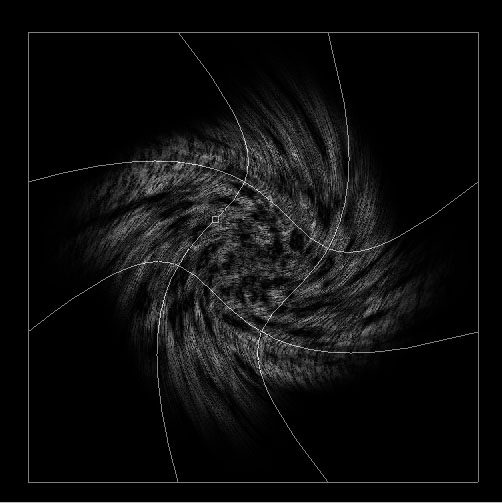
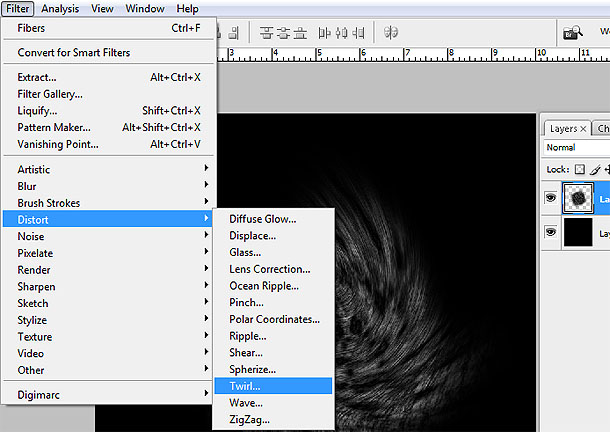
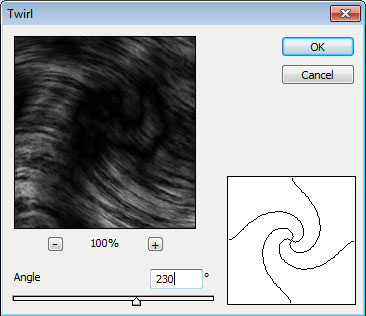
Go to Filter>Distort>Twirl. Twirl should be at 230 to get the right results.
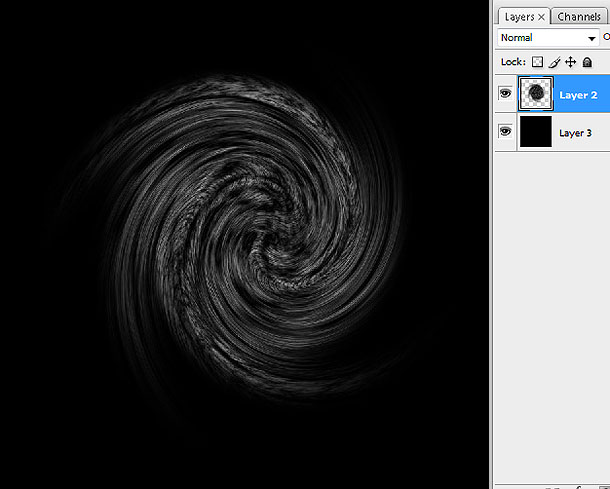
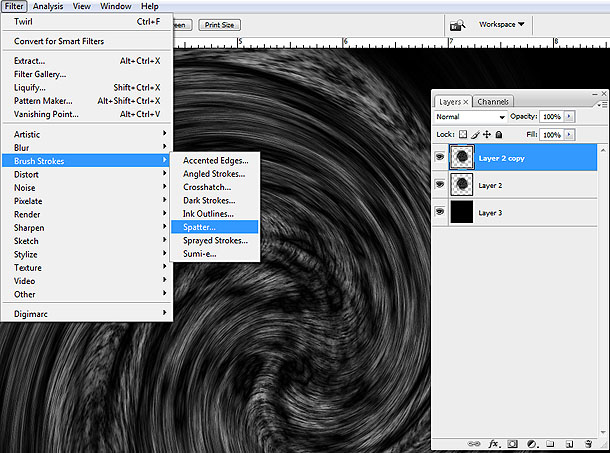
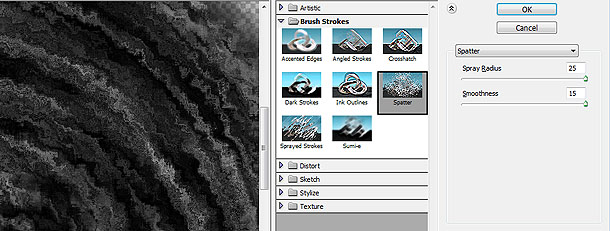
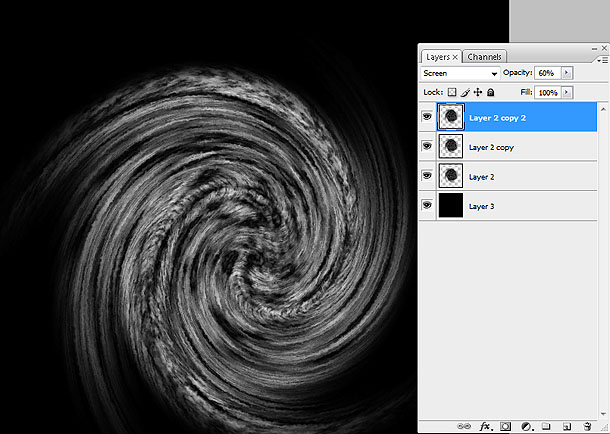
Duplicate the swirl layer and go to Filter> Brush Strokes> Spatter. Spray Radius should be 25, and Smoothness at 15.
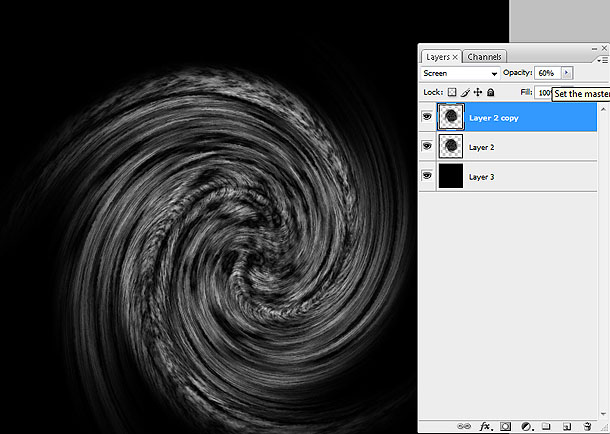
On that same layer, change the Blending Options to Screen and Opacity to 60%.
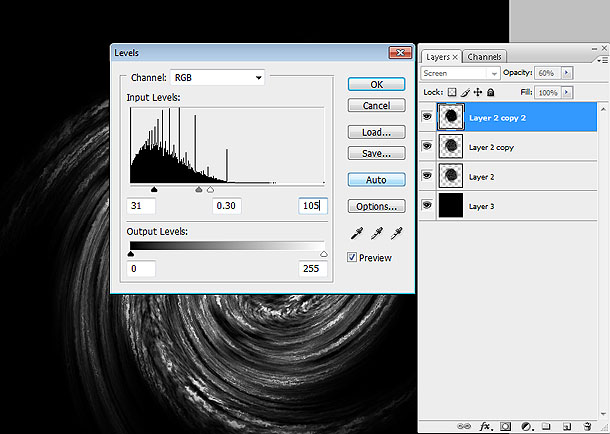
Duplicate the layer. On the new layer, go to Levels and change input the following: 31, 0.30, 105.
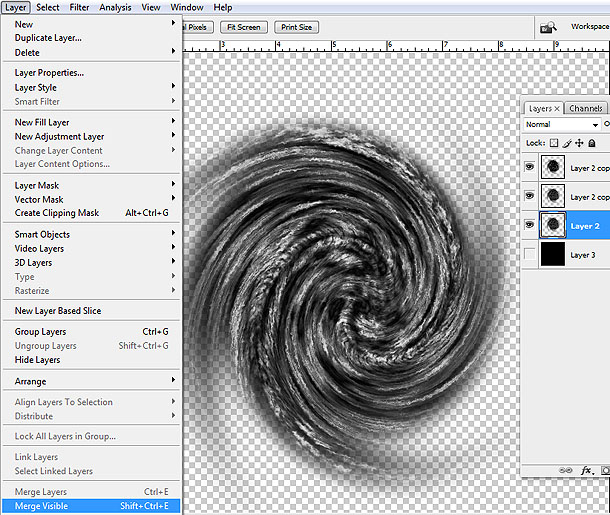
Temporarily hide the layer with the black background and go to Layer>Merge Visible Layer. Then make the black background visible again.
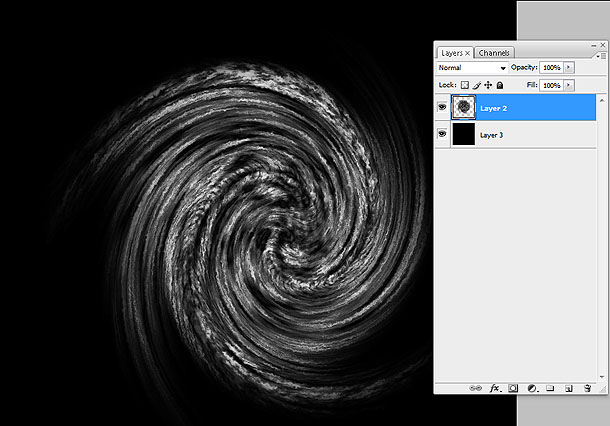
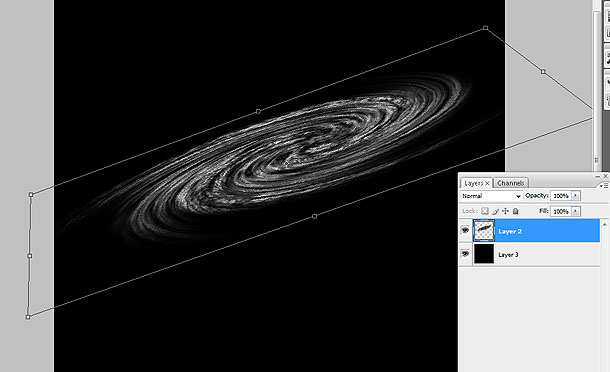
Go to Edit> Transform> Distort. Change the angle to something similar to the picture below.
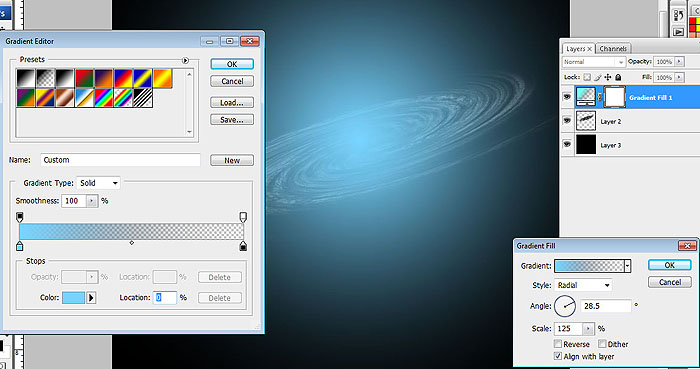
Go to Layer> New Fill Layer> Gradient. Change the color to a lighter blue color, heading towards transparent. Make sure the Gradient Style is Radial, the angle set to 28.5, and the Scale at 125. Rasterize that layer (Layer> Rasterize> Layer).
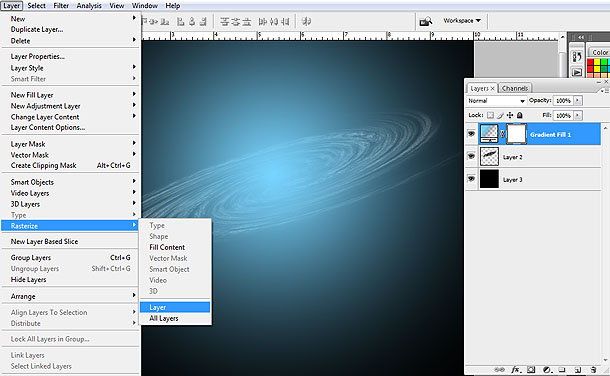
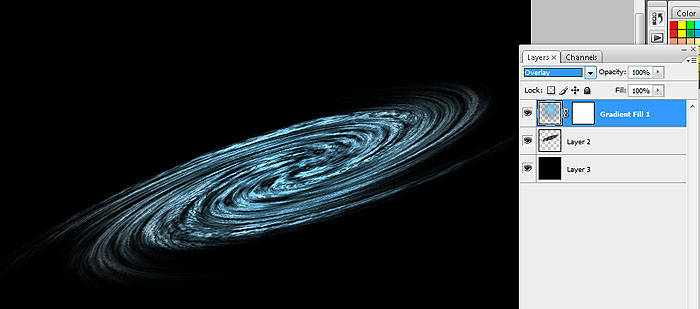
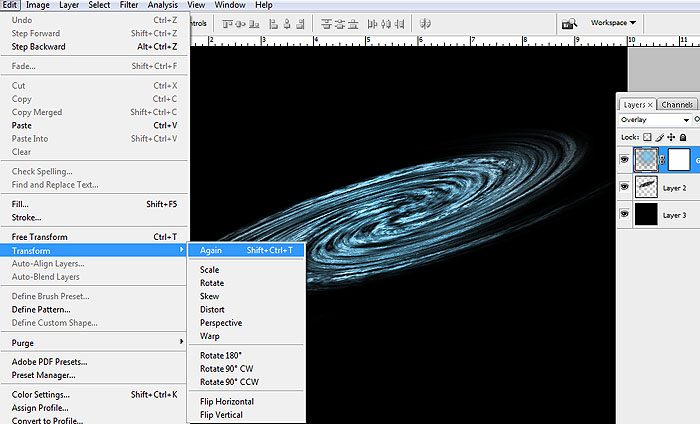
Change the Blending Options of your Rasterized Gradient Layer to Overlay. Then, go to Edit> Transform> Transform again so it’ll blend well with the spiral.
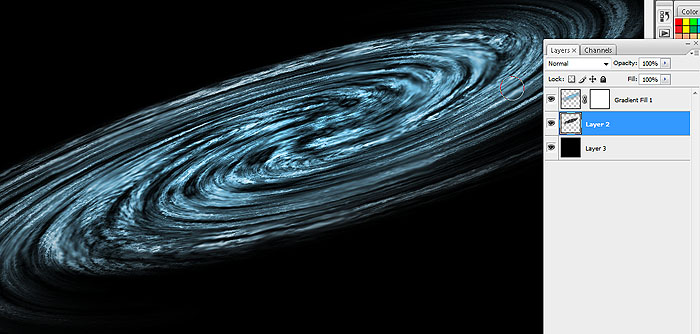
Go back to your spiral layer and use the smear tool to add movement to the spiral. Make sure to flow with the spiral’s direction.
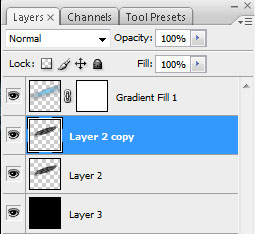
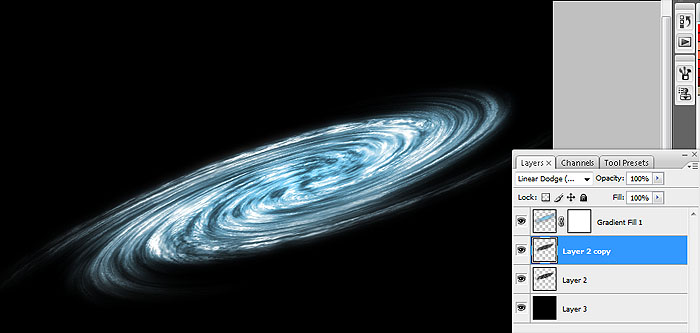
Duplicate the spiral layer. On the new spiral layer, go to Filter> Blur> Gaussian Blur. Set it to 25.
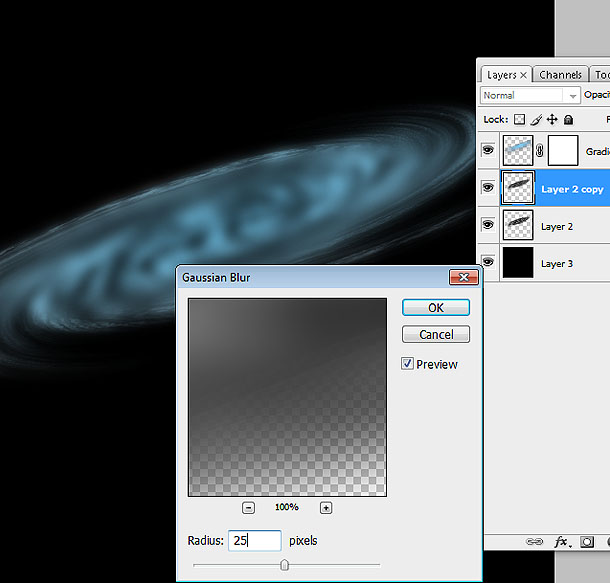
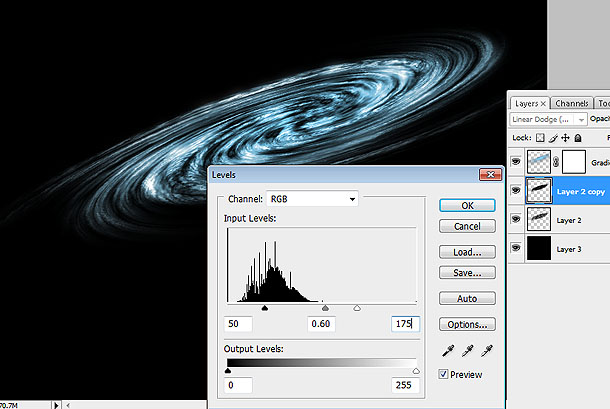
Change the Blending Option of the Blurred layer to Linear Dodge (Add). Then, go to Levels and input the figures: 50, 0.60, 175.
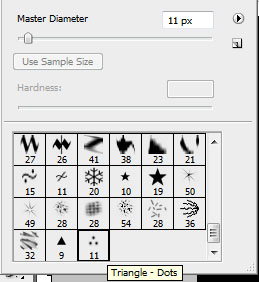
Now it’s time to create some stars. Choose from the Assorted Brushes and pick Triangle Dots.
Change the Brush Options. Go to Shape Dynamics. Set Size Jitter to 25%, Minimum Diameter to 50%, and Angle Jitter to 50%.
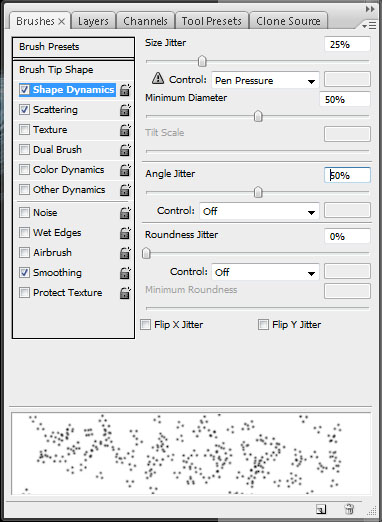
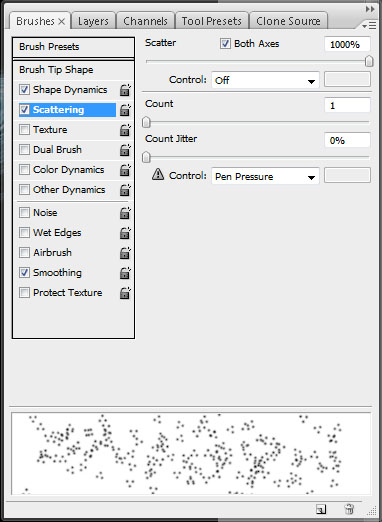
Next, go to Scattering. Set Scatter to 1000%.
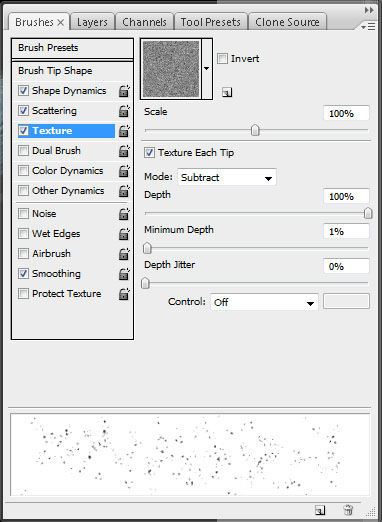
Then, go to Texture. The default options will do.
Add a new layer. Using the new brush, paint the “stars” over the spiral. It would be recommended you move the new layer at the top of all other layers.
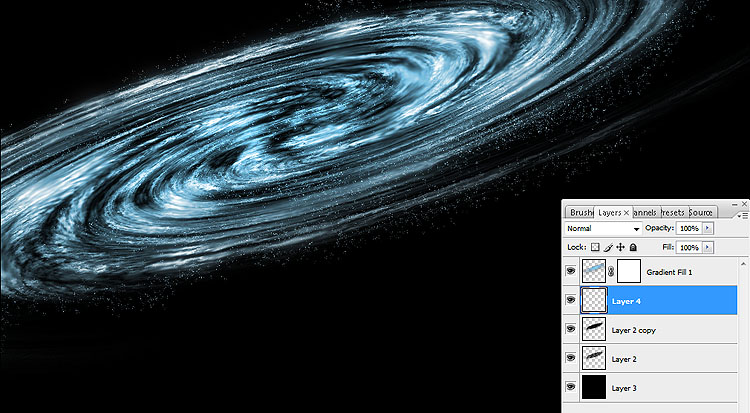
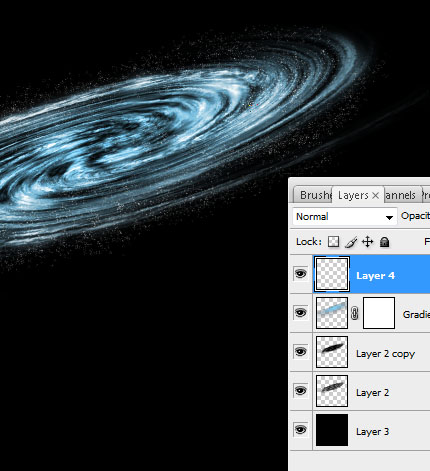
Create another layer and add a concentration of “stars”. Duplicate this “concentrated star” layer 2 times.
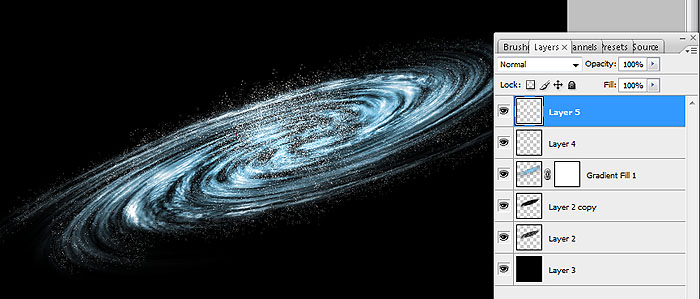
Go to Layer> New Fill Layer> Gradient. Change the Gradient Style to radial and change the gradient colors to ones similar to the picture below.
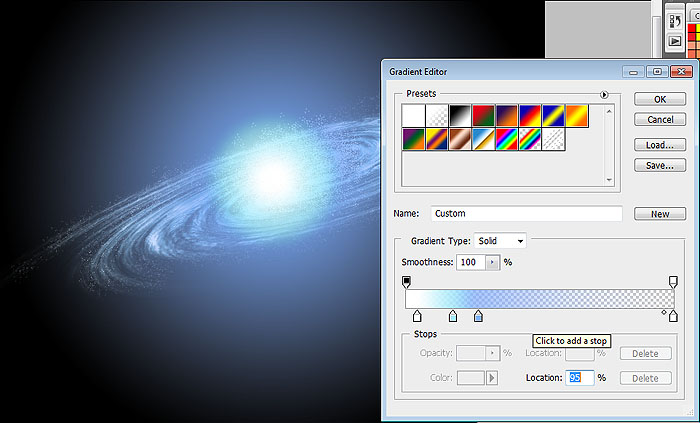
Change the Blending Options of the new gradient layer to Hard Light.
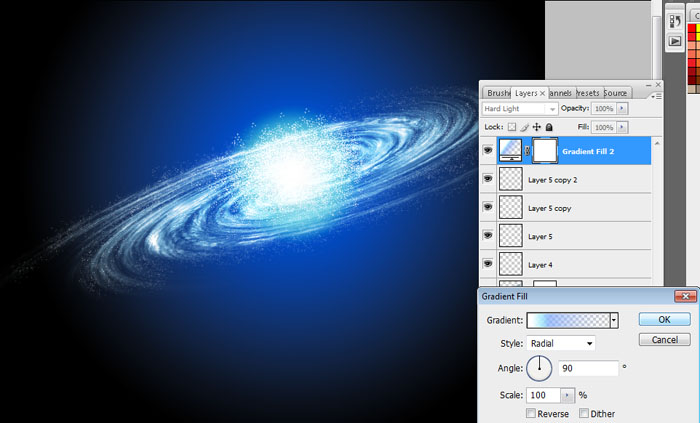
Rasterize that new gradient layer. Then, using an Eraser Tool set at 200 pixels, erase a bit more of the gradient to make the glow concentrated to the center.
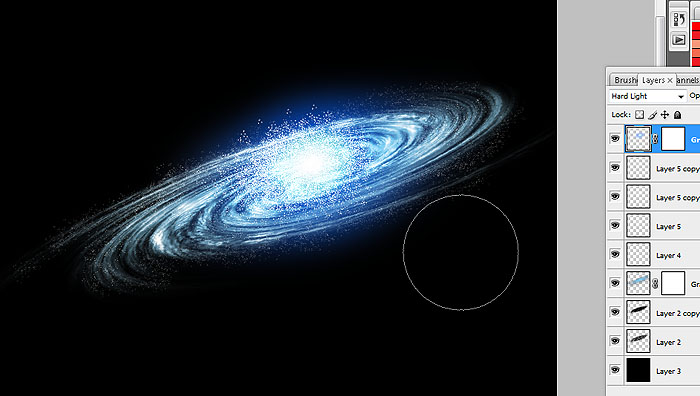
Add a new layer on top of the gradient. Using a Soft Brush Tool set at 100-200 pixels to paint a White glow at the center of the spiral. Afterwards, set the Blending Options to Screen.
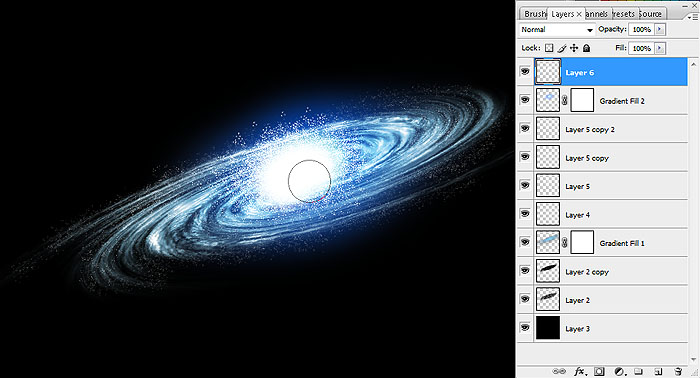
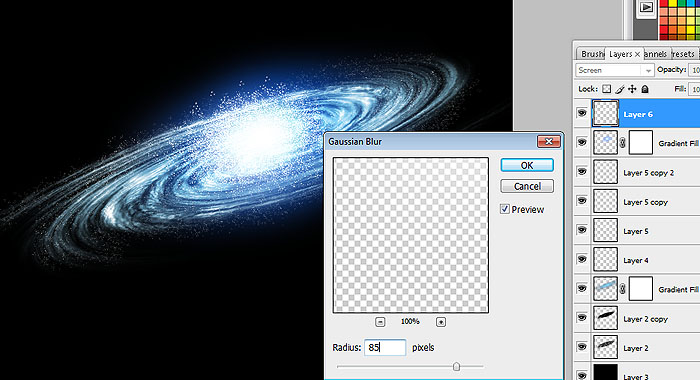
Blur that same layer by going to Filter> Blur> Gaussian Blur and set it to 85 pixels.
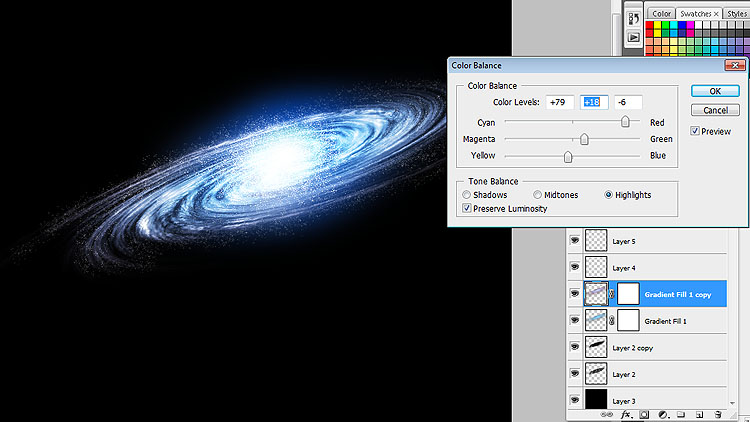
Go back to your first Gradient Fill Layer at the bottom and Duplicate it. Then, go to Edit> Color Balance and input the following: Shadows 68, 13, -19 / Midtones 1, 58, 21 / Highlights 79, 18, -6.
Go back to the layer with the central glow of the spiral. Again, using a Soft Brush Tool with the Color White, brighten up the spiral’s core.
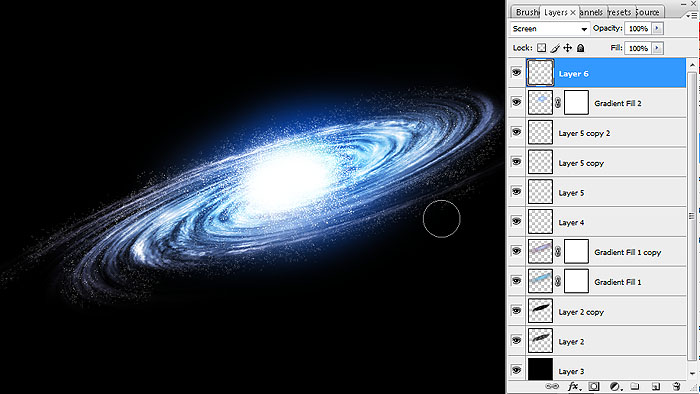
Add a new layer. Using a Hard Round Brush set at 3 pixels with the Color Black, draw squiggly lines around the glowing core of the spiral, as well as certain portions of the spiral itself.
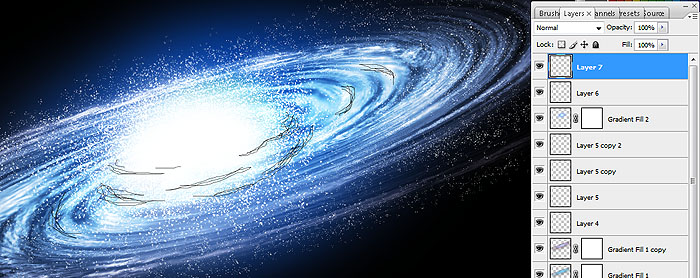
Use the Smear Tool to make the lines blend in with the spiral.
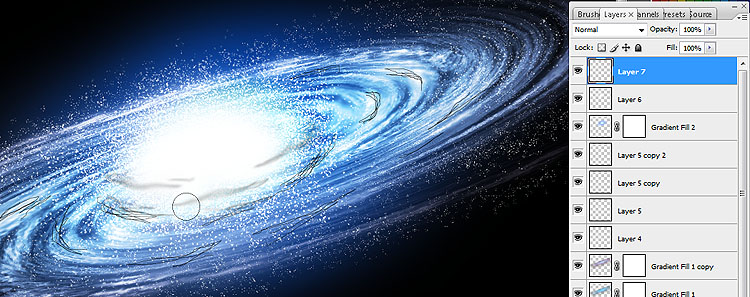
Still in the same layer, change the Blending Options to Hard Mix.
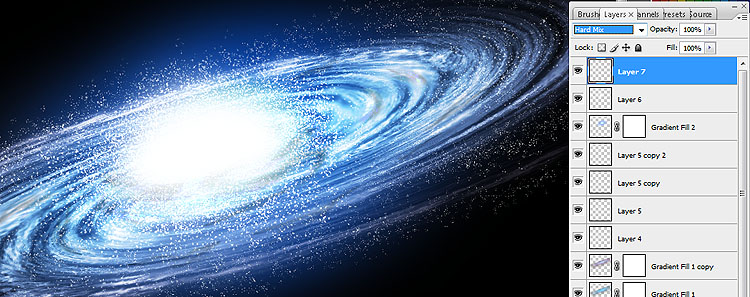
Duplicate the layer but instead of Hard Mix, change the Blending Options back to Normal and change the Opacity to 50%.

It’s time to do the background. Create a new layer over the bottom most layer (black background) and using the Lasso Tool, create patches of where you want the “cosmic cloud” to be. Make sure the tool is set to Add To Selection.
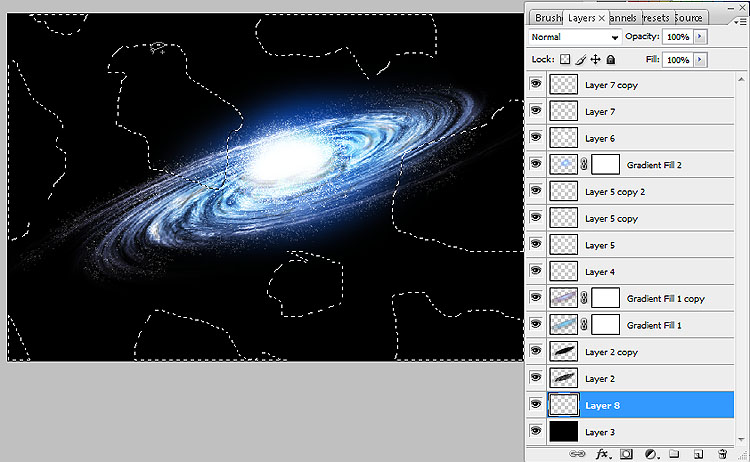
Go to Select> Modify> Feather. Set at 75.
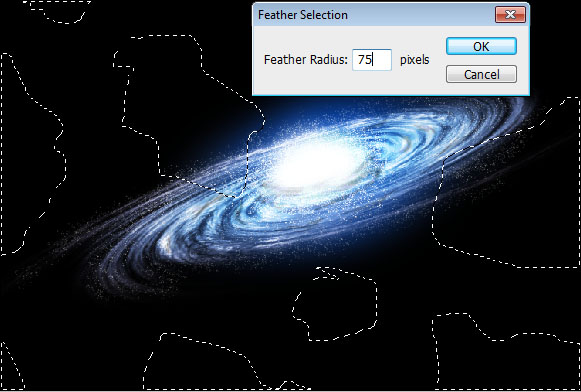
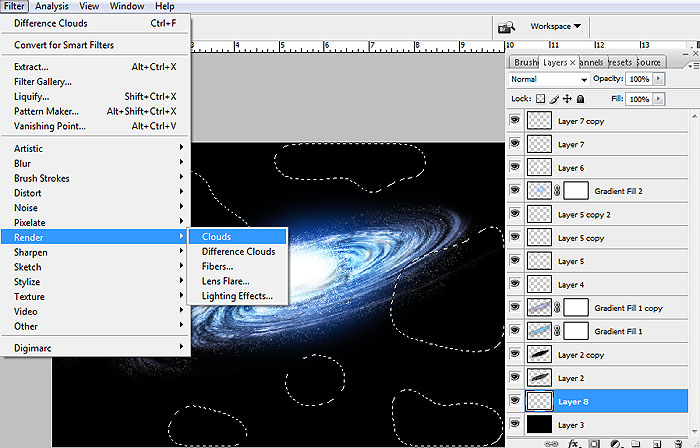
Make sure to choose a Dark Blue Foreground Color and a Black Background Color. Then, go to Filter> Render> Clouds
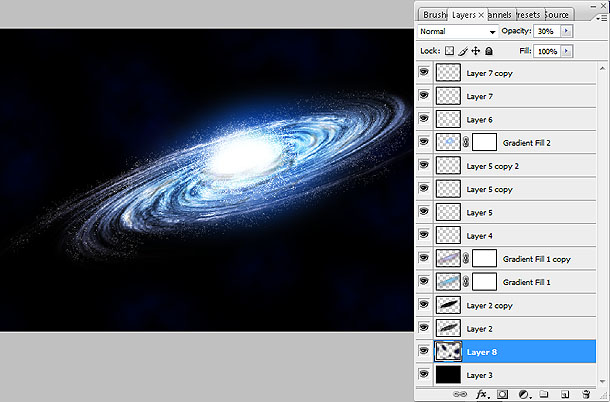
Add a new layer on top of the “cosmic clouds”. Here, using varying sizes of Hard Brush and Soft Brush, add in your distant stars.
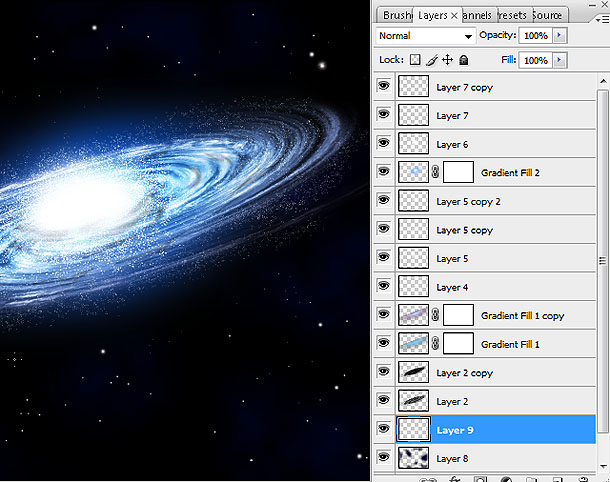
And here you go! You’re very own spiral galaxy, brought to you in barely a day instead of light years.
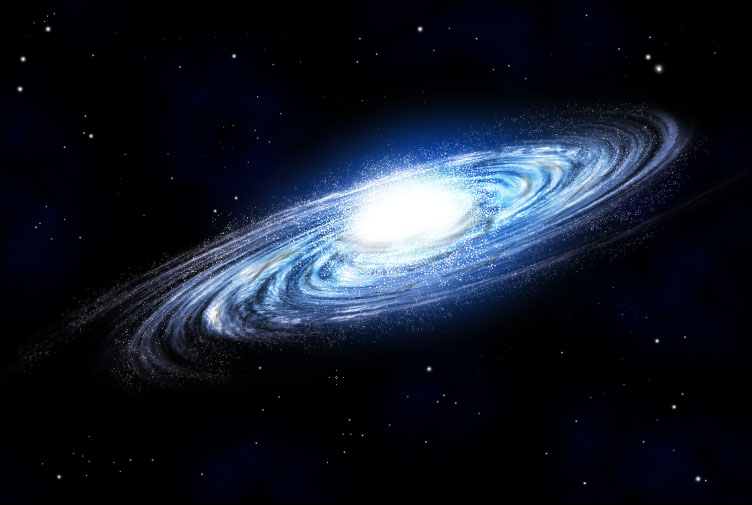
Feel free to ask questions and/or share your creations with us in the comments. Have fun!
