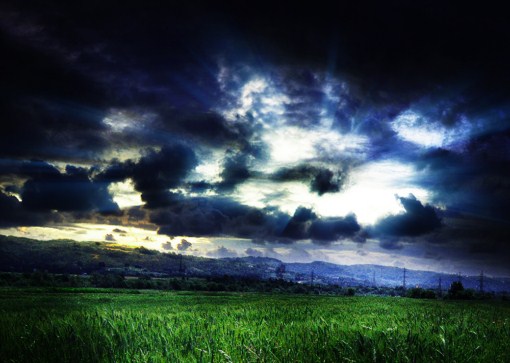
This tutorial will show you how to make light rays to create a mystical effect on a photo. The light ray effect is perfect for pictures or shots of scenes with lots of clouds or landscape.
For example we have made this photo look more dramatic by creating light rays which were not there initially.
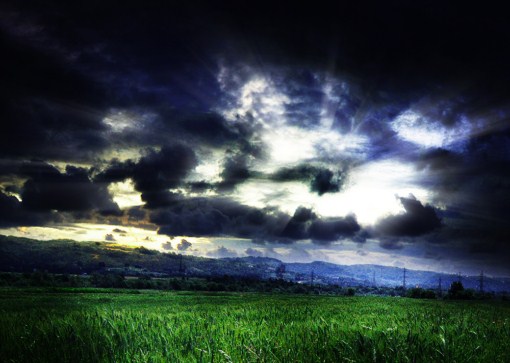
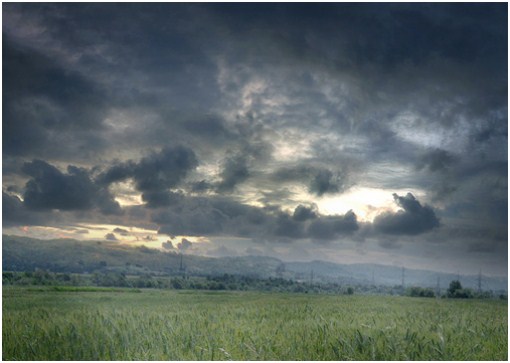
First setup and find the photo you would like use this Photoshop trick on. Check out the one we have below, the photo is a great example because it has several thunder clouds. This photo is already quite fantastic without photo manipulations and edits, however we can make it more dramatic and beautiful by adding some light rays and making some adjustments to the colors and image contrast.
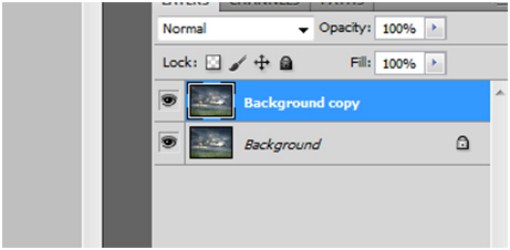
Open in Photoshop. You will not have to worry about dimensions as the resolution of your image should work fine. One thing to keep in mind is to keep the resolution at 1500 px wide or less so that it does not take too long to render the image. Now duplicate the background layer and you should have something like this on your layers palette.
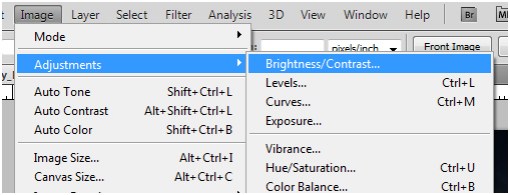
Go to Image > Adjustments > Brightness/Contrast.
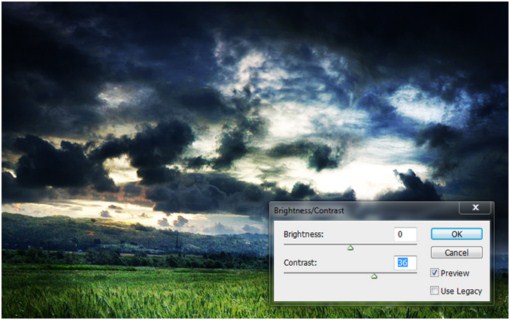
Adjust the CONTRAST setting so that you are able to get the picture to look like this. Remember you may have to repeat this step in order to achieve this amount of contrast. In this case, I have repeated this step 3 times.
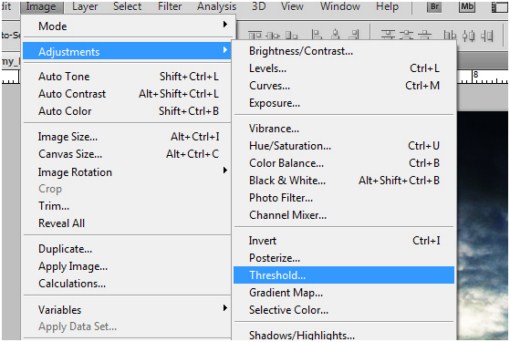
Now duplicate this layer, then select the recently copied layer (named “background copy 2”) and go to Image > Adjustments > then select Threshold.
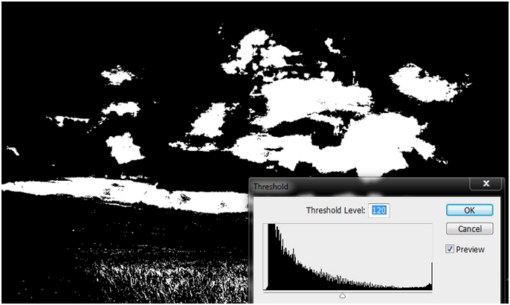
After selecting it, you should be able to adjust the settings. Make sure you adjust the settings and get a balance of white and black. Just like this, not too much white on the clouds and not too much black.
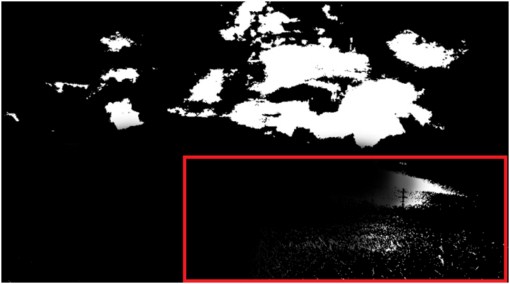
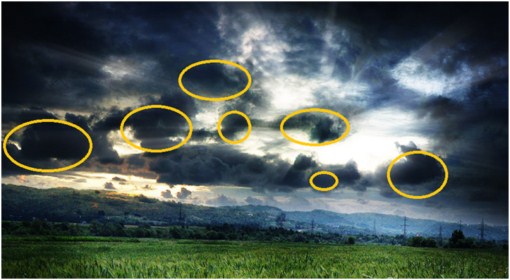
Sometime the threshold step will not be able to remove the whites in the grass areas, so you will have to remove them manually. In other photos, sometimes, there will be white areas which are not needed for light rays such as light colored objects other than clouds. In order to remove these unnecessary whites, you will be going to paint solid black on them using the brush tool.
Just like the example, I am not yet finished covering the unnecessary white areas. Our mission here is to make the clouds the only areas that are white.
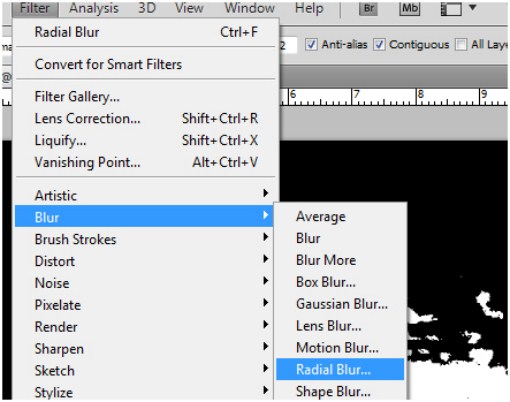
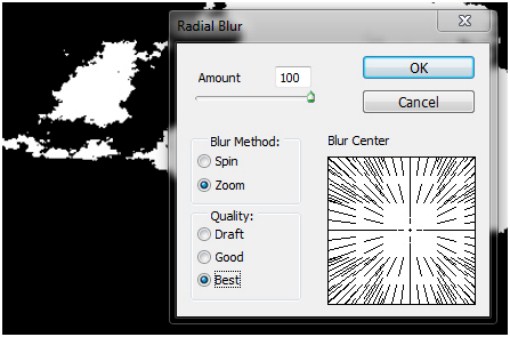
Next, go to Filter > Blur > Radial Blur
On the menu, set the amount to max 100, use the ZOOM as the blur method, and select best quality. You may have to move the blur center according to the light source to make the rays look more realistic. Press ok to apply the effect.
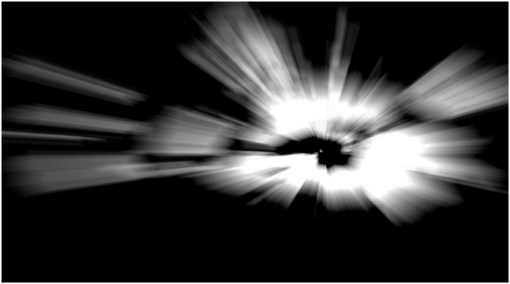
As you can see, the results are not that satisfactory yet, so you will have to repeat the effect by pressing CTRL+F.
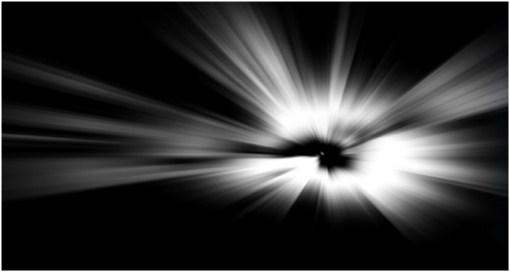
By reapplying the same effect, we get this result. Sometimes, you may have to repeat this step to achieve longer and more realistic rays.
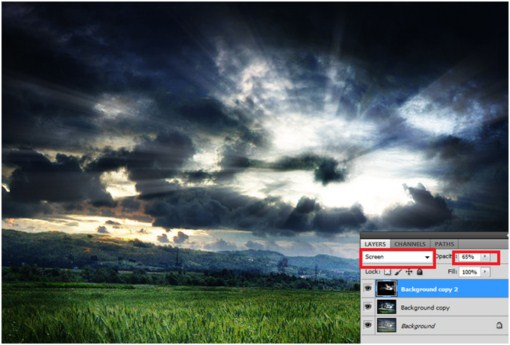
Now, change the layer blend mode to screen. Set the opacity to about 50 to 65 percent if the rays look too powerful or too bright.
There are some parts that seem too unrealistic to have lights rays shining on them. You are going to remove those unnecessary light rays using the eraser tool.
These are just some areas that I suggest to remove the light rays. Set eraser opacity to 50 percent or less so that you will be able to calibrate the amount of light removed.
We are finally done with the project. You can also enhance the picture by adding a colored soft light blend mode using another layer and colorize the light or you could still improve the background image’s hue, sharpness, contrast and so forth.
This is a fun effect to apply and you should be able to make some beautiful photos with it. Have fun and remember to share your creations.

