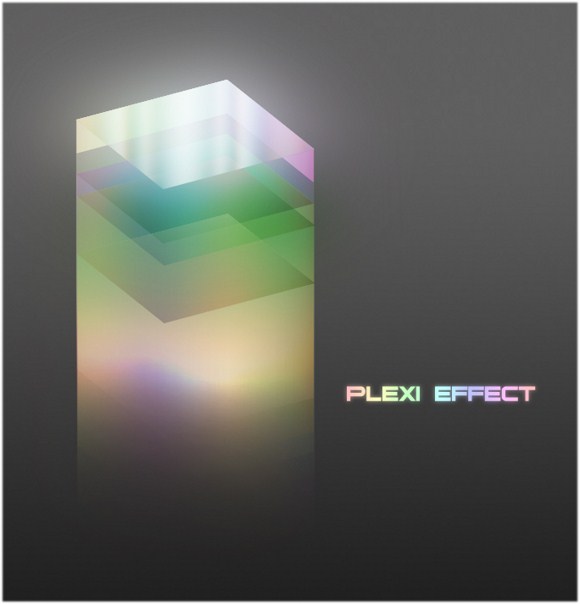
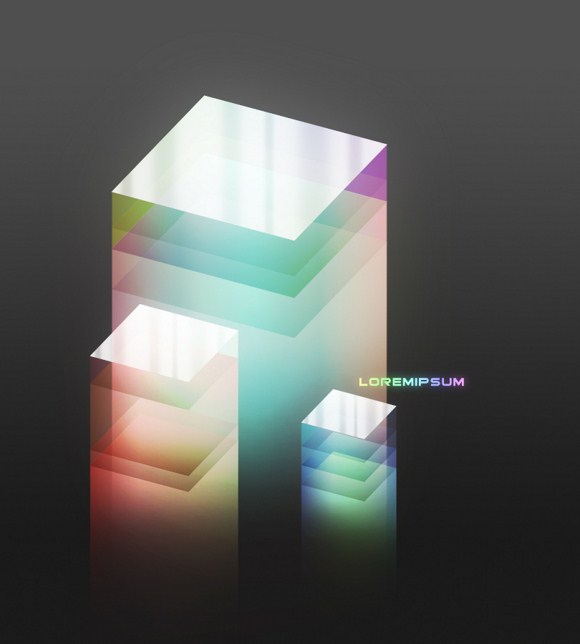
This tutorial will show how to create cool looking abstract shapes, 3D text and objects with the Plexi Glass effects and many different colors. This effect can be applied on text as well as objects or symbols. The activity will involve a lot layers and layer manipulations such as blend modes and layers styles.
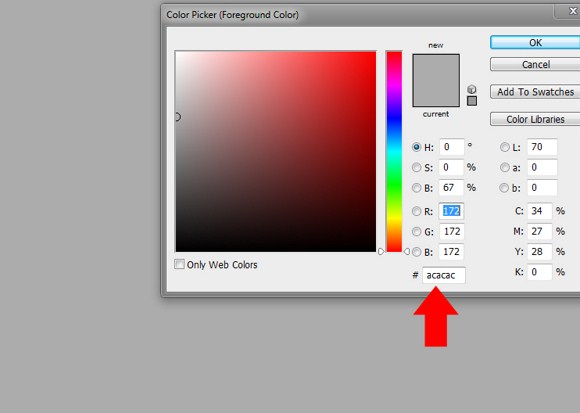
First prepare your document or image. Both landscape and portrait sizes will do for this project. Now fill the background with gray using the FILL tool found in the tools palette. If you are not sure what color to choose, you can put #ACACAC in the color picker.
For now use simpler shapes first like circles and squares. Later on as you master this technique you will able to work and apply this on more complicated shapes, symbols, and text.
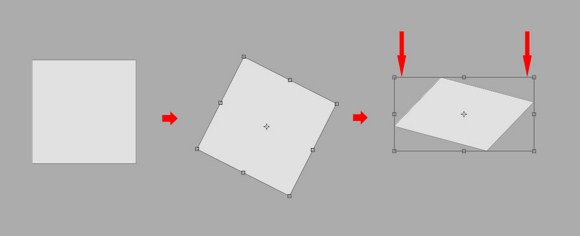
Create a square or rectangle by selecting the Rectangle Tool from the tools palette or pressing the shortcut key “U”. Before you actually create the shape, do not forget to change the color to something LIGHTER than the background so that you be able to see the shape as you create it.
After creating the shape, rotate it slightly in whatever direction by using the Transform tool (CTRL+T), and then shrink the shape using the transform tool again.
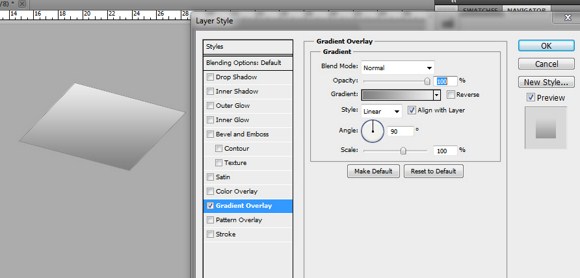
Apply a layer style: Gradient Overlay. Make sure that the colors you are using are darker than the background color and the other one is lighter than the background color. Also, you must make sure that the color is arranged properly with darker color on the bottom side.
Follow these steps carefully:
DUPLICATE the shape 1 layer and RENAME it to “A1”
Create a NEW blank layer
Merge the 2 layers, by right clicking on the blank layer and clicking the “merge layers” function.
Rename it to A1 again.
Duplicate that layer and drag it on the top most position on the layers palette.
Rename the duplicate as A2. Then UNCHECK the visibility box of the original shape 1 layer to make it temporarily invisible.
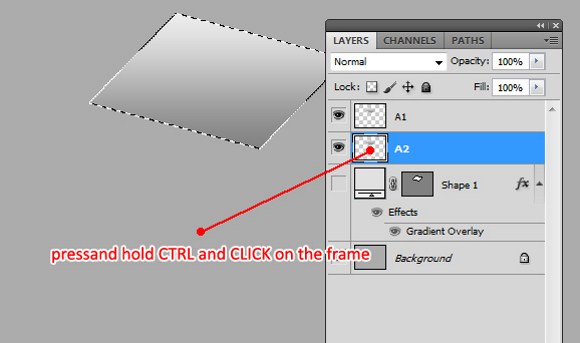
Drag the A2 layer to the position after the A1. PRESS and Hold CTRL key then left click on the layer (area indicated). You will be able to see that only the object, not the entire layer is selected.
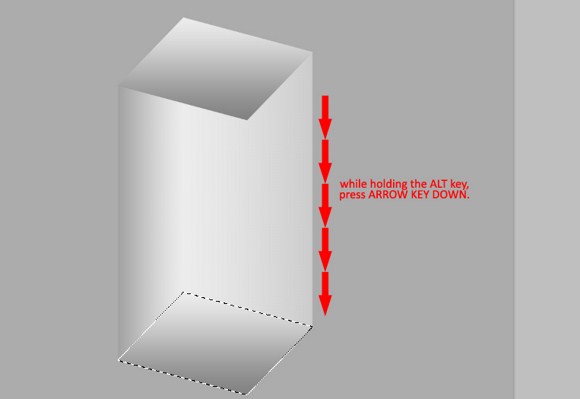
Press and hold the ALT key then press arrow key DOWN. This is the process called extrusion. After that make sure you DESELECT or press CTRL+D.
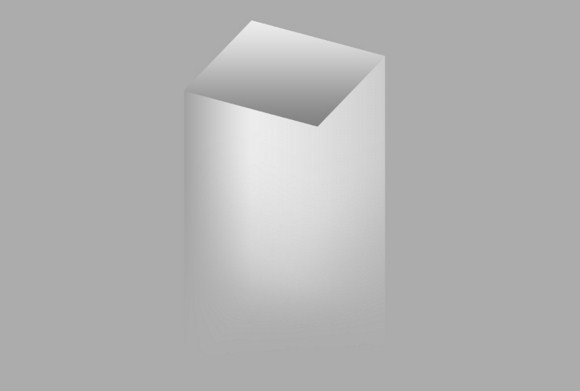
Now grab the eraser tool. Use a Soft brush tip to erase parts of the extrusion.
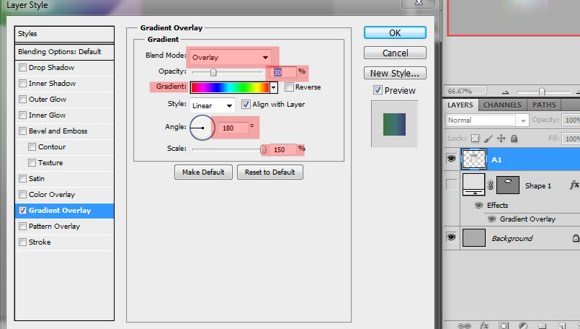
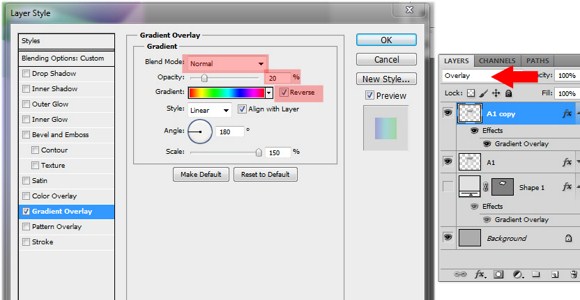
Apply a layer style gradient overlay on A1 layer.
Set the blend mode to Overlay.
Set the opacity to 30%.
Choose the spectrum gradient preset.
Set the angle to 180 degrees and max out the scale to 150 percent.
Duplicate A1 layer then open the layer styles tab.
Under the gradient overlay, change the blend mode back to NORMAL.
Lower the opacity to 20 percent.
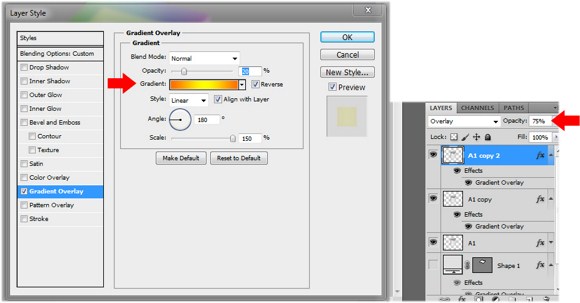
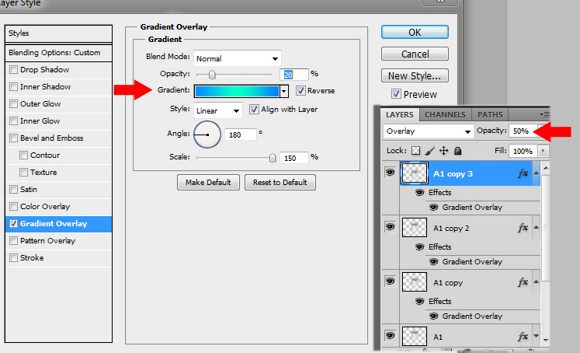
Enable REVERSE and set the Layer Blend Mode to OVERLAY. Add another duplicate then change the gradient type and lower the opacity of that particular layer.
This next step is optional. As long as the results are desirable, you can add more layers with descending amount of opacity (example: 50% , 30%, 15%)and with different gradient colors.
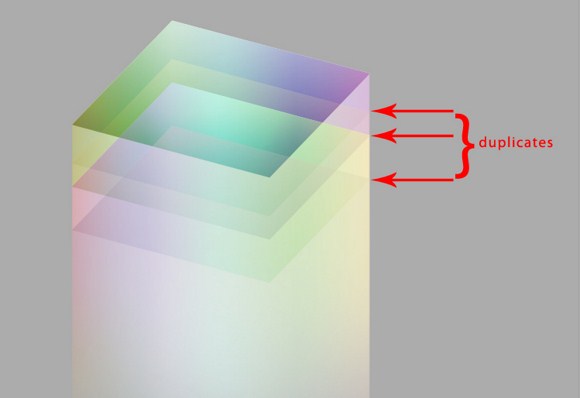
NOTE: with every duplicate of “A1” try to MOVE or ARRANGE them HORIZONTALY so that you may get an appearance just like this.
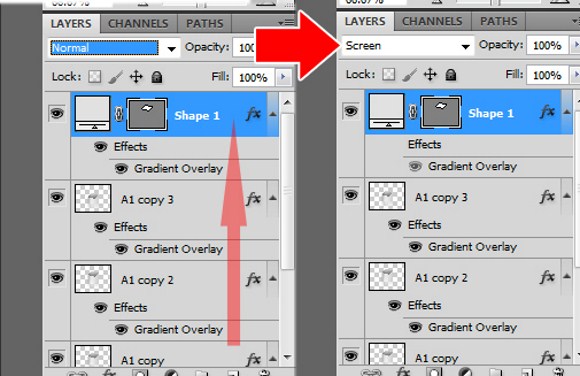
Next drag the shape1 to the top of the layers palette and then set the blend mode to screen.
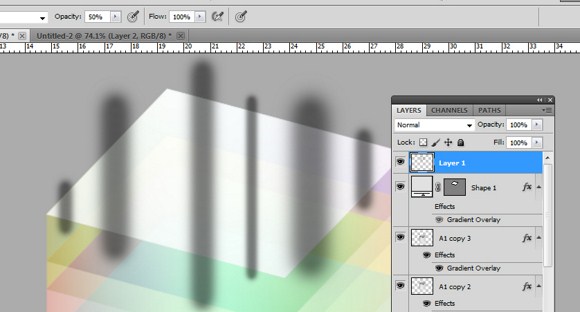
Now paint something like this on a new layer. Use 50 % brush opacity and use black color on a soft brush tip.
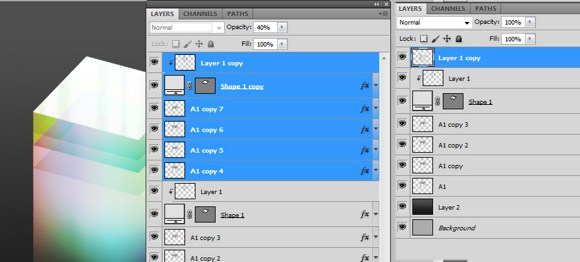
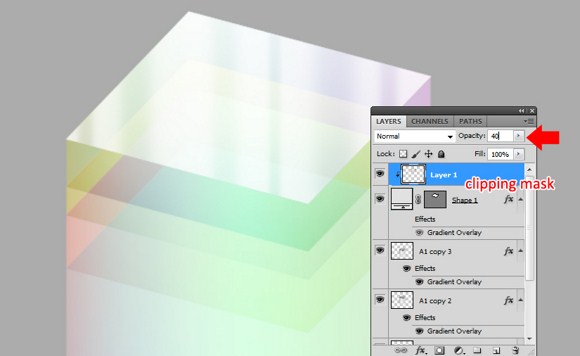
Press CTRL+ALT +G to create a clipping mask. Then set the layer opacity to 40%.
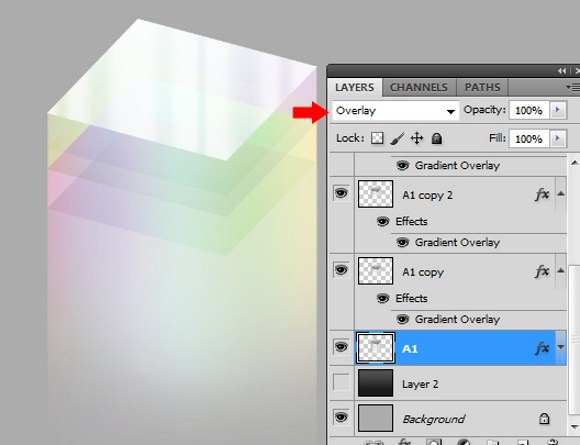
 Now go back to layer A1 and set the blend mode to Overlay.
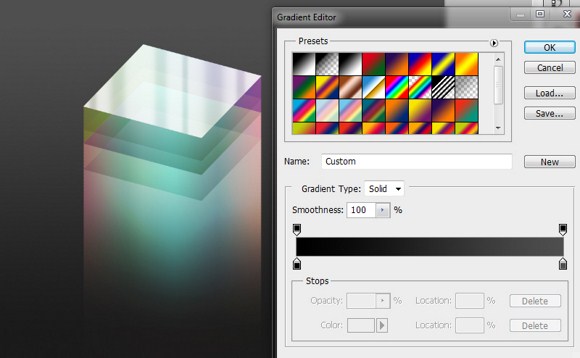
Now with the gradient tool, change your background to any color combination of your choice. It is strongly recommended that you choose dark colors to emphasize the plexi glass effects.
To add glow, duplicate all layers except for the background. Then merge them into 1 single layer.
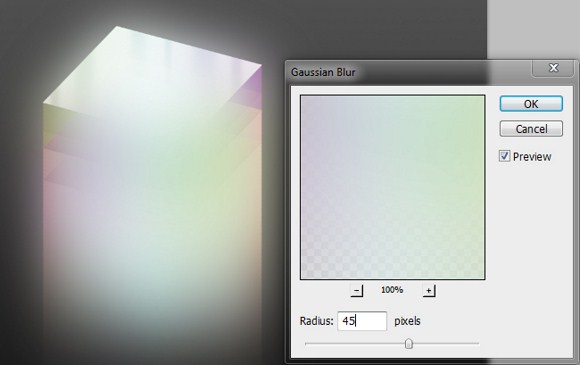
After that apply Filter > Blur > Gaussian Blur and set to approximately 45px, depending on your document’s resolution.
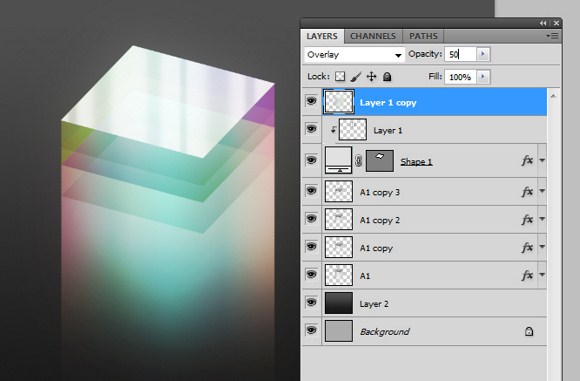
Then change the blend mode to overlay and set the opacity to 50 percent.
And you are done!
Have fun with this technique and make sure you share your creations or ask questions in the comments.

