Easily Create a Great Looking Sparkler Effect in Photoshop

Have you ever imagined using those cool looking sparks you see from fireworks or welding in your next poster? If you have this tutorial will help you out tremendously. In this tutorial I will teach you how to recreate that sparkler effect on Photoshop.
First prepare your document size, dimension of 900 px by 600 px will work just fine. Once you master this technique you can work with any size canvas you like.
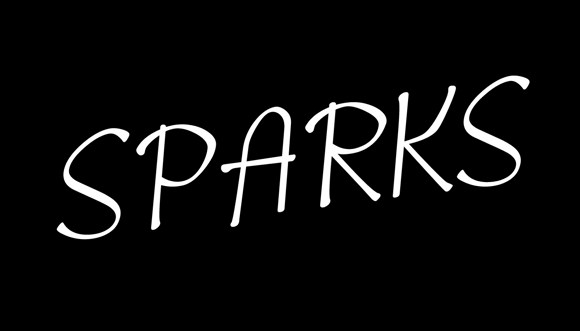
First you need to fill the background with black and set the foreground to white and type some text (use any available thin fonts like this). Any type of script or handwritten cursive font is a good choice for this text effect.
Resize the text to a large size. You can also opt to tilt or rotate the text slightly to whatever direction you like or skew the text just like you see in the example.
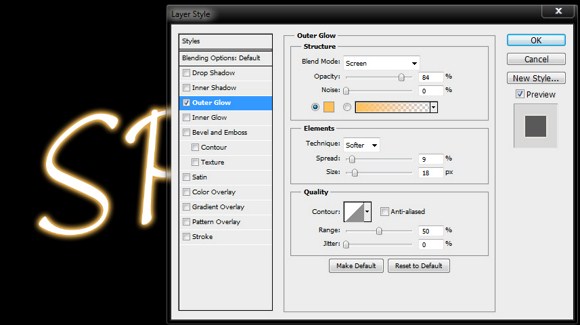
Apply an outer glow to text using these settings:
Check the outer glow first.
Set the opacity to 80-85 percent.
Set the spread to 8 – 10 percent. And size to about 18 pixels. (depending on the document resolution). Then press OK to apply the changes.
Note that these settings for your text really do not need to be followed. Just make sure you do not overdo things.
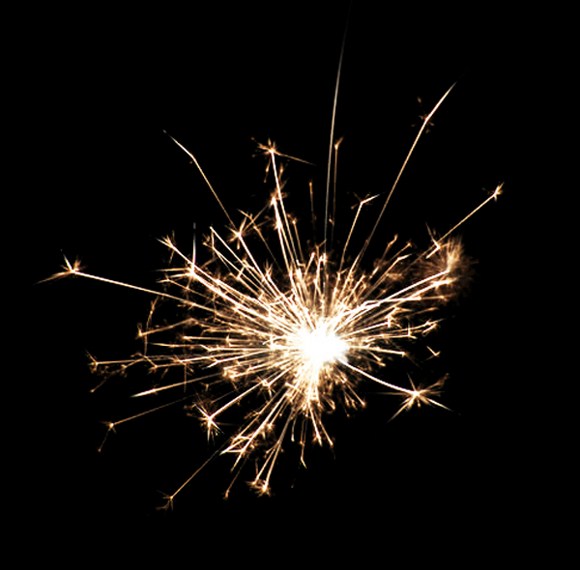
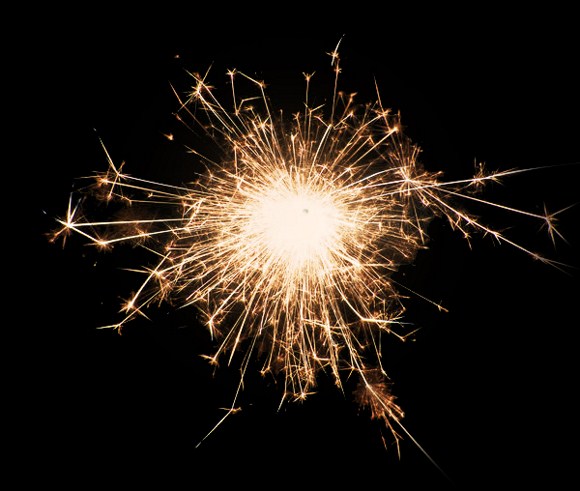
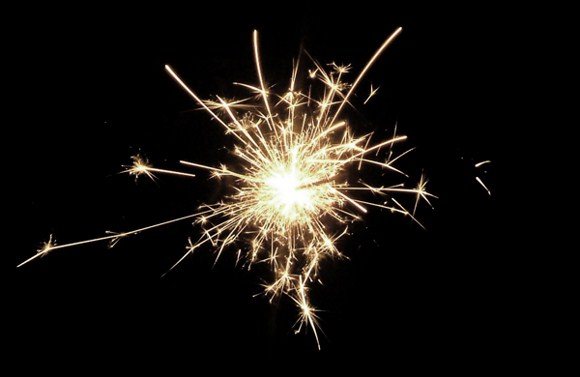
Here you see some stock photos of sparks. If you haven’t got one of these yet please find time to google it or search it in royalty free stock photo websites.
Getting at least three variations of sparks is important. It will help make the image more convincing because you will use the stock sparks in differents sizes and rotations.
Now you can use these downloaded images of sparks in Photoshop via draggng them to the program, or manually opening it in your file browser/explorer, or from Photoshop. To use it on the project, you can either drag the stock image (opened in Photoshop) to this project or document, or you can use the PLACE function found on the file menu.
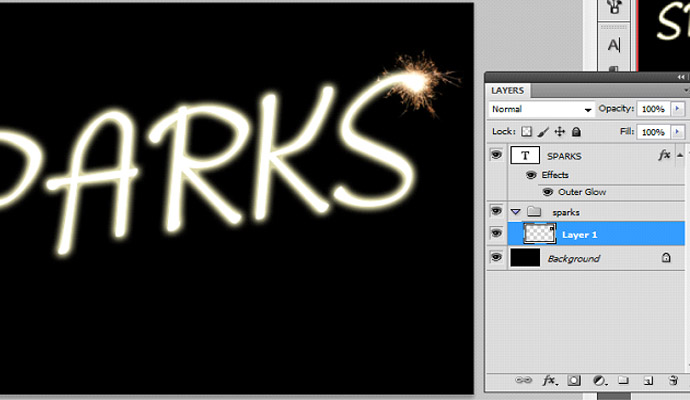
One you have placed the image in the project, it will automatically appear as a separate layer in the layers palette. Create a folder and set a folder name. Then place the stock image layer in the folder by dragging it in there. Now arrange your layers and folder so that the spark layer will be below the spark text.
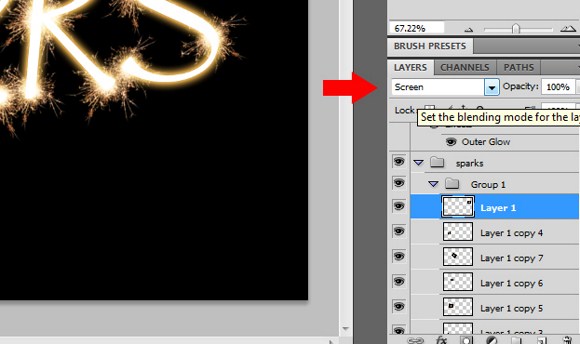
Now select the spark layer and change the blend mode to either LIGHTEN or SCREEN. But I would prefer using screen since it would give a much brighter and vibrant effect.
Next is to place more sparks for the other areas of text. To create more copies swiftly, press and HOLD the ALT key, and drag the spark image while holding down the alt key. Drag the copy to your desired postion. It is also recommended to constantly resize and rotate your recently copied sparks so that it will look much nicer and convincing.
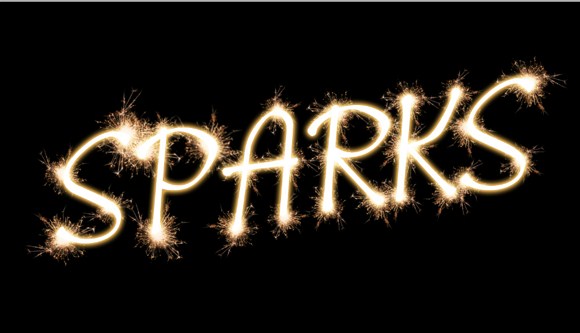
Place the sparks aligned with the text just like you see in the image below. Double check if you have placed the spark layers BELOW the spark text.
Continue to repeat this step and place spark all over the text. Do not forget to use varied sizes and rotations of the sparks.
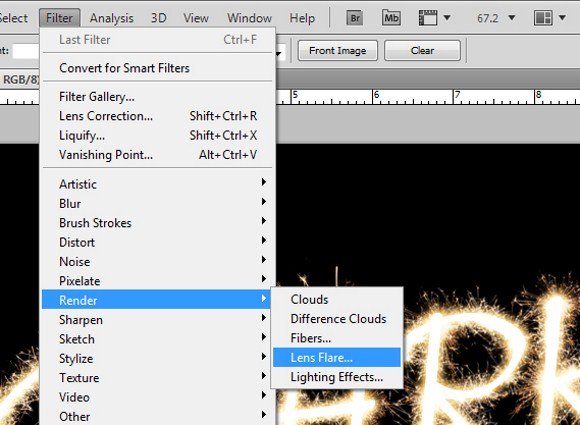
If you wish you can some lens flare to the design. You can find the lens flare filter in Filter > Rener > Lens Flare.
You can still edit the text effects settings if you do not like the result of the effects. You can also change the glow color of the outer glow effect to match the sparks color. You can also design you own background such as night skies, or stars if you wish.
That is all there is to creating this easy yet cool looking effect. If you have any questions or would like to share your work please leave a comment.

