This tutorial will show you how to create an exploding planet effect using Photoshop. This effect is also used to recreate the dying star or super nova effects. This Photoshop technique is going to involve using stock photos of earth or mud cracks so it is suggested that you Google and download images for cracked mud before starting this project.
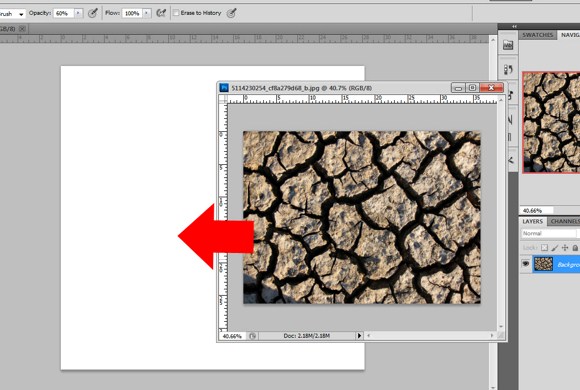
First, create a document with perfect square dimensions. A document with a 800×800 pixel dimensions should do good. If you have already found a decent cracked or dry mud photo just like below, drag it to the main document.
After you have imported the crack image, adjust the size by using the transform tool by pressing the CTRL+T. while resizing the image, you will need to press SHIFT in order to MAINTAIN the image PROPORTION.
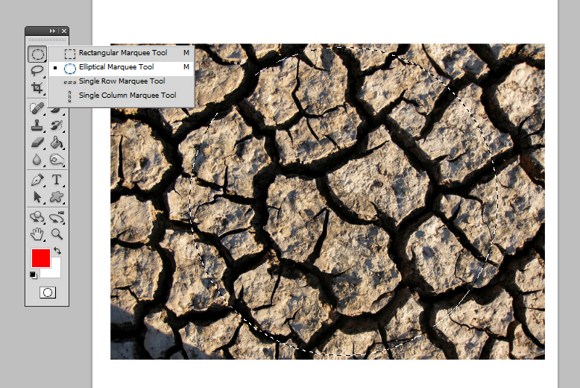
Now click the ROUND or ELLIPTICAL MARQUEE tool and select a perfect circle on the image. Press SHIFT while select with marquee tool to get a perfect circle.
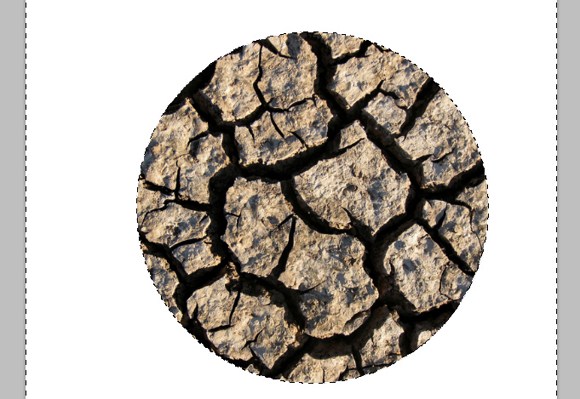
After that, press SHIFT+CTRL+I to invert the selection, then remove the outer areas by pressing the DELETE key.
Now invert the image by pressing CTRL+I
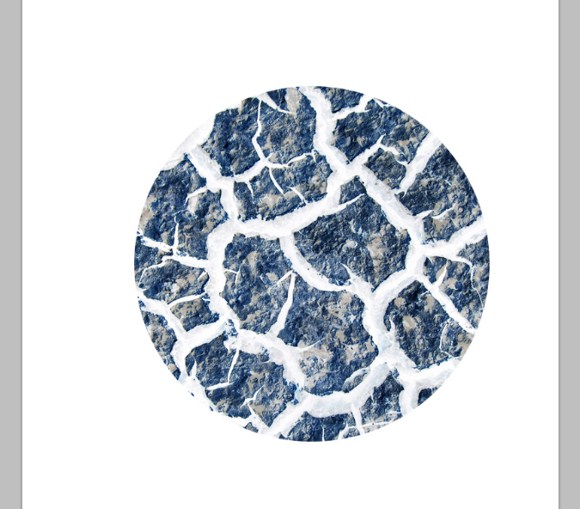
Before you continue on the next steps, it is recommended that to move the “cracked planet” to the center. This will make the next steps easier to accomplish.
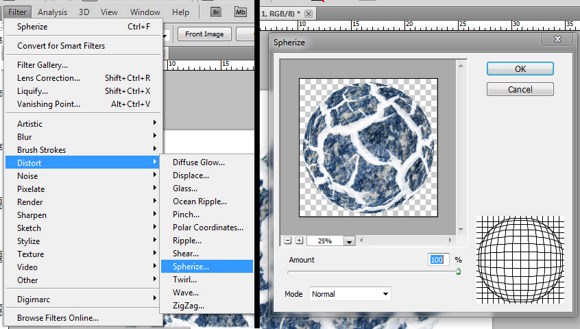
If the planet now is placed well, the next you do is go to Filters> Distort > and then click on Spherize. Set the amount to max 100 percent. Apply the changes.
This filter effect will make the planet more 3 dimensional looking. However, if the planet still looks flat, you could apply the same effect. In the example above, I had to apply the filter effect twice to make it more planet-like.
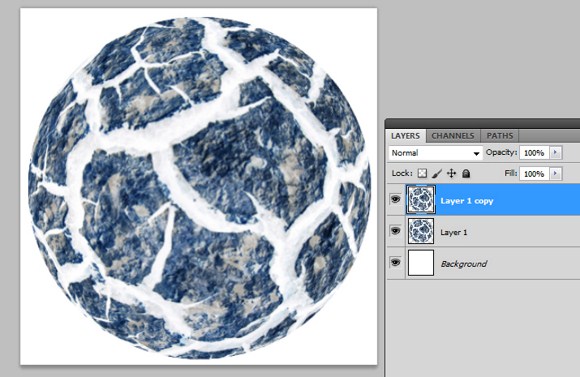
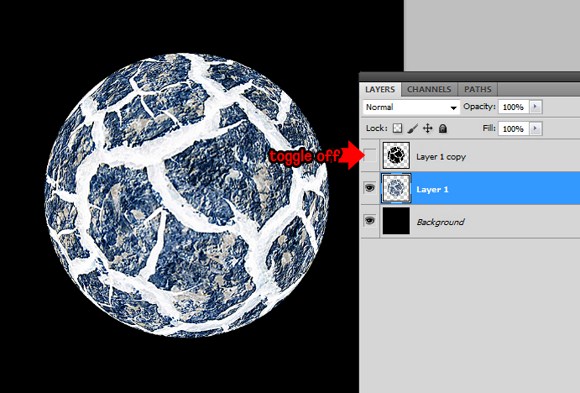
Next, duplicate the layer, so that when you see your layers palette, you will have two layers of the same object, just like below. (you can also apply UNSHARPEN to the original planet to improve the visibility of the details.)
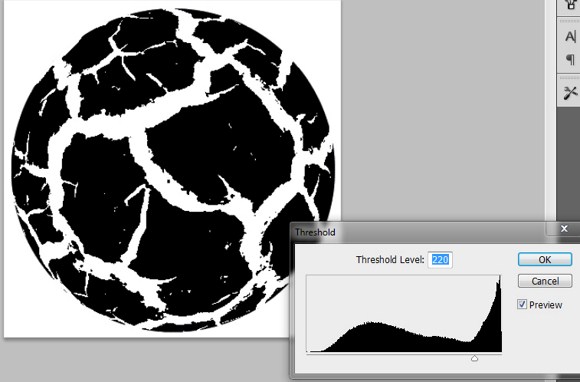
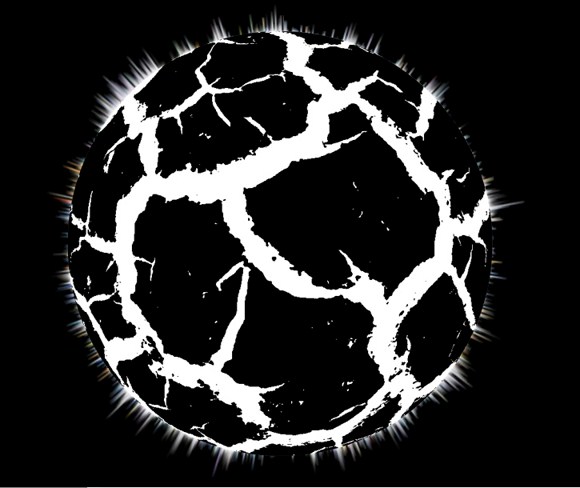
On the copied layer apply the THRESHOLD effect (Go to Image > Adjustments > and find and click Threshold).
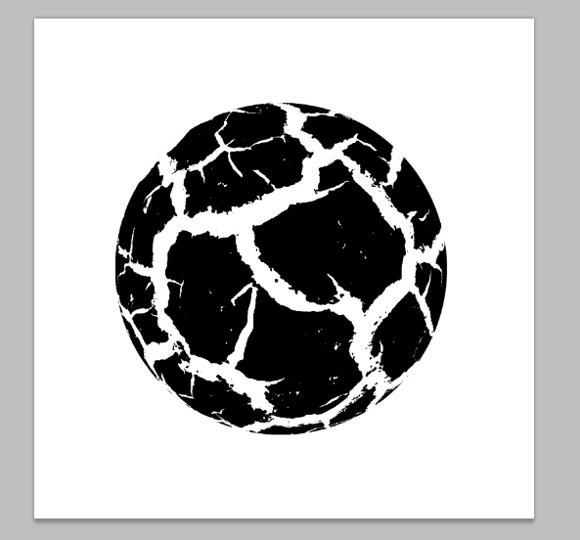
Now select the 2 layers and then activate the TRANSFORM tool or PRESS CTRL+T while the 2 layers are selected. This will select and resize both layers, including the one with threshold. While resizing, PRESS SHIFT to maintain proportion. Lastly, do not forget to place them at the center.
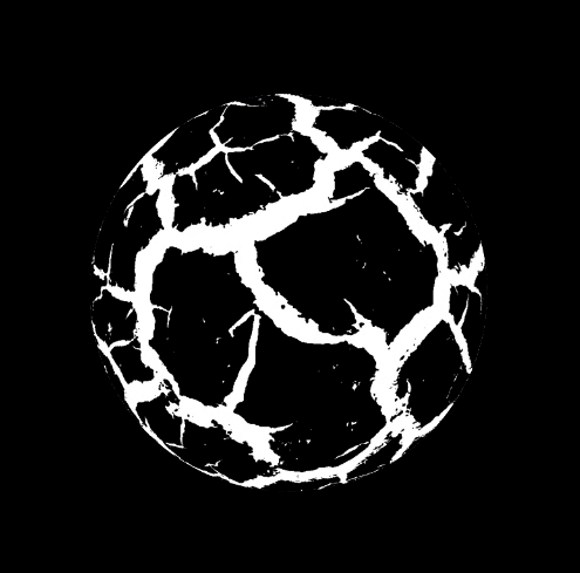
APPLY a black background using the PAINT BUCKET tool. You need it to apply it in the BACKGROUND LAYER.
Toggle the visibility off on the threshold layer and go to the original planet layer.
(Although it is optional, Filters > Sharpen > Unsharpen Mask could improve your image quality.)
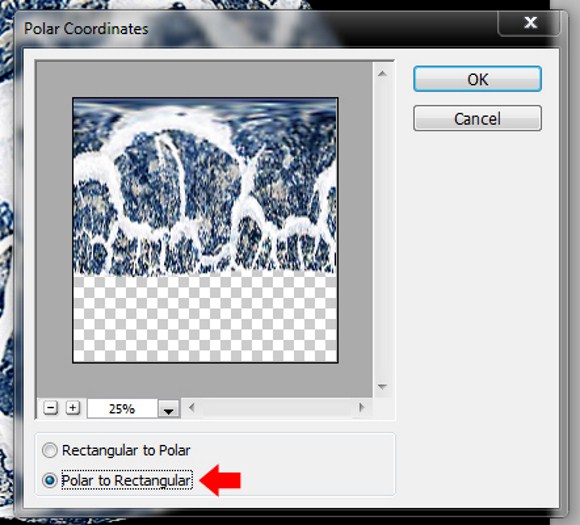
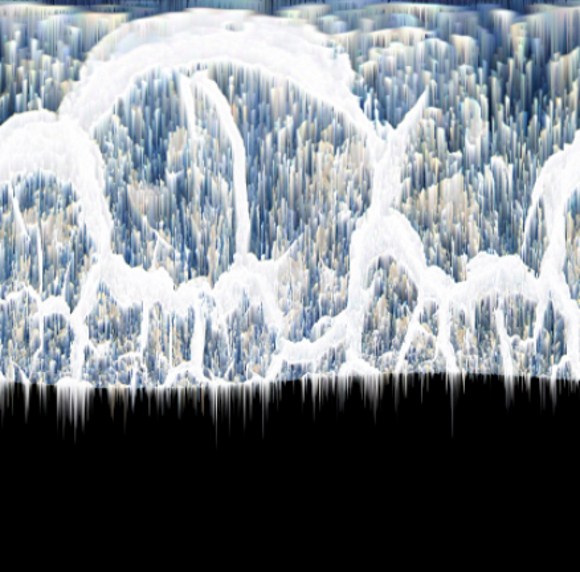
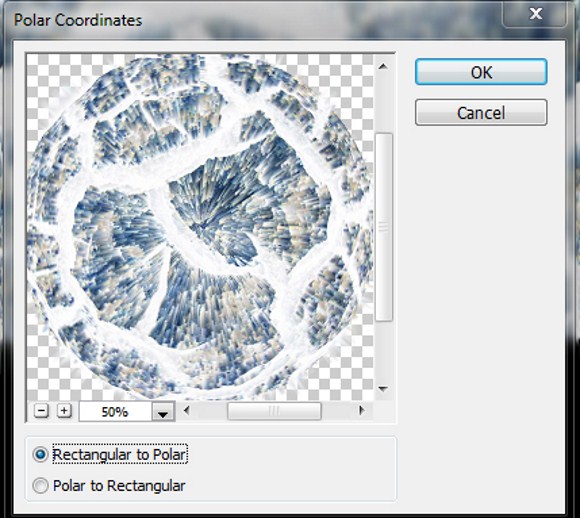
Next, go to Filters > Distort > Polar Coordinates, and apply Polar to rectangular.
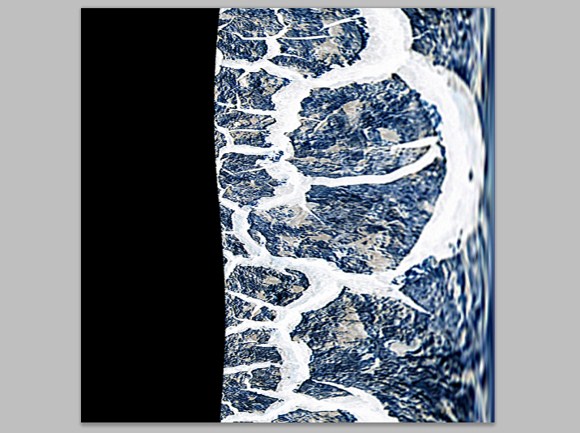
Rotate the image to 90 degrees Clockwise (Go to Image > Image Rotation > and select 90 CW.)
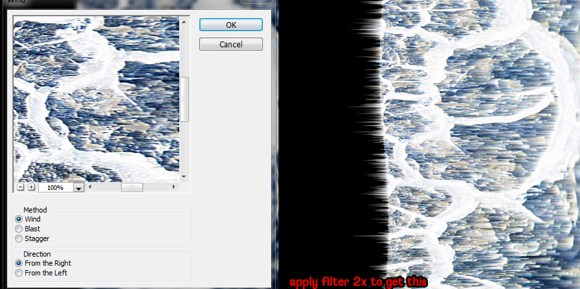
Go to Filters > Stylize > and apply WIND.
Now rotate the image again, but this time rotate it 90 degrees COUNTER CLOCKWISE (90 CCW).
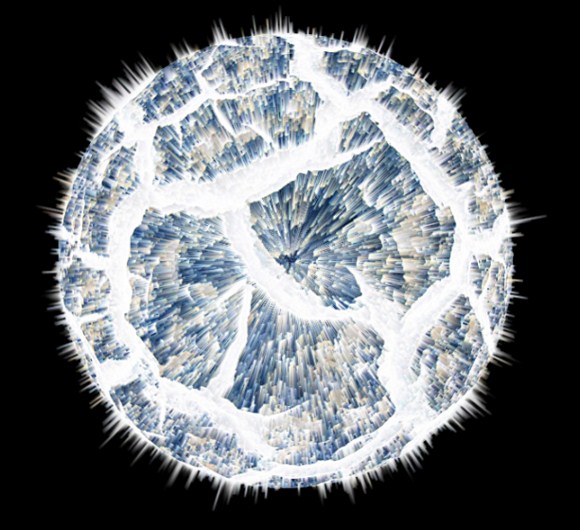
Apply polar coordinates filter again, but this time, using Rectangular to Polar.
The result should look like this.
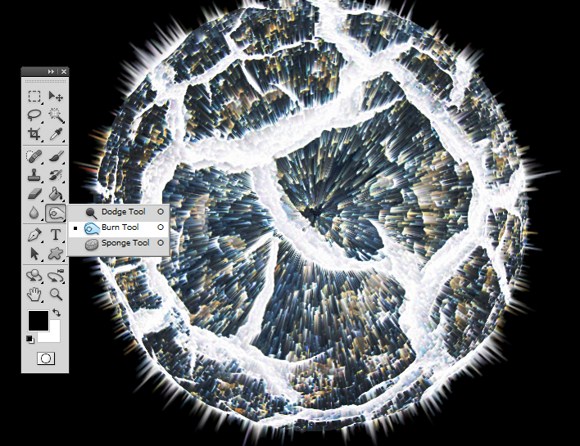
If the planet seems to be too bright, you may use the BURN TOOL to darken areas around the planet.
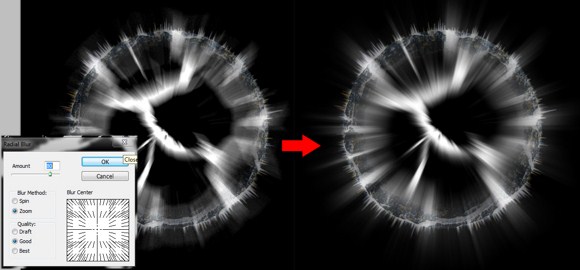
Now let’s make the threshold visible again by checking the visibility box. Then go to Filters > Blur > Radial Blur.
Set the amount to about 60-80. If the results are not satisfactory, you can press CTRL+F to apply the filter again.
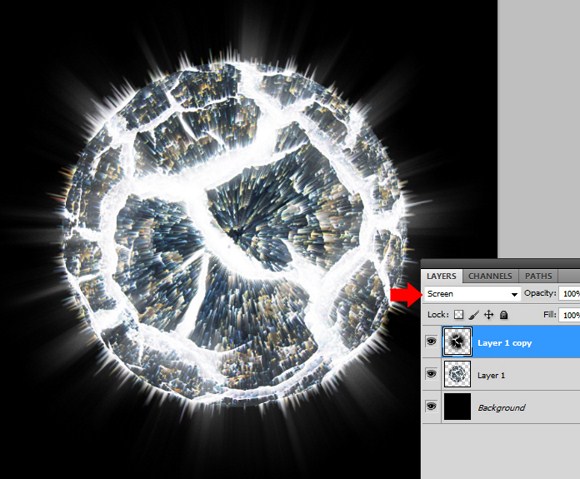
Change the layer blend to screen.
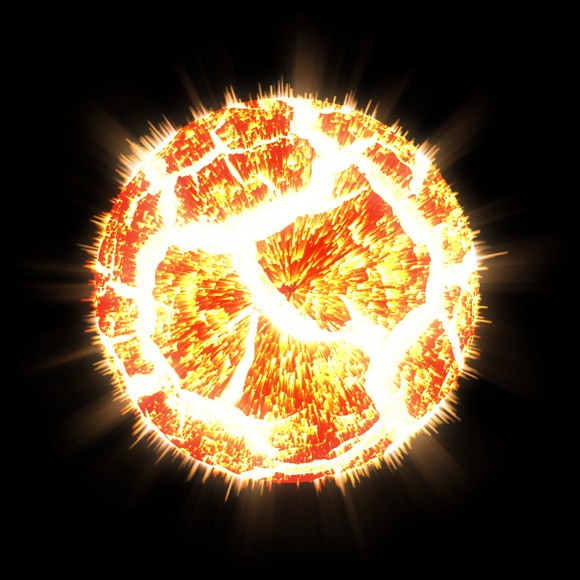
And basically we are done. You can add some more elements like longer rays or alter the main color to reddish and yellow theme to enhance the image.
You can do some pretty cool stuff to your creations with this effect. Please ask any questions and share your works of art in the comments.

