Give Your Photos a Dimensional Makeover in Photoshop

Editing the dimensions of an image is quite simple and easy in Photoshop. The program has many tools and features that can easily change and adjust images sizes, resolutions and crop and many more.
Photoshop has the Free Transform Tool which you will be able to edit and change certain objects in the Photoshop document or any image.
But first we need to understand the terms relating to dimensions that we will be dealing in Photoshop documents. Image resolution is the pixels present per inch in each individual image or document. Resolution is measured in ppi or pixels per inch. Resolution (also known as linear resolution) is different from image size which refers to the file size itself, which is measured in bytes, e.g. 5mb or 5 megabytes. The size that we measure in for example as 800 pixels by 600 pixels or we commonly see as 800×600 pixels is what we call the image dimension.
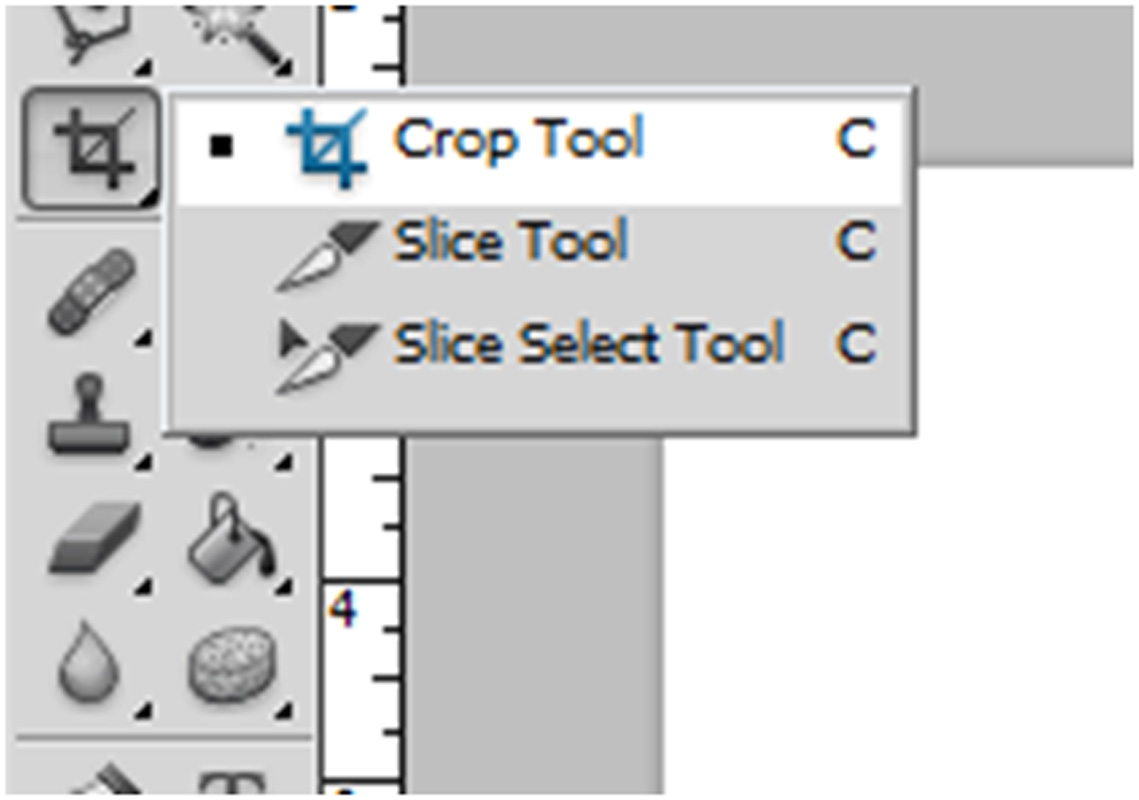
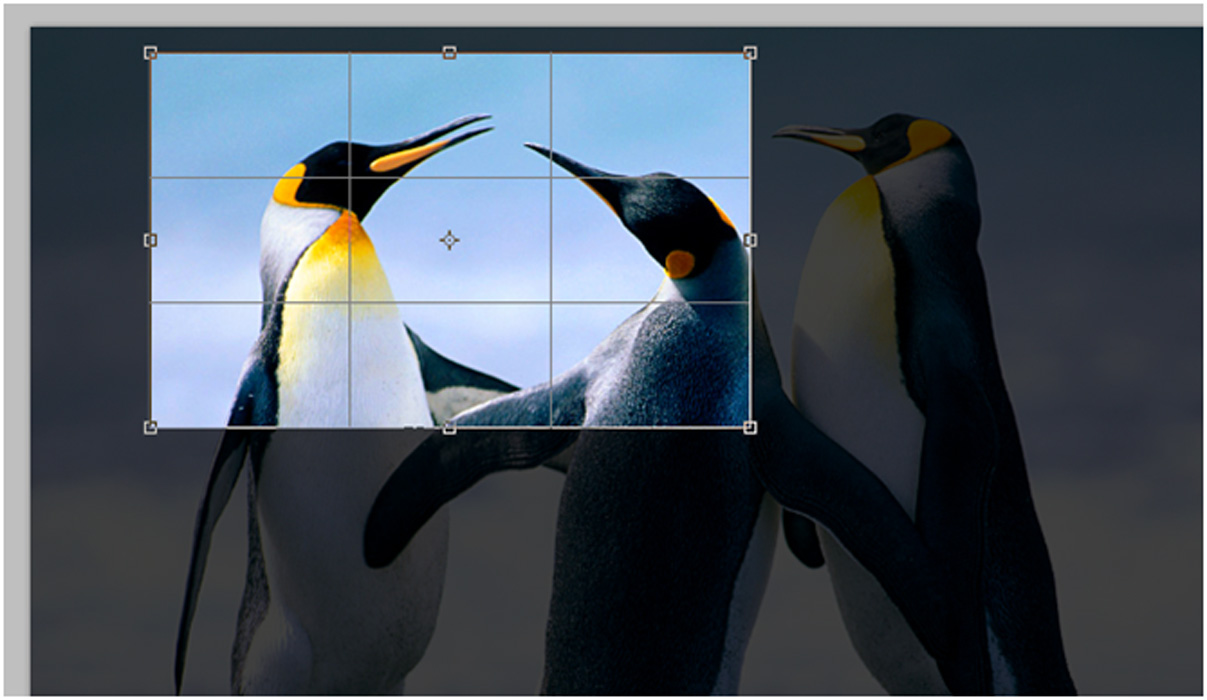
One of the most useful dimensional tools we use is the cropping or crop tool. We use this to crop images or select or frame desired parts of the image to become the actual and whole image document.
The slice tool, as you see on the image, will be located on different area on the tools palette depending on the version of the Photoshop.
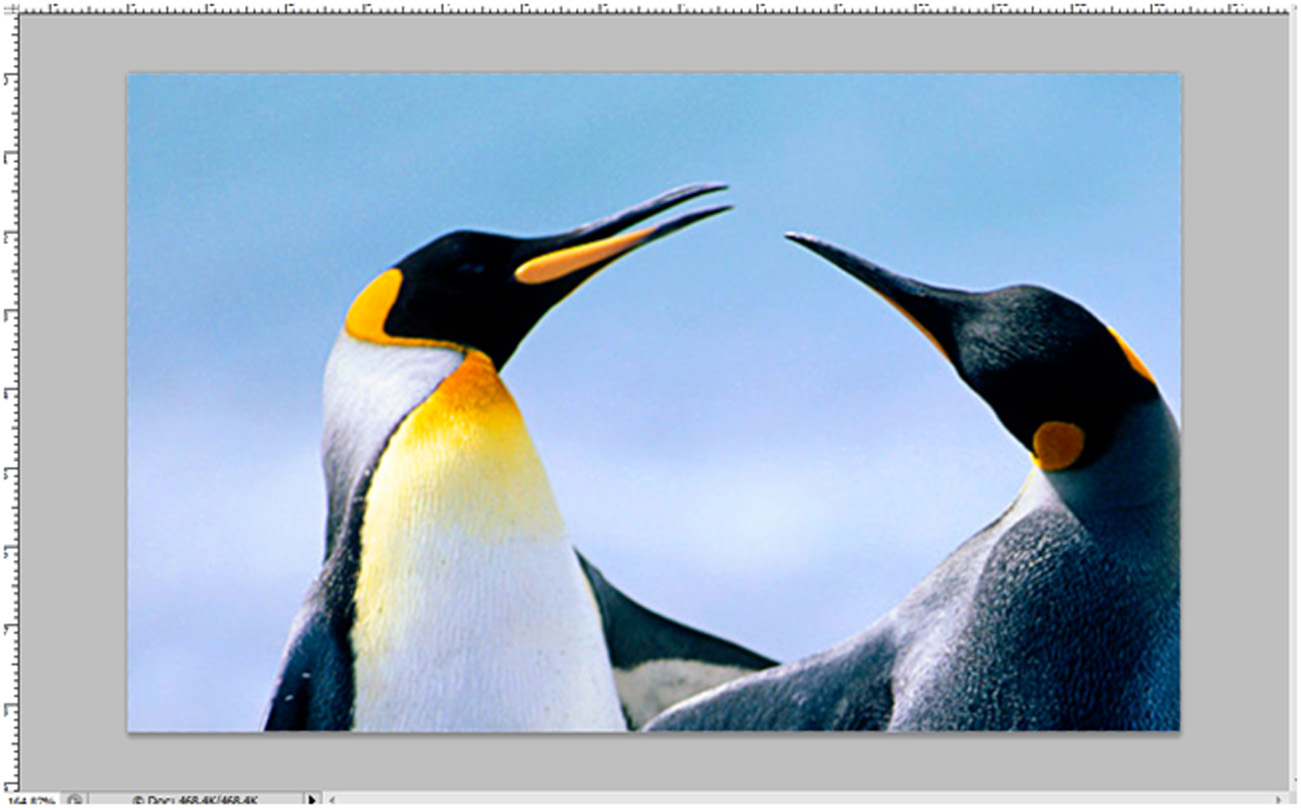
Using the crop tool will be very easy just click the tool icon, adjust the cropping or selection area to properly frame the area you wanted to be cropped and press “enter” to apply the selection.
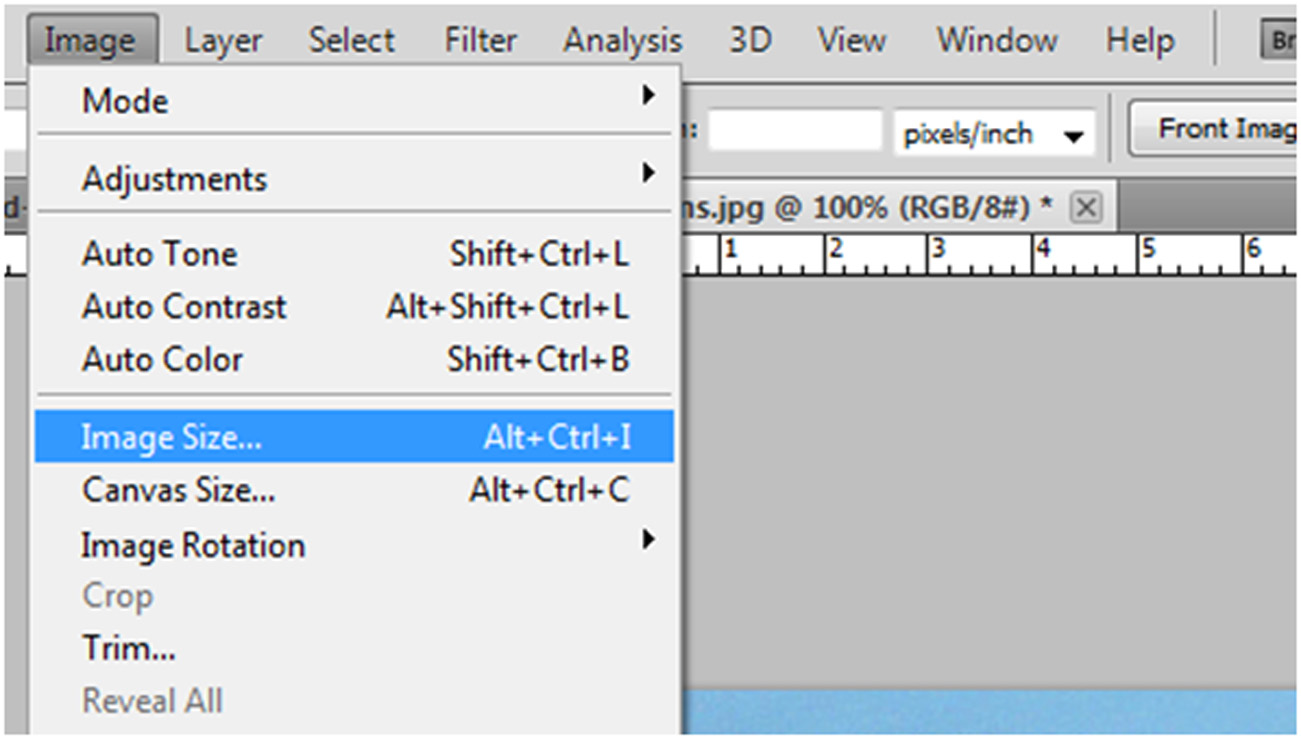
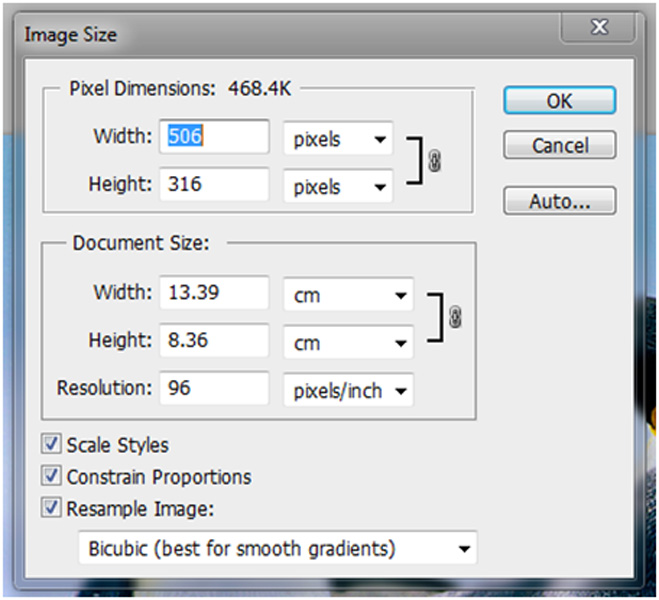
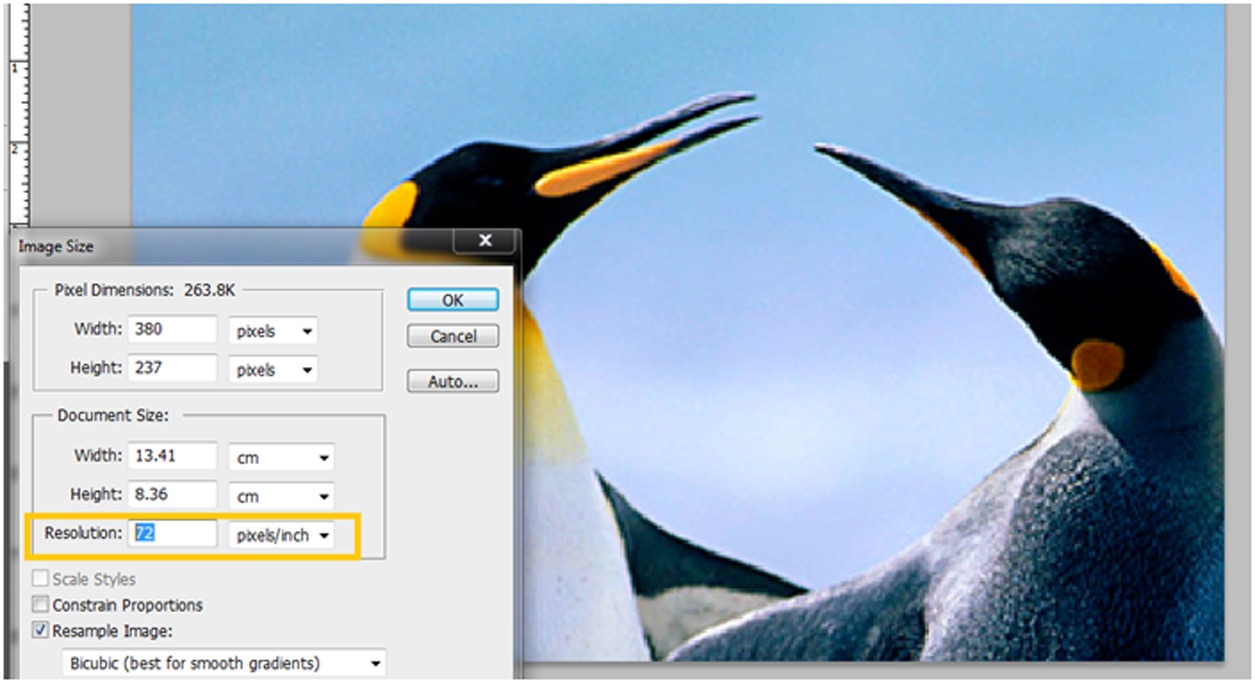
To adjust or change the image dimensions, just click/ go to image > then to image size, or press the shortcut keys: Alt+Ctrl+I. you will see the options window then.
Now, try changing the pixel dimensions, or document size. Just be CAREFUL NOT to make the size TOO BIG or the program will lag or slow down or the computer will hang up.
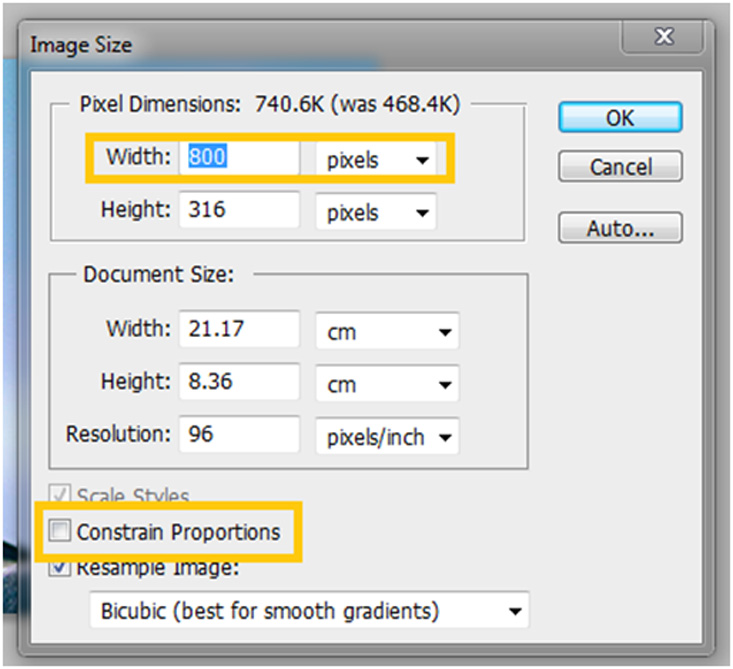
In the options window, you can see the “constrain proportion”. This option can be locked or unlocked to preserve the aspect ratio of the image. Just see the difference when you change the dimension numbers with constrained proportions and none constrained.
 If you disable uncheck proportions, the image output will get overstretched. In this case, the new width pixels/ resolution were not in proportion with the original width. You will also notice that the “lock” icons beside the pixels option.
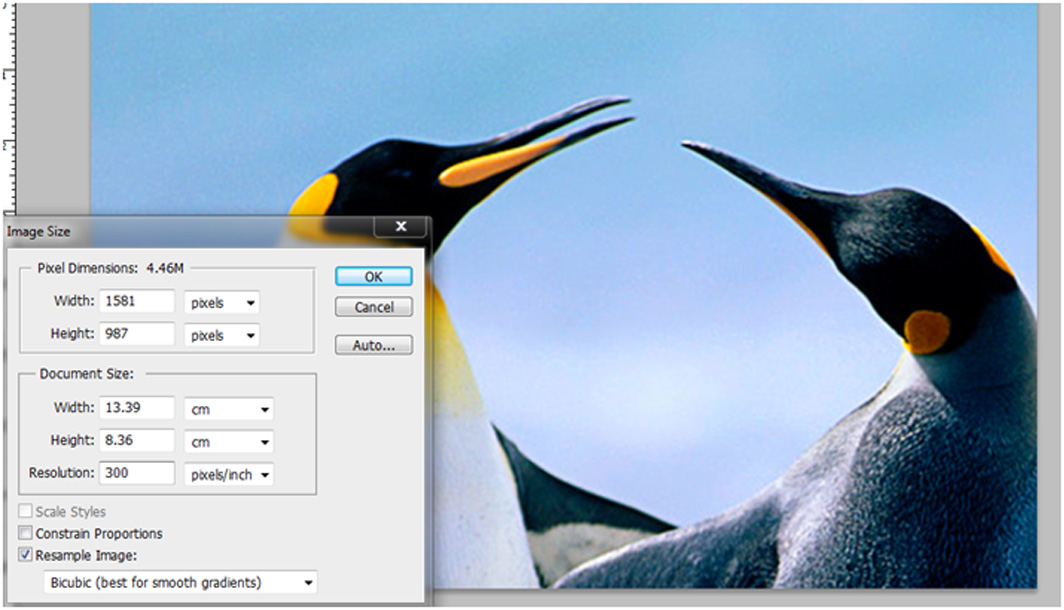
Adjusting the document resolution will be also quite useful in preparing images for the web and for print formats. For example is reducing a document with 300 pixels document resolution to a 72 resolution which works best for web images and print formats. You will observe the change in the image quality.
 You can also add parts or extend parts in the image which were not originally present. This process will be a combination of crop and copy paste techniques.
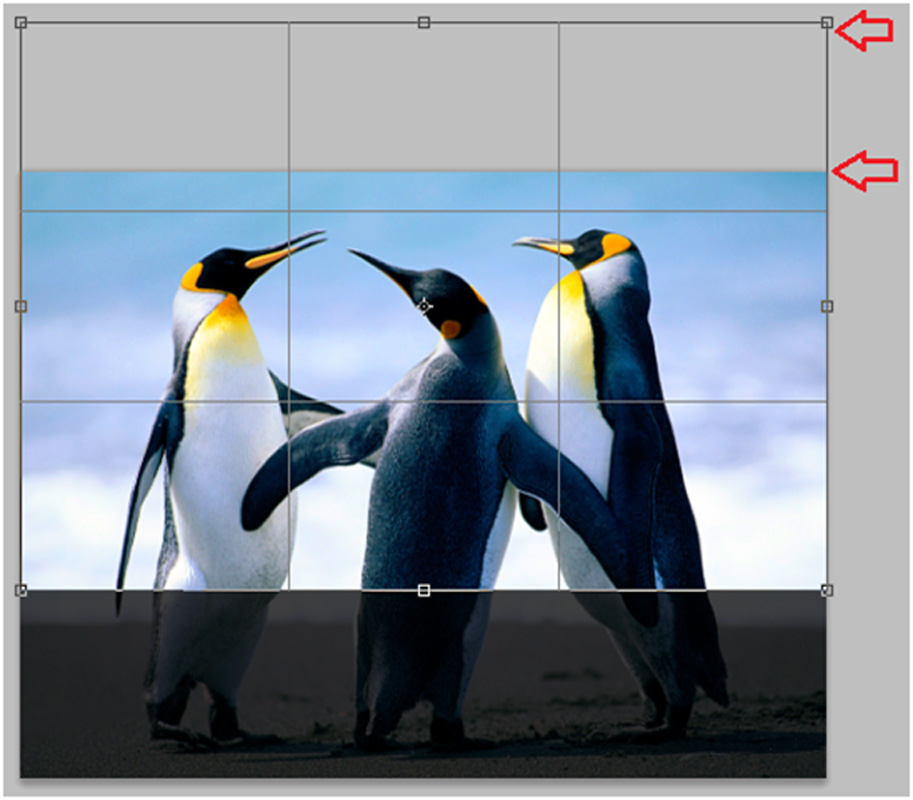
First crop the image, but this time you will also include a part which is the extension of the image.
You can see that I have included in the cropping tool the desired extended area. In this example I need to extend an area where I am able to put and extended sky. You will need to get familiar how the crop tool operates because it will also vary in different versions of Photoshop.
Then I will just copy the blue sky and add it to the white and blank area, and fill up some white clouds to make it more realistic. (You could also use the clone and patch to recreate the clouds and sky to fill the blank area.
Now let us get to dimensional makeovers in individual objects. In this part, we will be editing and dealing objects in the document NOT the WHOLE DOCUMENT itself.
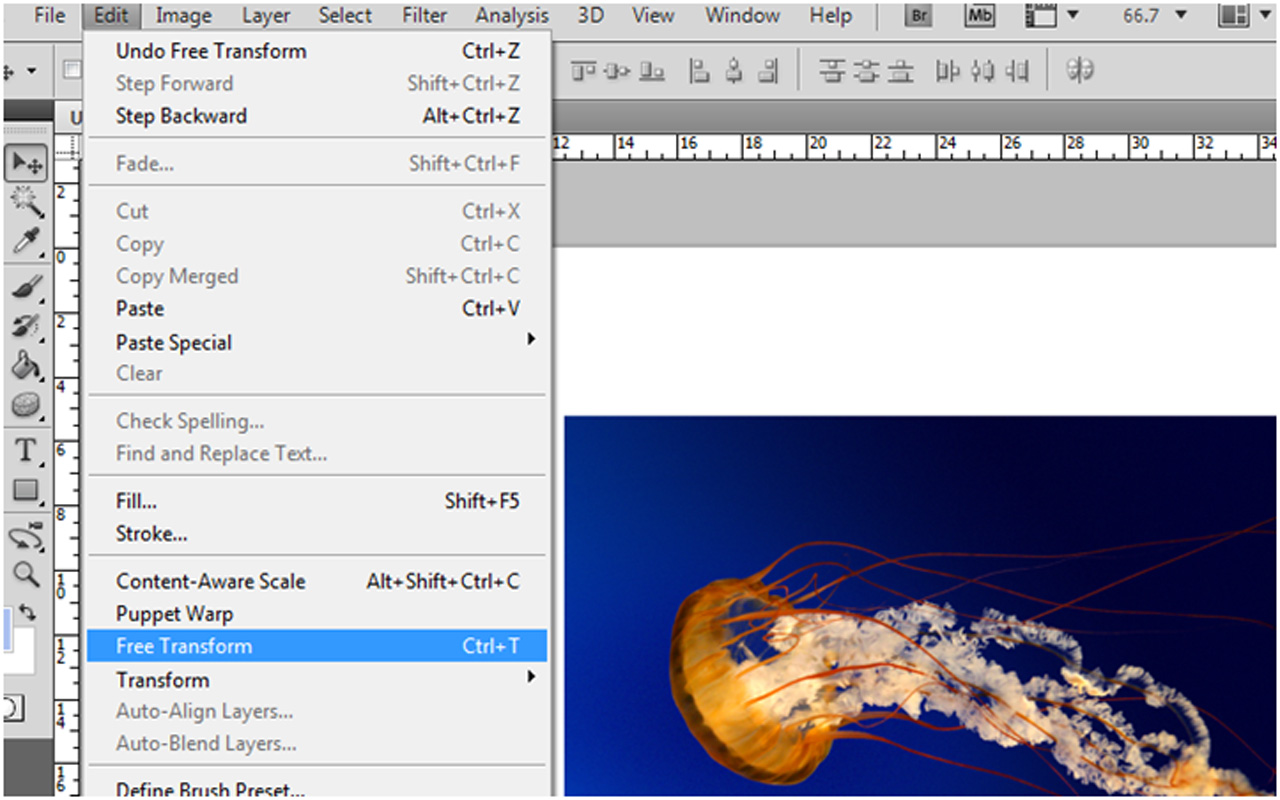
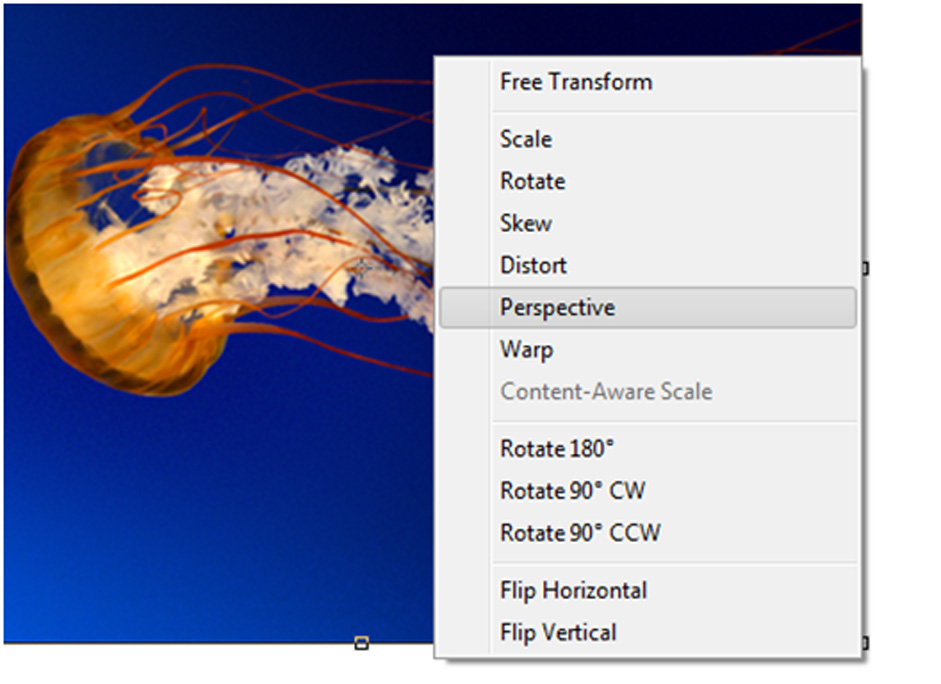
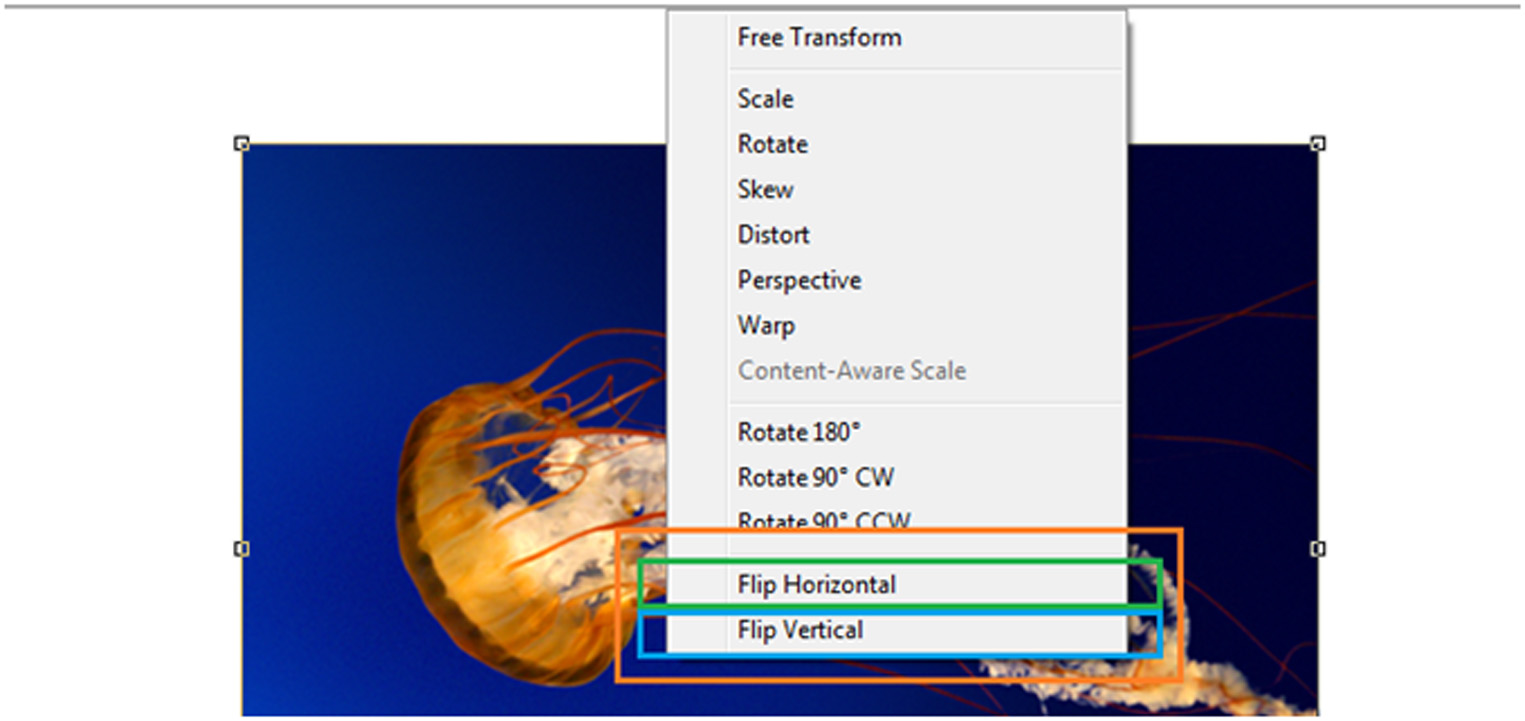
Free transform tool will do lots of tricks for you. Unfortunately, you will not find the transform tool in the tools palette. Try pressing CTRL+T (make sure you select the right layer) or select it from the edit tab: edit> free transform.
When using Free Transform for different objects, you can apply transform combinations for each object. For example, you can apply the resize, then rotate, and then add finale perspective transform. Or you can apply distort plus a warp transformation on a certain object or layer.

 Play around with the free form tool. With it, you can adjust the size, position, and proportion. Be careful though when adjusting the size of the image. If you need to preserve the aspect ratio of the object, HOLD SHIFT while you drag or resize the image. This will prevent you from overstretching the image.
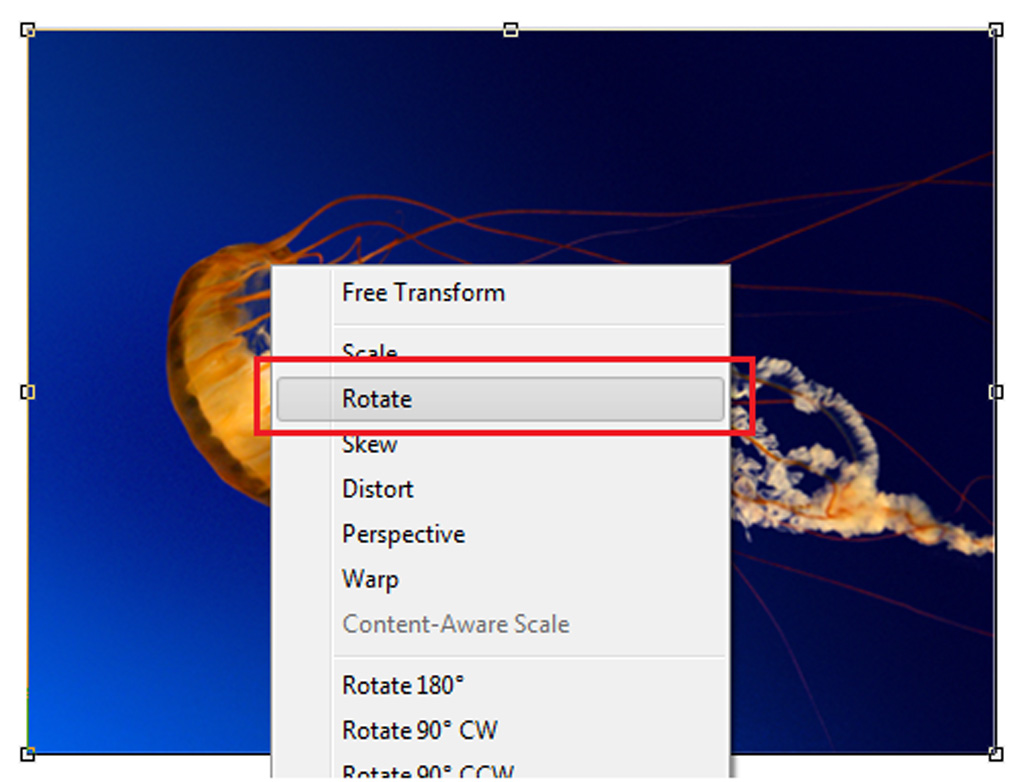
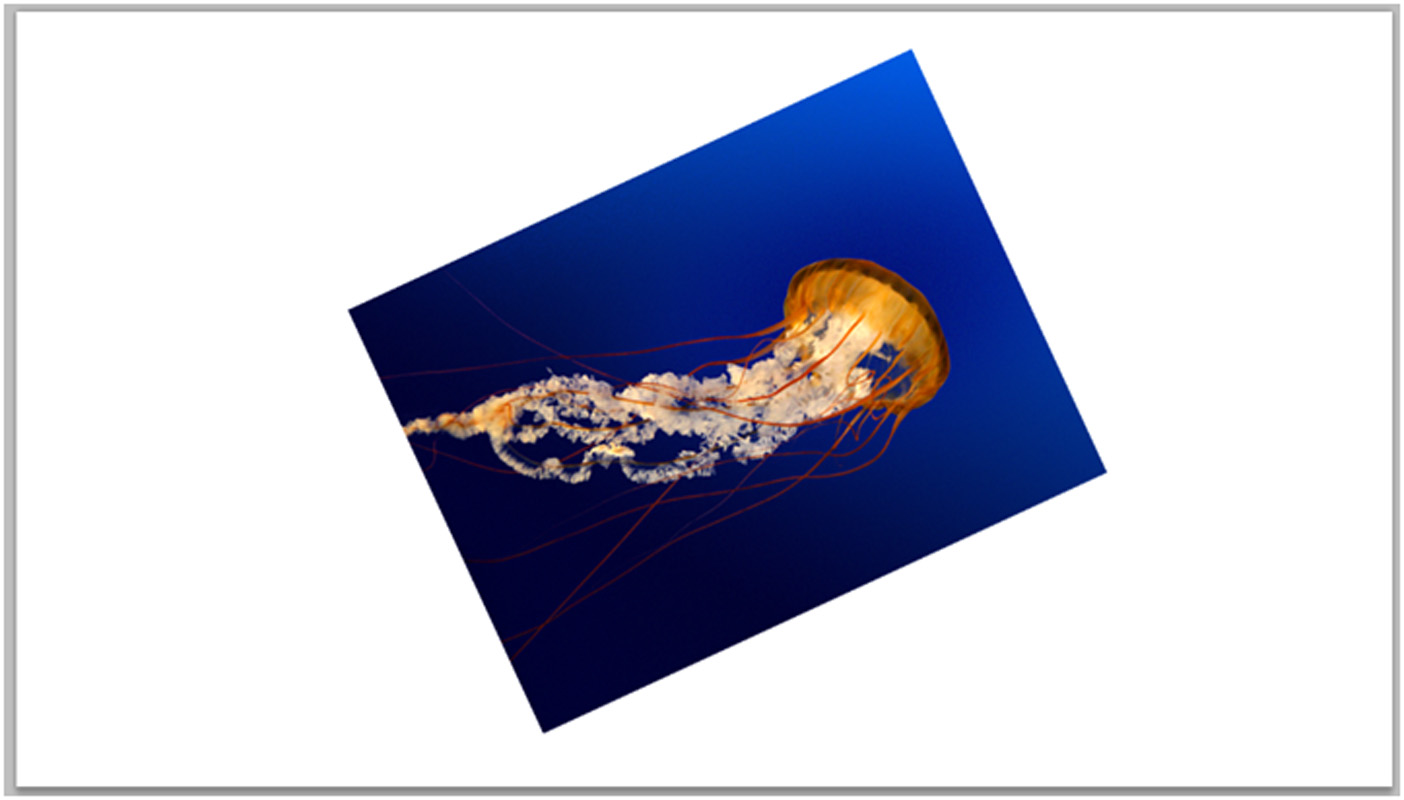
You can even rotate objects with free transform. Although you can rotate images directly from free transform, as a beginner in using Photoshop you can RIGHT CLICK while in free transform mode and select rotate.
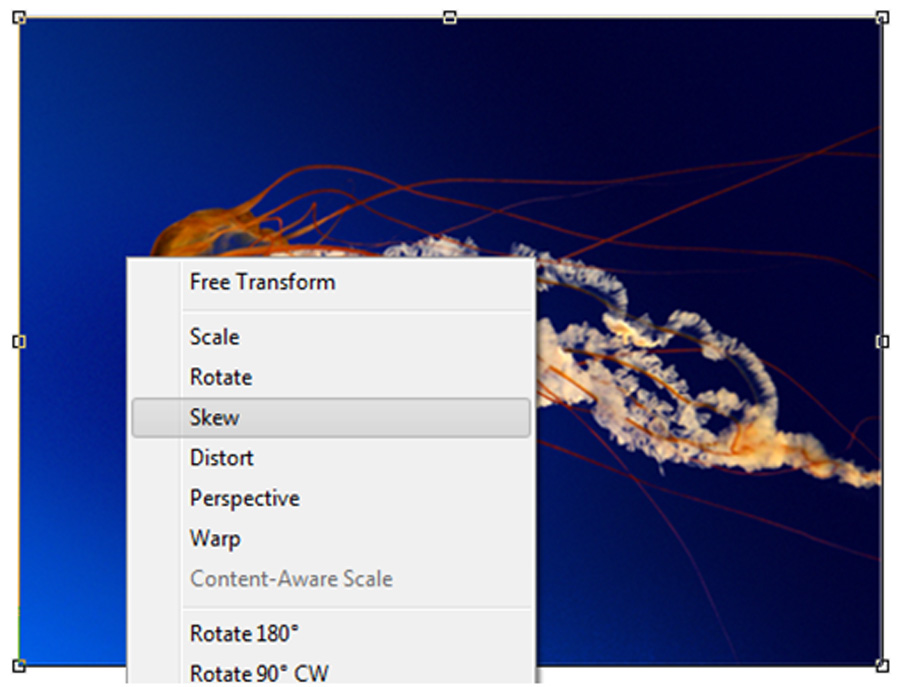
When you need to skew, or make a slanting form to the image, just apply the skew to the image. You can make the image slant to the right or left by either dragging the top edge or bottom edge to the left or right directions.
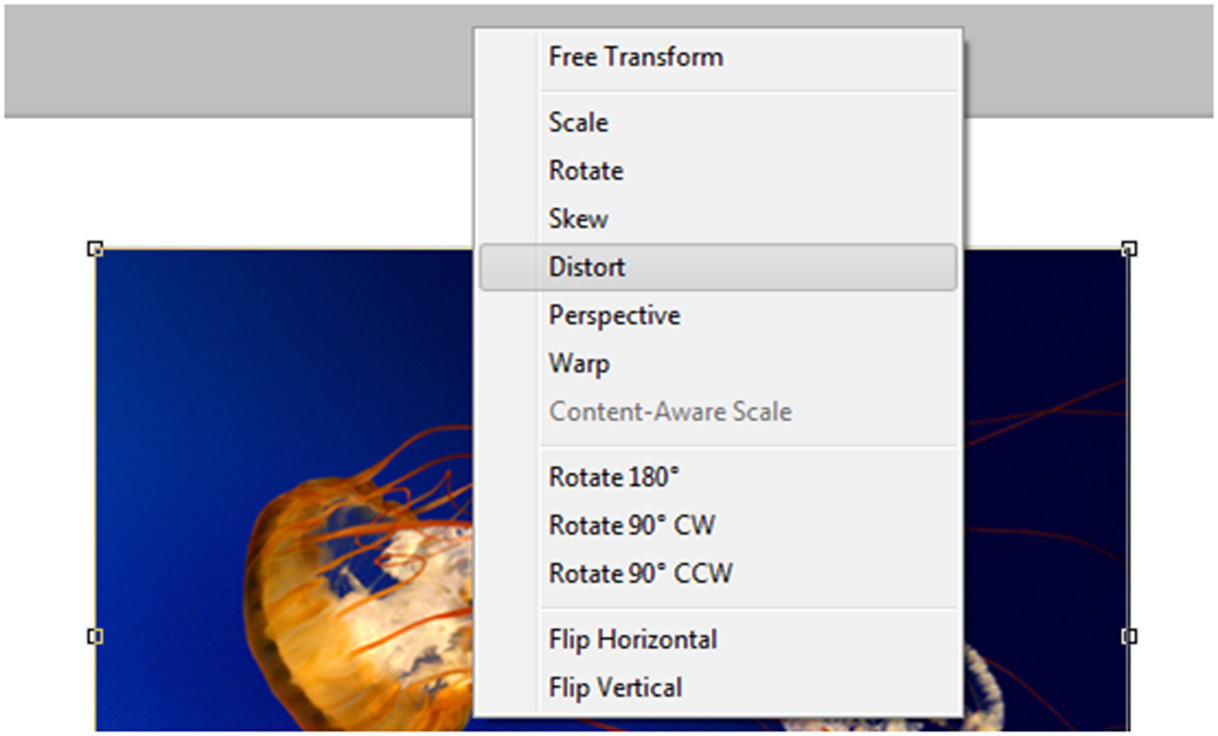
To distort the image dimensions just select the distort option.
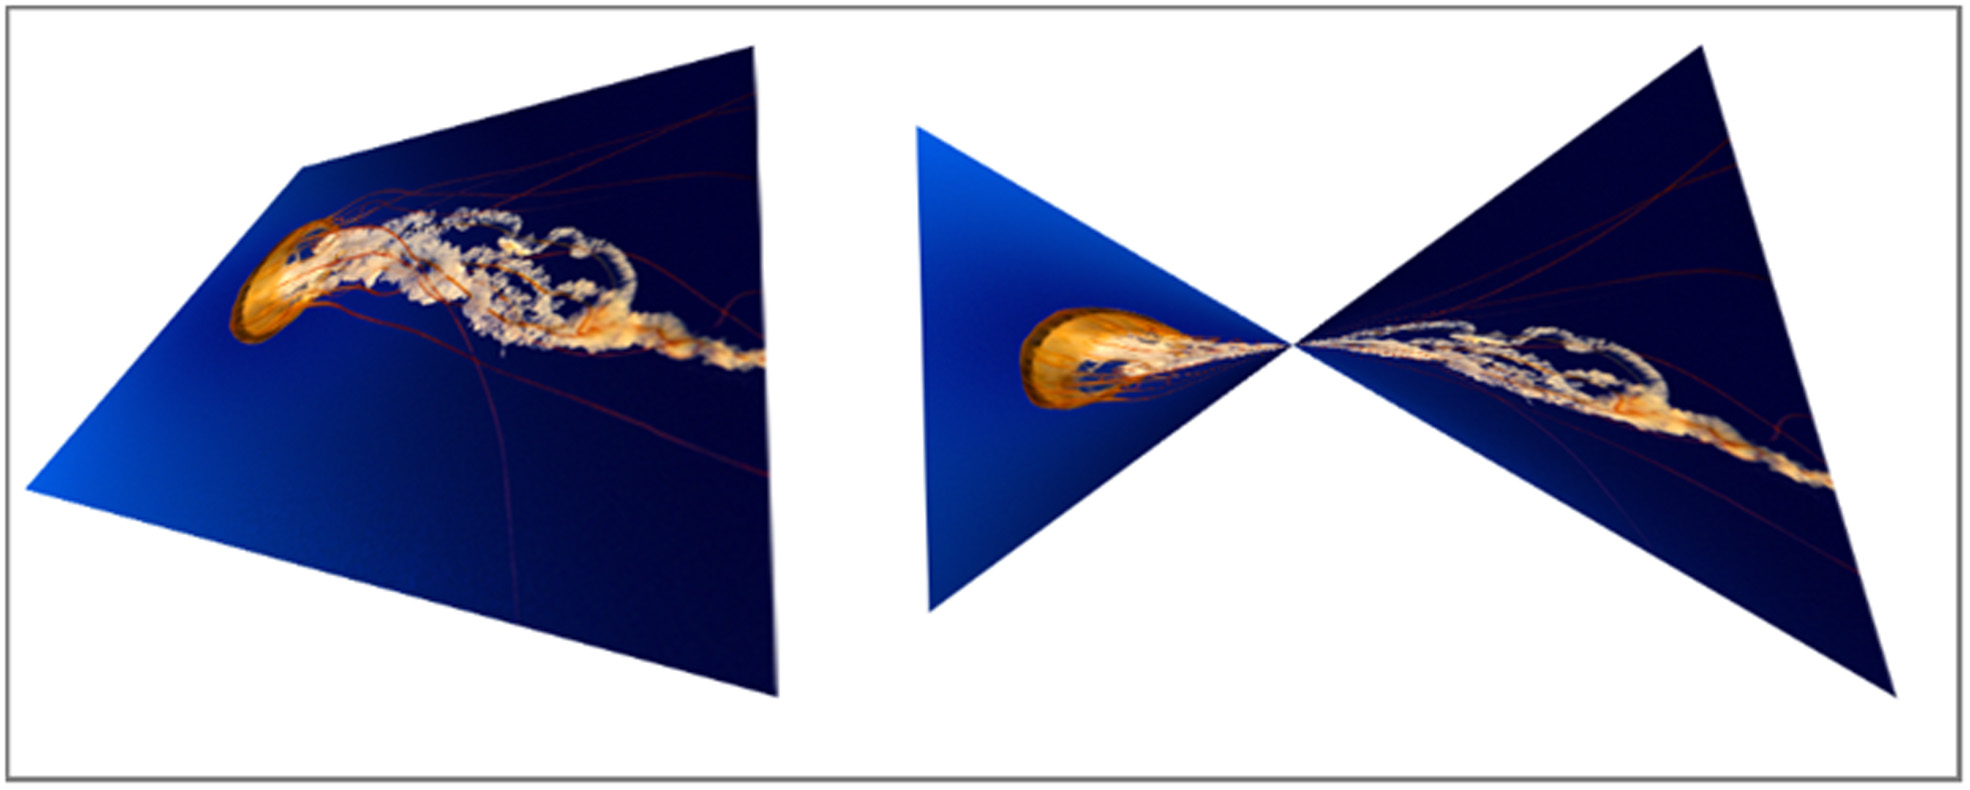 You can DRAG all 4 corners or points to any position just like how the feature sounds like, distort.
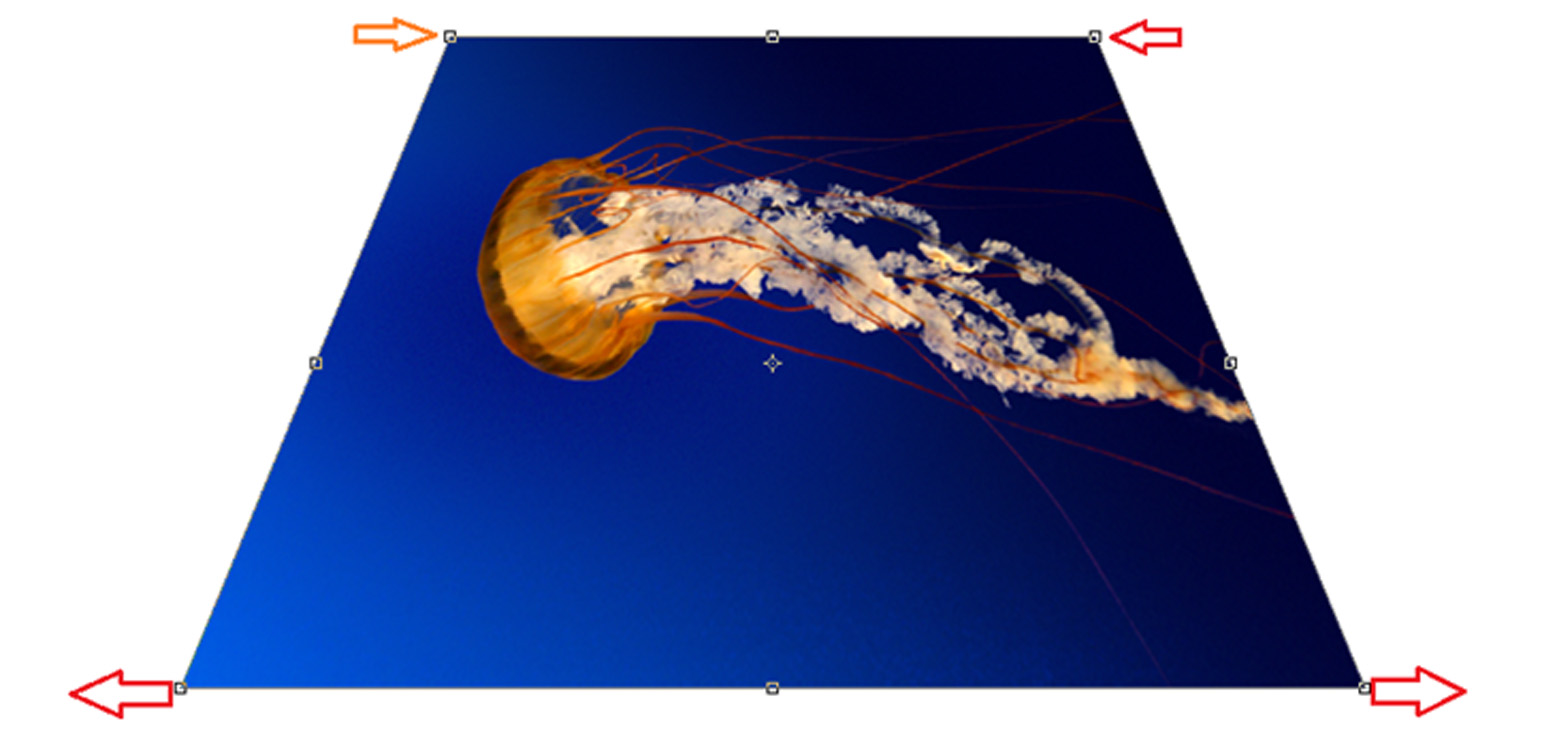
When you need to make the object look like when viewed in different perspective views, you can use and select the perspective feature.
Just drag and experiment with the controls and adjust the perspective view.
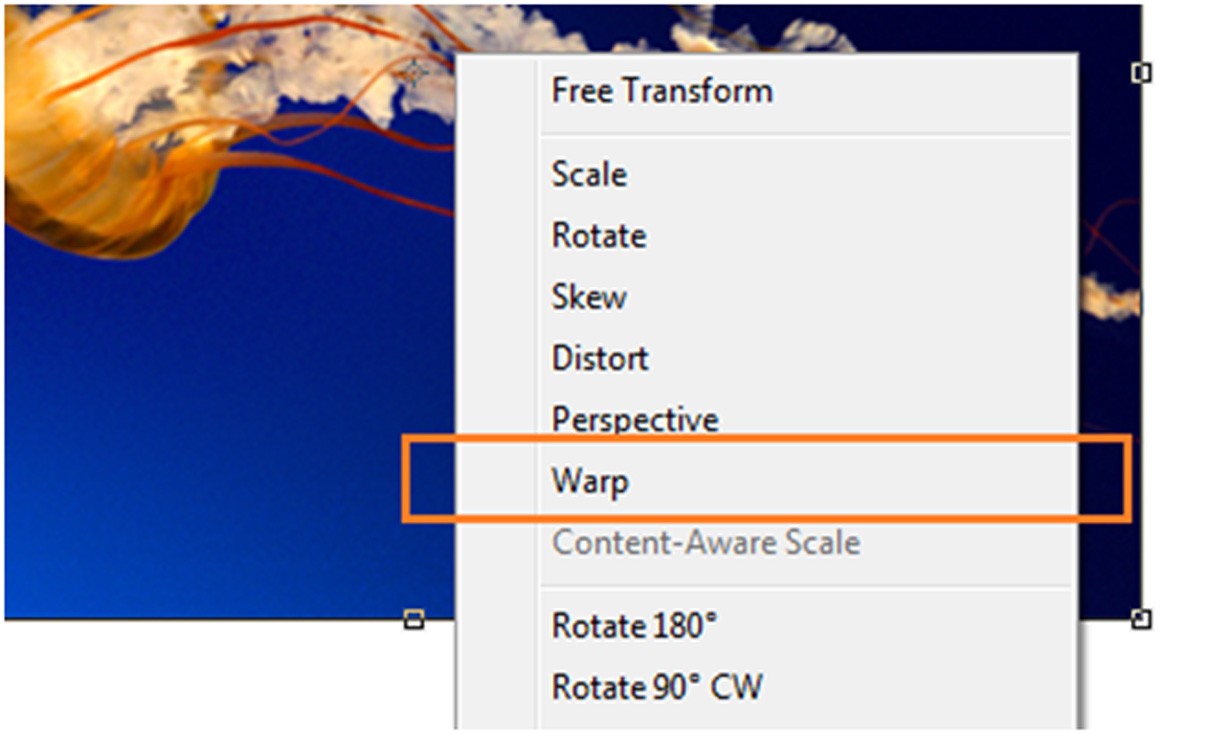
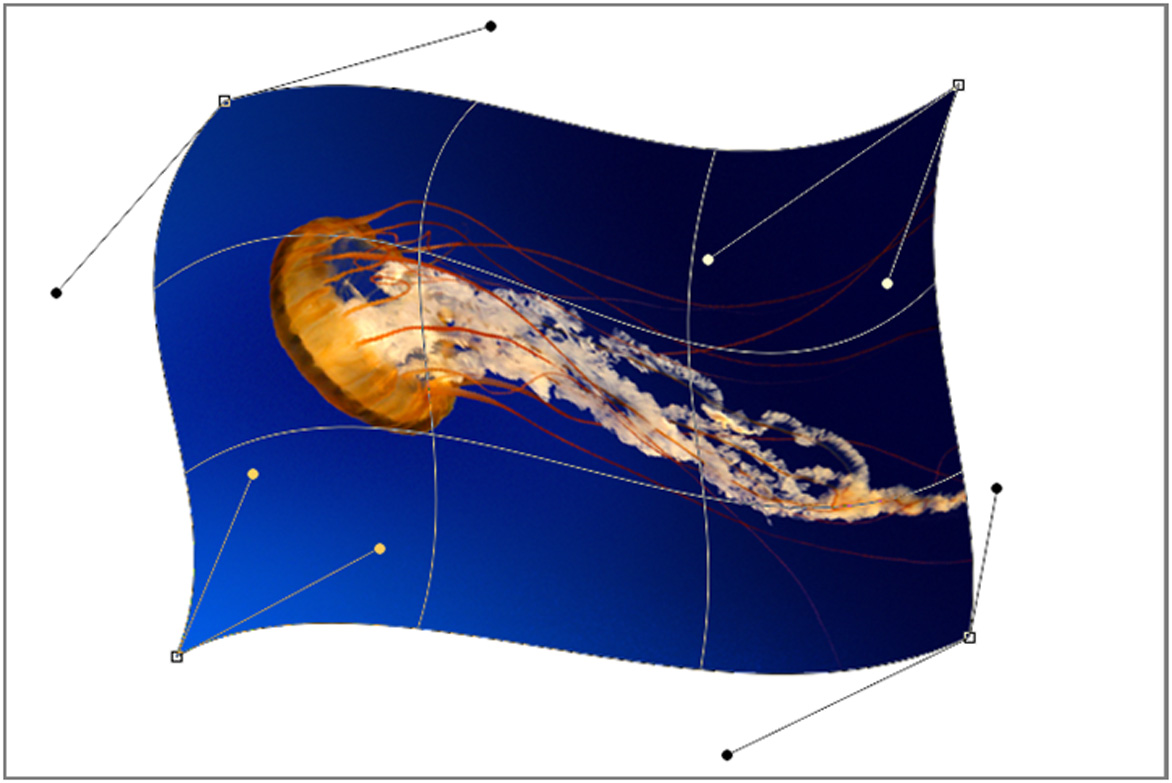
Warping or warp tool is another distortion form tool but, it works on curves not on the straight edges and corners when working on the distort tool.
You can also flip images or object if you need to. Same process, right click when on free transform mode and select flip horizontal or flip vertical.
You can experiment with the features, like flipping the object first in horizontal flipping then vertical flipping later on. Sometimes you need to try out other combination such as vertical + vertical + horizontal to achieve unique directions.
We hope you enjoyed this tutorial on giving your photos a dimensional makeover in Photoshop. Please feel free to ask questions and share your creations in the comments.

