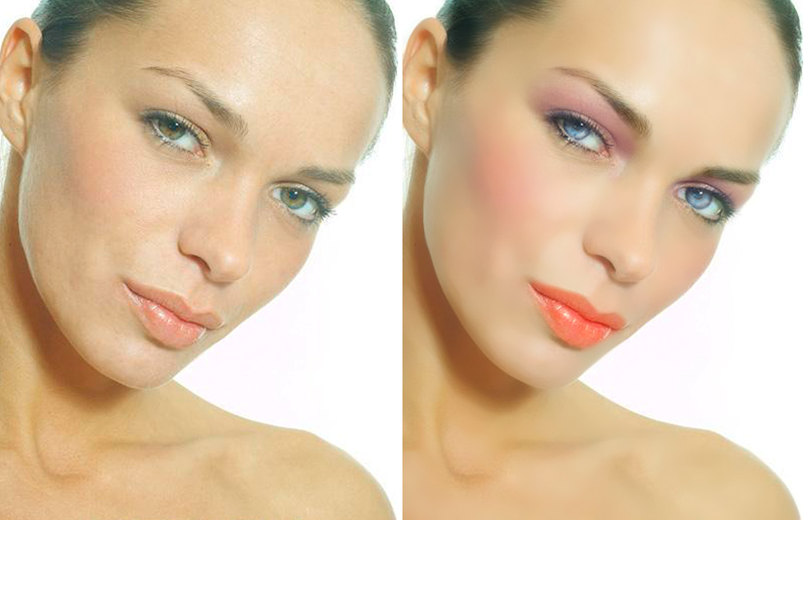
Learn How to Go from Snapshot to Super Model in this Photoshop Tutorial

In this tutorial, we are going to show you how to apply makeup on a woman with no makeup and enhance other features such her skin and hair using Photoshop.
The first thing to do is to open the image that you will be enhancing. You do not have to set a specific document size. We will just use the default size of the original picture.
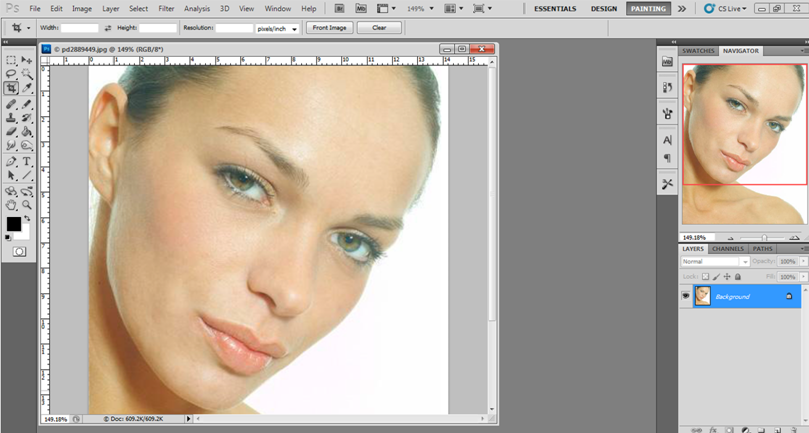
When you start working on this project, your workspace should look like the image below.
Second, we will need to make the skin on the image smooth so that the make up will look even when we apply it.
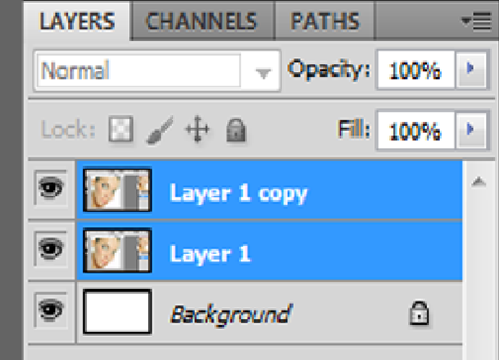
Let’s start by duplicating the original layer. Duplicating the original layer will prevent you from ruining the original copy in case you make a mistake since you will be only be editing the copy layer.
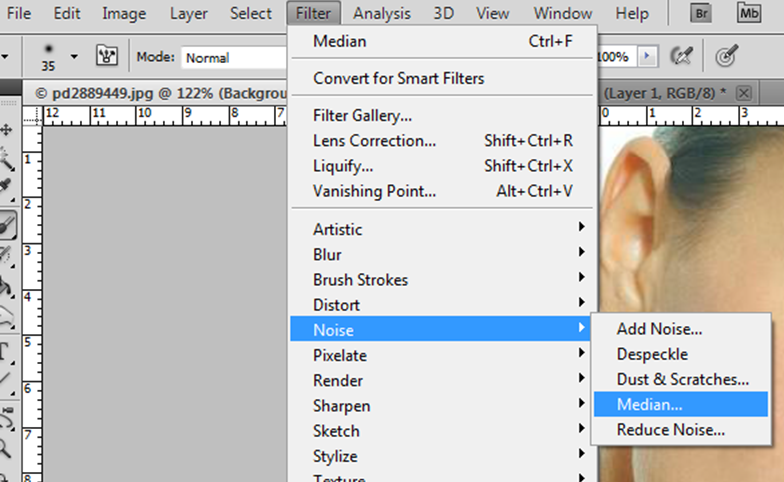
Now on “layer1 copy”, go to Filter> Noise> Median. It should be like this:
Be sure you select the “COPY” layer not the original layer. The original layer needs to be untouched all throughout the project.
Now apply a radius of about 6-10 pixels, depending on the texture of the skin. For this particular image, a radius of 7 is best.
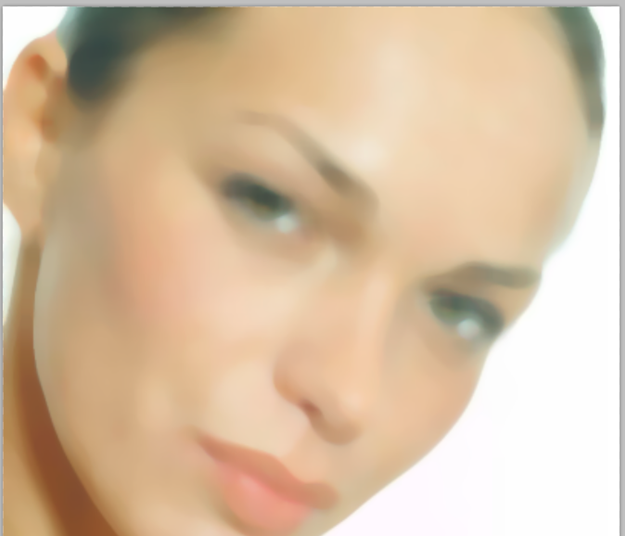
After applying the filter, the image should look like this.
The purpose of applying this filter is to smoothen out the rough texture of the skin. We did smoothen out the skin; however, the edges are also being blurred out, such as the eyes, eye brows, lips and hair. These parts that were blurred were necessary in order to smoothen the face’s features and edges. But do not worry we will have a way to recover the blurred parts.
In some cases, you will have the need to use other tools such as the healing tools to remove specific blemishes, wrinkles, spots, red marks, freckles and other irregularities before you can use the filter> noise effect.
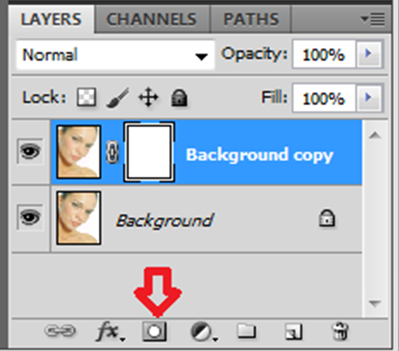
In order to restore the blurred parts, we have to exclude them from being filtered. In order to do that, let us create a layer mask for “layer 1 copy”.
To create a layer mask for the selected layer, just click the icon like the one shown below.
Now, the next step will be quite confusing because, the process will SEEM DIFFERENT depending on the version of the Photoshop software you are using.
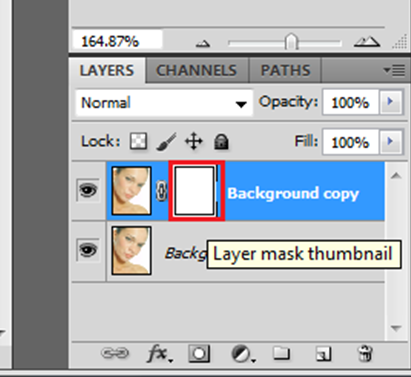
Start by selecting the layer mask, NOT the layer image.
In some versions, editing on mask will have a black and white interface so do not be surprised if you see that. It will look different but the process will still be the same and so will the results.
In the following step, you will be painting on the mask, NOT the layer image, so keep checking that you are working on the layer mask.
Use BLACK color to paint on the important parts such as the brows, eyes and lips. Use your brush tool, choose black color, adjust your brush size, and change the BRUSH OPACITY to around 50 percent.
And carefully “DEBLUR” or paint along through the eye brows, ears, eyes, nose, eyelids, scalp, and lips. You have to brush TWICE on some parts SUCH as the EYES/PUPIL to preserve their original sharpness.
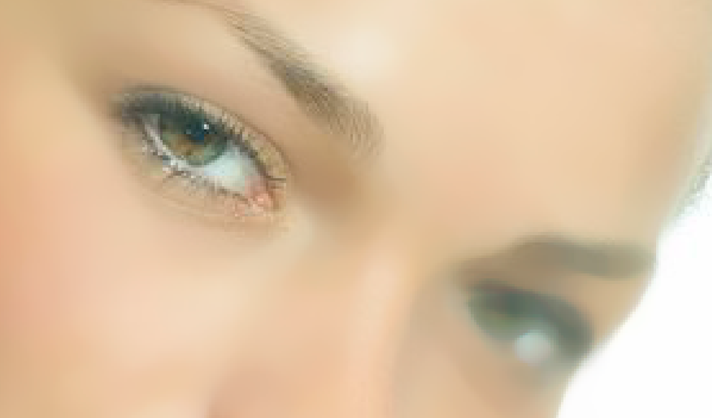
Just like this. As I painted on her right eye, the eye areas become sharper and clearer but the surrounding skin stays smooth. You can see the left eye has not been done yet so the filter effect is still there.
Now we are done with the skin and texture part, we move on to improving the eyes.
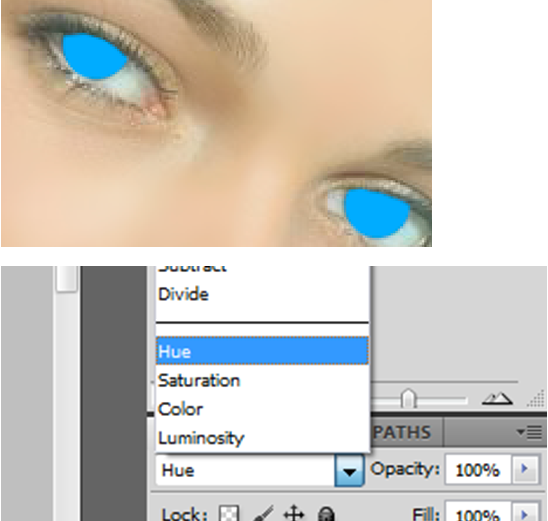
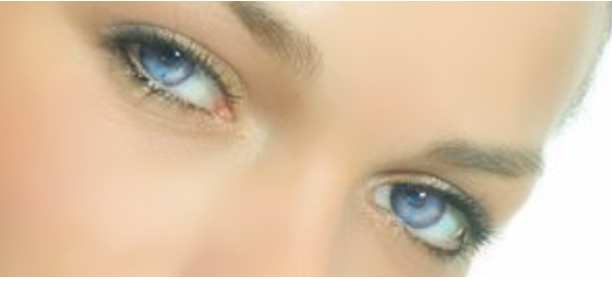
Create a new layer and paint blue color into each of the pupil, then CHANGE the layer blend mode into HUE.
We can now improve the highlights and shadows in the eyes.
Add another layer and this time, we paint WHITE on the pupils, and black on the surrounding shadows. For this step, set your brush opacity to about 20 to 40 percent.
Then CHANGE the layer blend mode into OVERLAY. And the result should be very fantastic.
The last part of the project: applying the makeup.
We can add eyeliner to the eyelids. From now on we will be mainly dealing with LAYER BLEND MODES. This feature in Photoshop has lots of uses especially applying makeup and ADDING new colors to a certain image.
For other projects, you can try to play around with the blend modes and blend opacity to achieve more results. Also you can combine 2 or more layers with different kinds of blend modes and opacity to have amazing effects on your images.
First create a new layer and then draw a line just like you do when using actual eyeliner. Draw with a brush, black color, 1-2 pixels radius, and 40-50% brush opacity. DO NOT forget to blur the lines MILDLY.
And then again, use the blend mode options, and apply SOFT LIGHT.
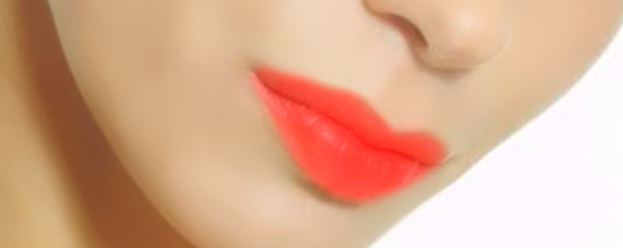
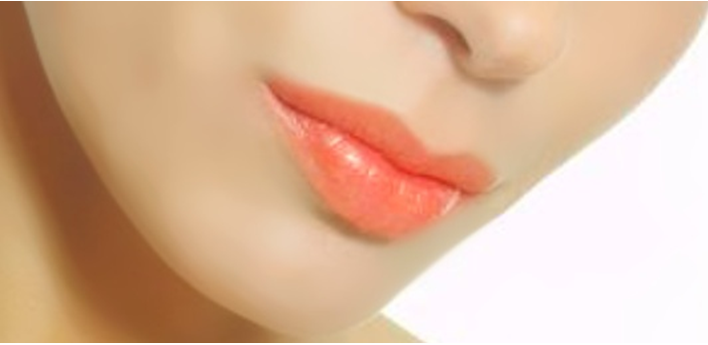
The same process applies to the lipstick color and the rest of the makeup. Now let us try doing the lips. Create new layer and paint the lips with any color you wish. I’m going to use red for this image.
Remember that it is not advisable to use 100 percent brush opacity at all times. The result might look oversaturated when applying colors with 100 percent opacity.
Then apply SOFT LIGHT. (Or any blend mode that suits the image. Just be sure that it still looks natural and realistic after applying a blend mode.)
You will have to tweak the opacity bar for a while to get the ideal effect. Too much opacity will make the result look unnatural.
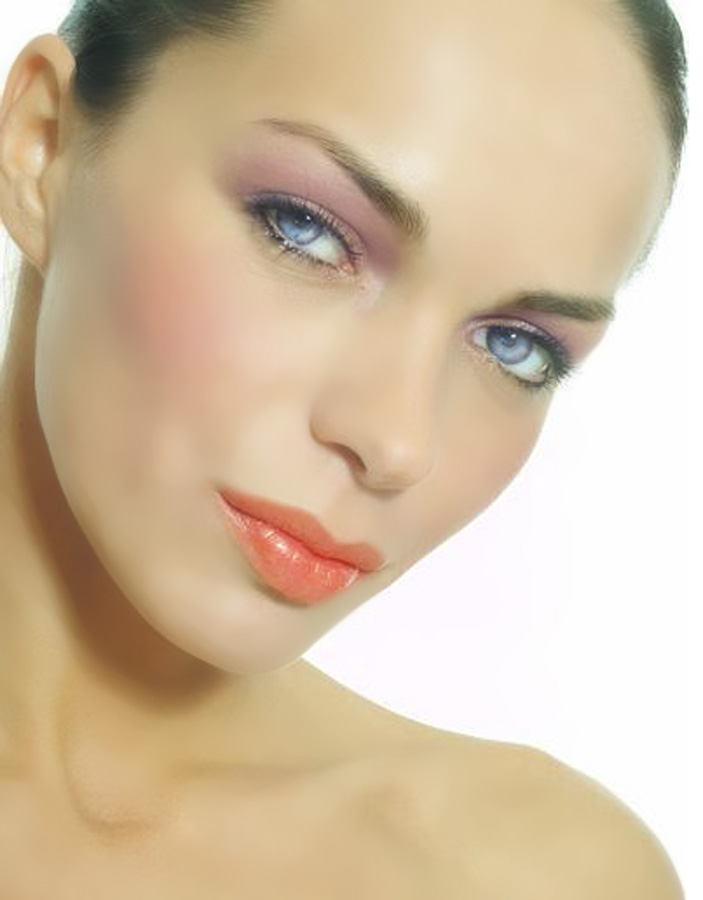
As for other makeup, it will be up to you. I will show you the final output of our project.
I have added makeup on the eye areas and the cheeks. Also, the hair’s black color has been improved and darkened. Applying BLEND MODES was all that was used in applying the additional makeup.
That’s it, we’re done. As you can see from these before and after images, we were able to make significant improvements in the way the woman looks. We’ve enhanced her skin, her hair and even applied make up, all with Photoshop. Try this on your own and enjoy surprising your female friends.
Please feel free to share your creations in the comments. It is great to see what folks do with the things they learn here.

