Make a Painting Come Alive with this Photoshop Tutorial

I have been doing a few internet strolling until I came across with this screen captures magically alive paintings in Hogwarts of the Harry potter movies. So, I suddenly got an idea of how about making a painting come to life. So guys, I want to show you some of the steps I have been doing in Photoshop to make a painting of a man trying to get out into the real world.
First and foremost, we will need a photo of a man crawling out and turn it into an oil painting. Just go to your favorite search engine and look for stock images using the keywords man, crawling, crawling man, and then download it. You also need to download an image of a classic picture/painting frame, and an image of a patterned wallpaper texture. (Downloading a wallpaper is not essential therefore it is optional.)
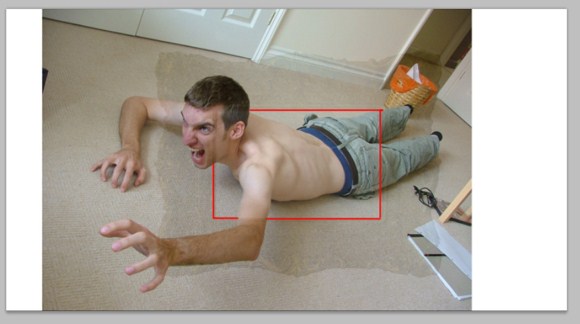
The first thing we are going to do is to prepare the painting. Open a new document with resolution sizes not lower than 1500×900 pixels. You can have a larger size but not more than 4000 pixels in width. Import the frame and the man images on the same document. Resize and arrange them to about the size shown below. You can reduce the opacity so you could see where to put the images.
As you can see, I have positioned the image this way so that the head and arm would really go out of the frame, while the rest of the body stays inside. The red lines are the boundaries where we will cut out the unnecessary parts. (Also notice also that I have placed it that way so that you cannot see the trash bin.)
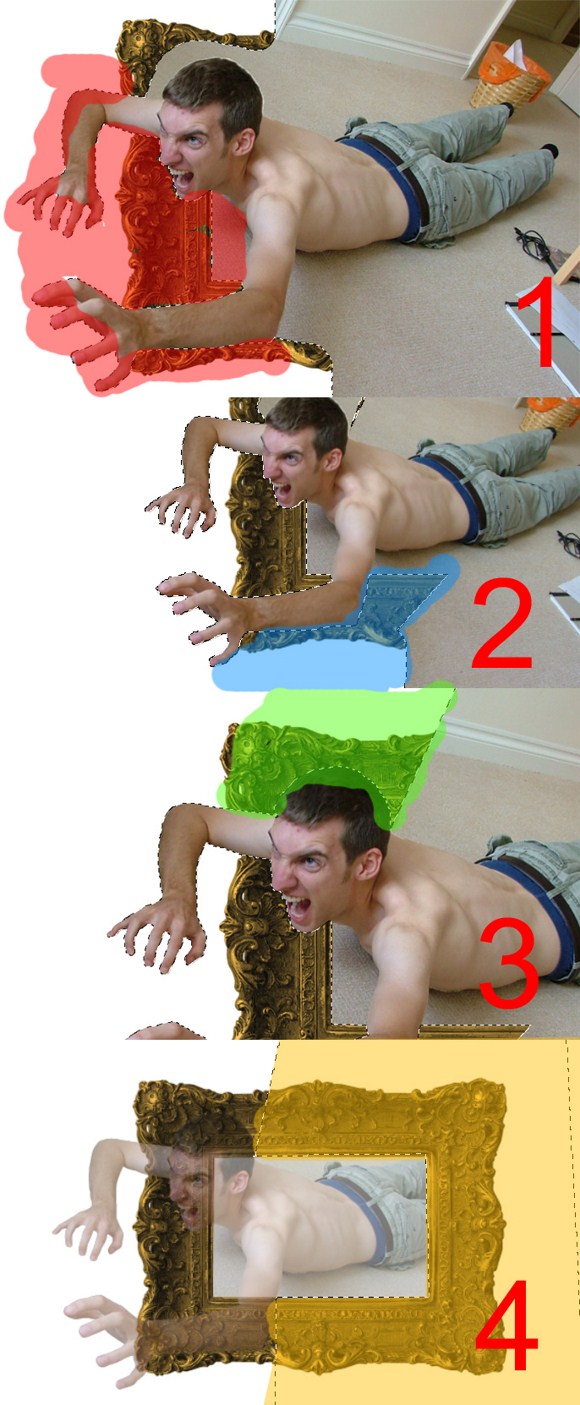
For now, let us proceed to removing some parts. Slowly remove or erase the parts that are meant to go out of the frame. Use the marquee, eraser, or the pen tool + selection techniques to remove these parts.
As you can see on the image above, you need to remove the areas one by one. First carefully trace using the pen tool to remove the areas around the fingers. Be careful not to remove areas below the chin which needs to be inside the frame. Next remove the areas on the lower part. On the hair areas you will need to be patient to successfully and cleanly cut out the surrounding areas. Sometimes, you need to use channels to achieve a cleaner output. And lastly remove those areas to the right parts.
Next part is to do the oil painting effect on some parts of the man. This will give the idea that the oil painting is transforming into a man.
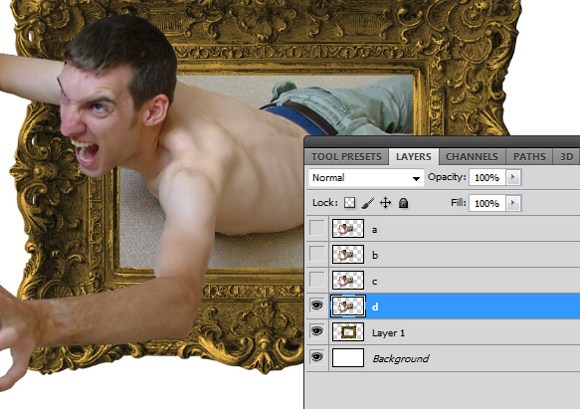
Duplicate the man layer THREE (3) times so that you will get a total of 4 copies of it. Name the layers a, b, c, d respectively with layer a as the topmost layer. Hide the layers except for layer D.
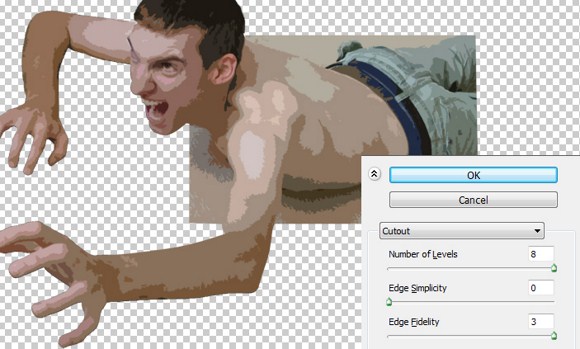
Go to Filters > Artistic then select CUTOUT. Use 4 levels, 0 edge simplicity, and 3 edge fidelity. Set the layer blend mode to LUMINOSITY.
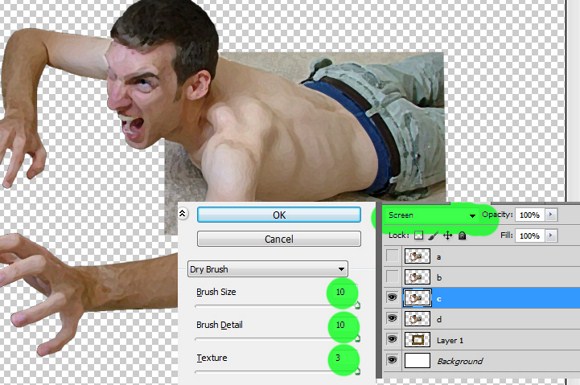
Unhide layer C. go to Filters > Artistic and then select DRY BRUSH. Set the parameters all to maximum. Change layer blend mode to screen.
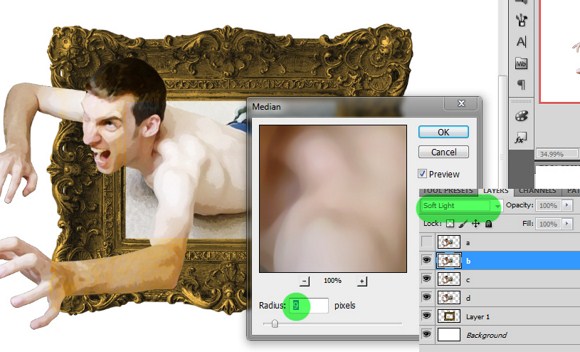
Unhide layer B. Go to Filters > Noise > Median and set the radius between 9-15 radius. Note that this depends on the document resolution. Set the layer blend mode to Soft Light
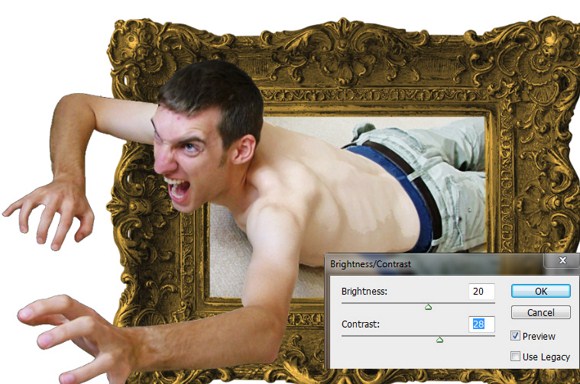
Lastly, unhide layer D. Go to , Image > Adjustments > and then play with brightness and contrast. Achieve a clear and vibrant look. Then slowly erase (eraser tool) USING 50 percent opacity on parts inside the frame so that parts inside the frame will have the oil paint/watercolor effect.
And basically that is it. After applying the wallpaper as the background, shadows and lighting effects the overall effect now looks quite more convincing.

